About Before After Utility
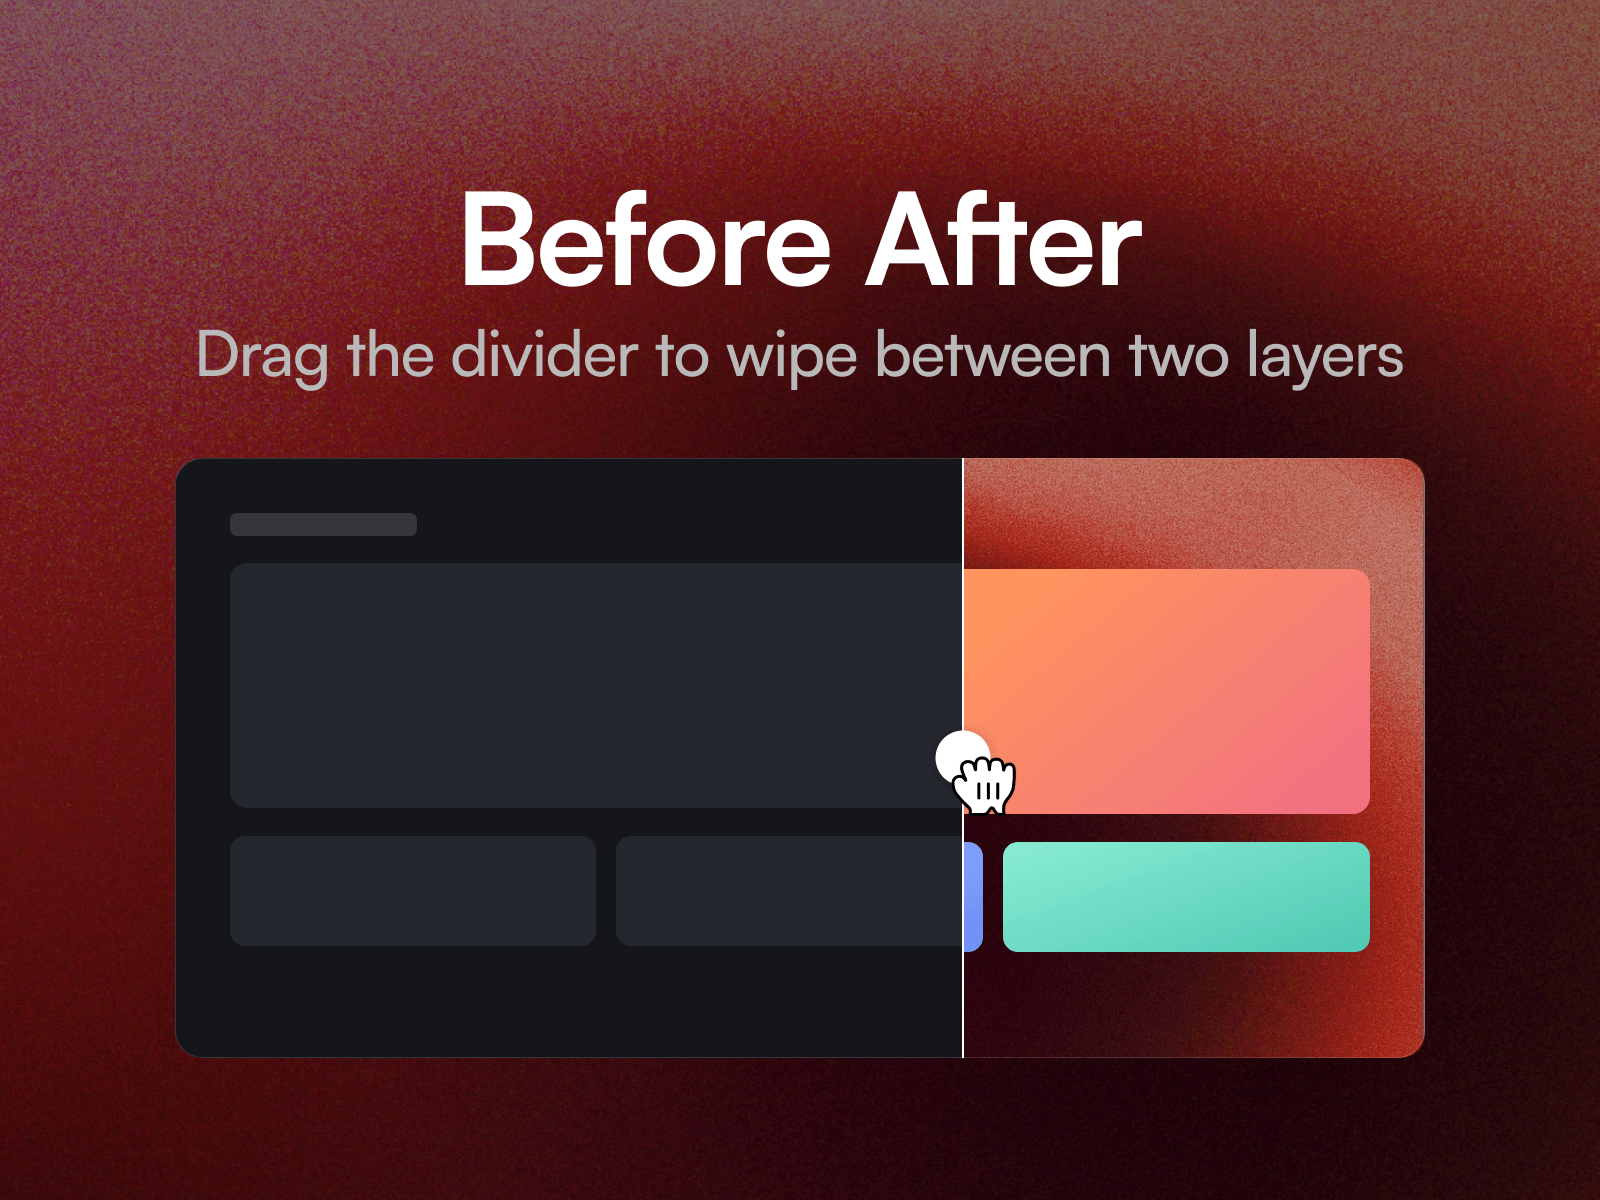
Before After Slider puts two layers on top of each other and lets visitors drag a divider across to wipe between them. Renovations, retouching, product finishes, colour grades, redesigns: anything that sells on the difference.
It is keyboard accessible, which almost no comparison slider is. Tab to the divider and the arrow keys move it, so it holds up for clients with accessibility requirements in the brief. The wipe is a clip on the top layer, so both images stay sharp at any size and both stay in the page.
Eleven property controls cover the starting position, horizontal or vertical wipe, drag or hover mode, smoothing, handle style and size, and the divider's width and colour.
Two modes
Drag. The visitor holds and moves the divider. The most control, and the safer default.
Hover. The divider follows the pointer without a click. Demos beautifully on a landing page.
Setting up
Paste the component link into your Framer project's Insert panel. Nothing to install. Put one layer in Before and one in After.
Good to know
Both layers need to sit at the top level of your page, alongside the breakpoint frame. That is how Framer slots work.
Give both layers the same size, or the reveal will not line up with the divider. Works with mouse, touch and keyboard.