

About Before After Image Slider
Key Features:
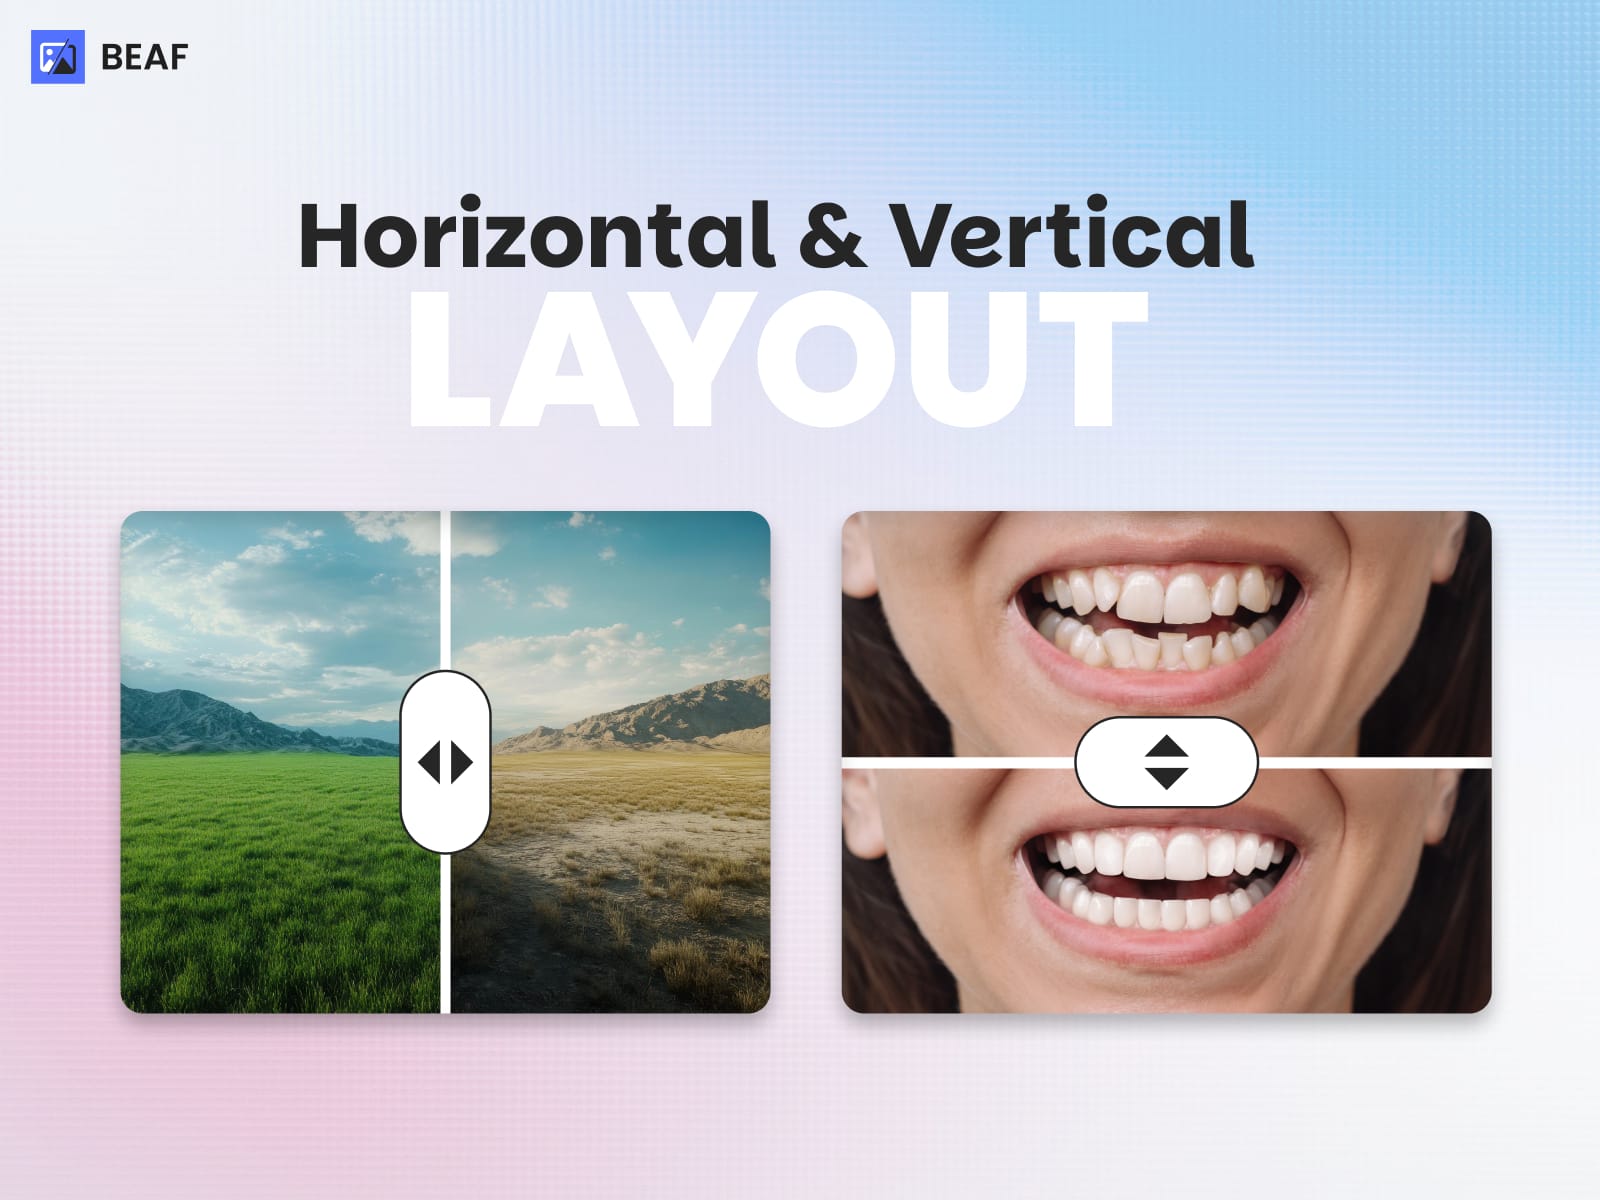
Horizontal or Vertical layout
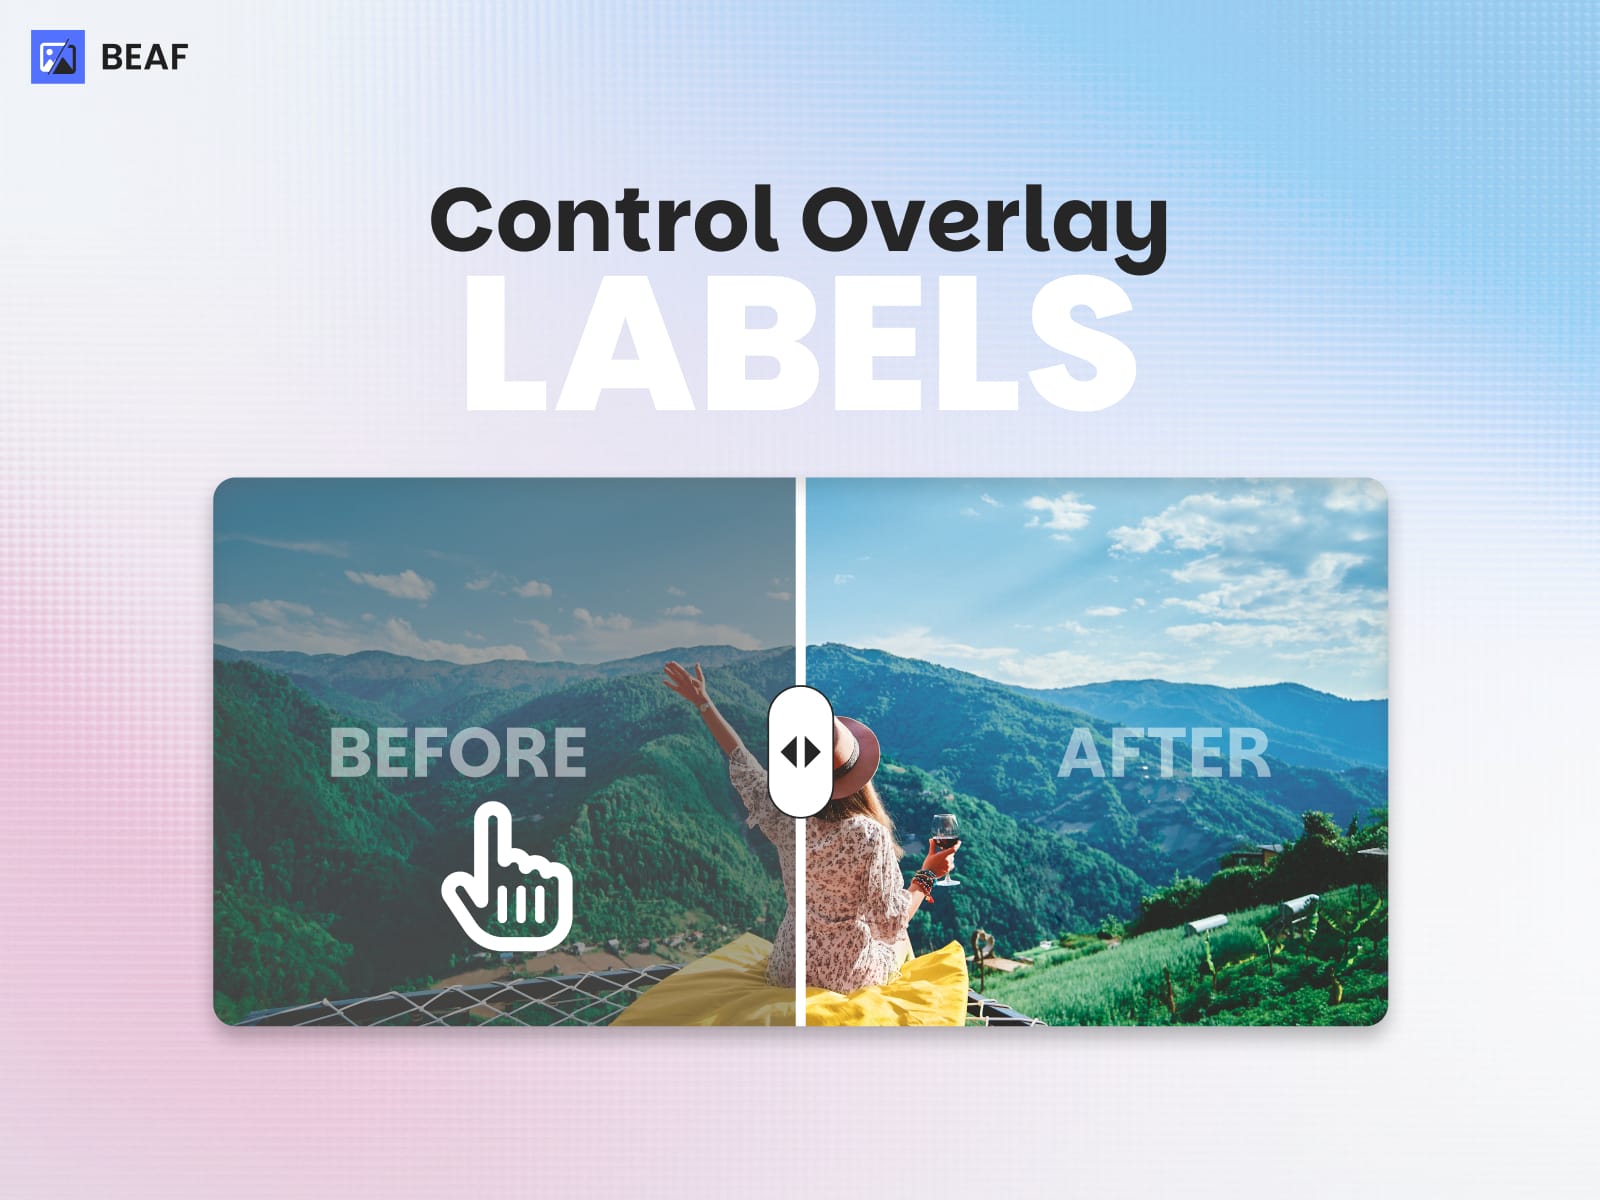
Label Color and Background Change
Disable Overlay
Mouse Hover Options
Easy-to-use option panel
9 Preview Styles Slider
Watermark for Before and After Images
Custom Width & Height - Alignment
Auto Slider
On Scroll Slider
Uploaded Before and After Image Preview
For Before and After images Filters
Handle and Label Customization position, color, liquid glass effect
What You Can Do
Create and manage before/after slider items.
Preview slider behavior in the Framer canvas.
Update existing sliders without rebuilding them from scratch.
Keep slider content organized for easier iteration.
How To Use The Plugin
Open the Beaf plugin in Framer.
Add a new slider entry or select an existing one.
Configure the before and after content.
Insert or update the slider on the canvas.
Review the preview and make adjustments as needed.
Recommended Workflow
Start by preparing the images or content you want to compare.
Create the slider entry first, then place it on the canvas.
Check the preview after each major change.
Reuse existing slider entries when you only need small updates.
Tips
Use clear names for slider items so they are easy to find later.
Keep before and after assets aligned for the best comparison effect.
Refresh the canvas preview after making content changes.
If Something Looks Wrong
Confirm the slider entry was saved before inserting it again.
Check that the before and after content are both assigned.
If the preview does not update, reopen the plugin and verify the slider state.