About CMS Dynamic Lightbox
About This Component
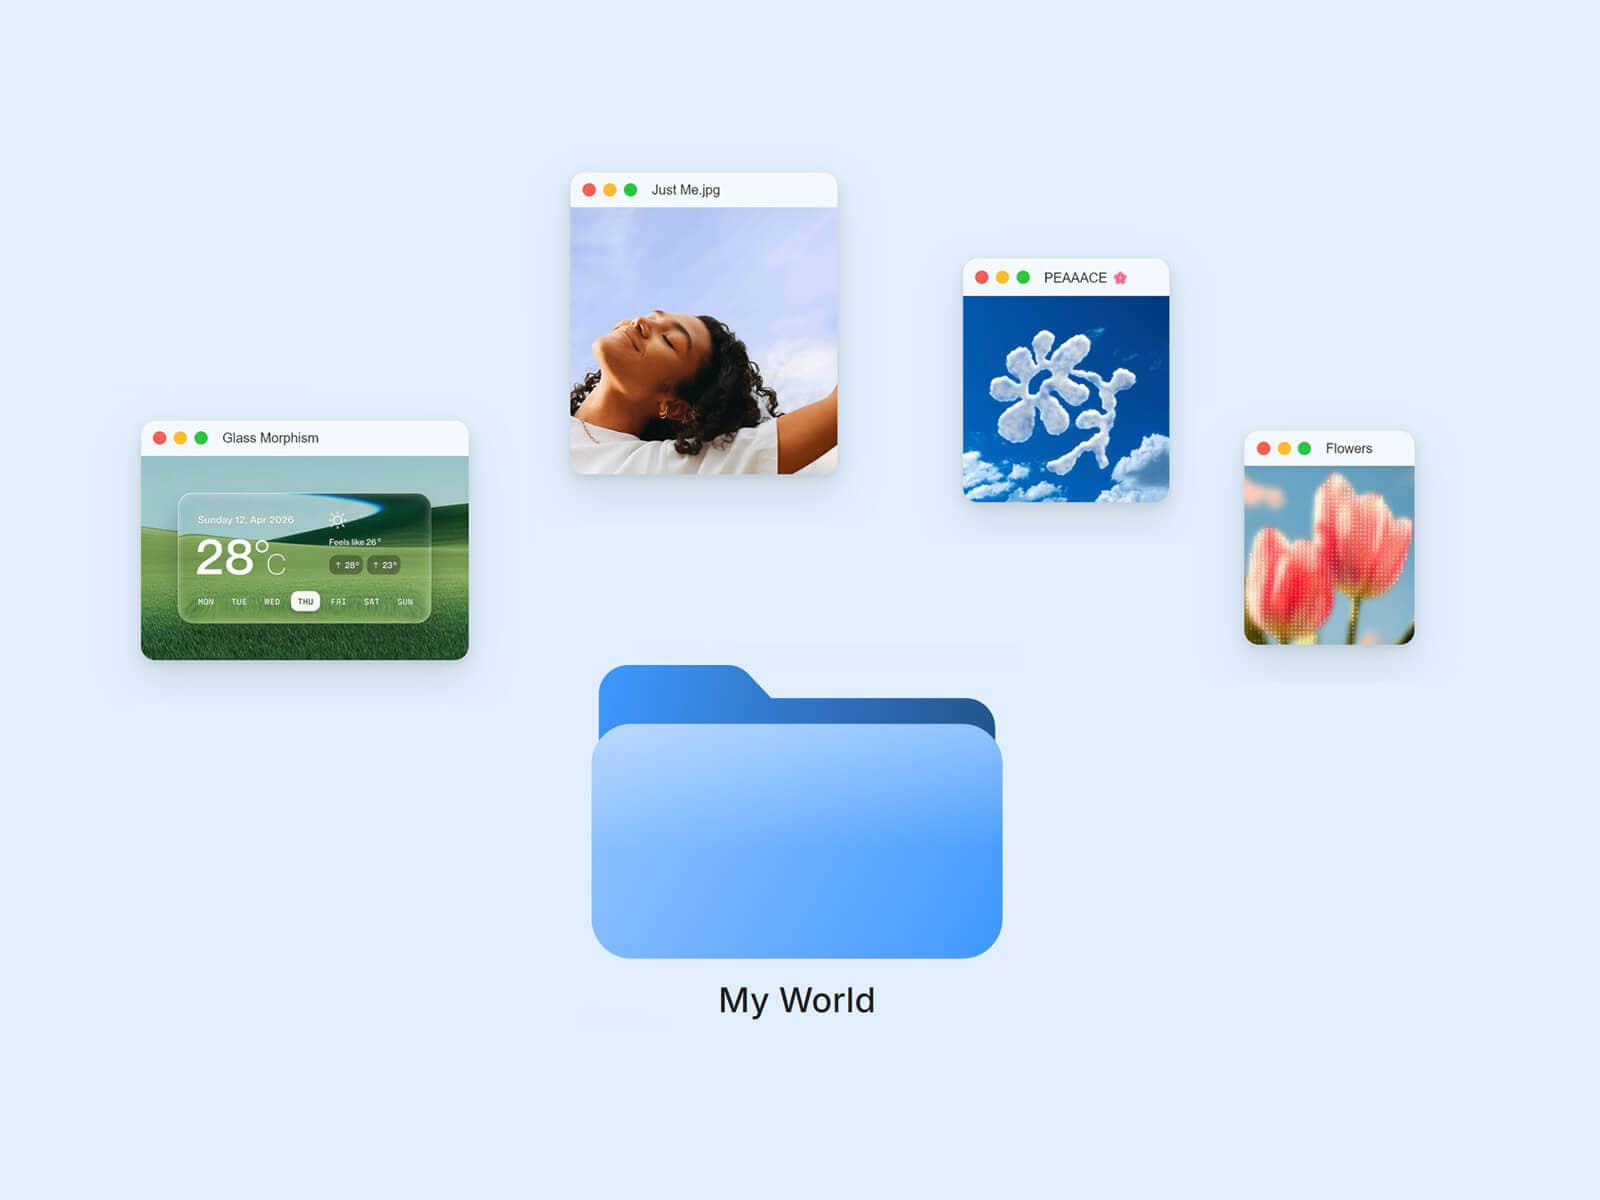
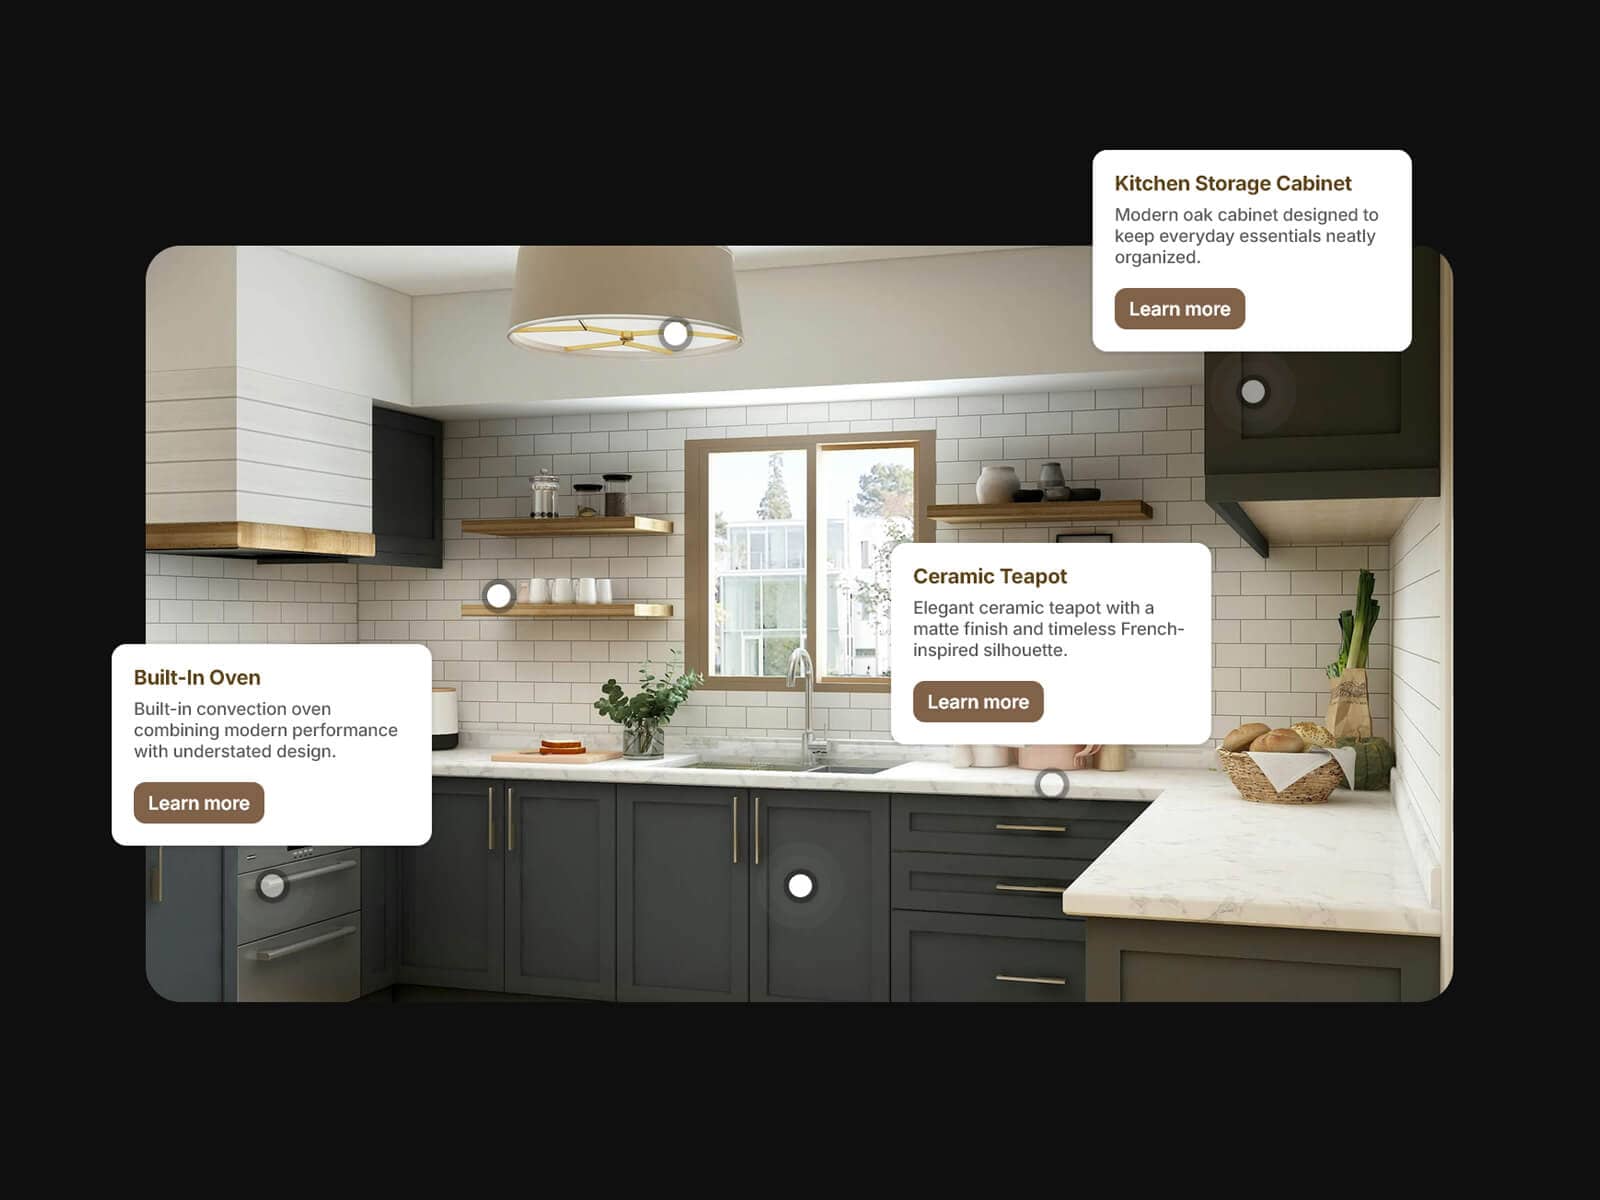
Instead of being limited to static images or videos, the component allows you to use any Framer component as both the clickable trigger and the content displayed inside the lightbox. This opens the door to fully custom CMS-driven experiences with complete freedom over layout, styling, and structure.
The component works especially well inside CMS Collection Lists, where each CMS item can dynamically open its own fully customized lightbox content. Images, videos, titles, descriptions, buttons, rich layouts, or complete mini-pages can all be connected through CMS variables.
Because the lightbox content itself is a component, you retain full control over your design system and responsive behavior directly inside Framer.
The included Remix project also contains a complete CMS example setup demonstrating how to build dynamic blog-style lightboxes using CMS Collection Lists.
Usage Notes
CMS Dynamic Lightbox is a more advanced Framer component and works best if you already have a solid understanding of Framer components, responsive layouts, and CMS workflows.
Because the system relies on dynamically connecting Trigger and Content components, some setup and responsive adjustments may be required depending on your project structure and design system.
Using inside a CMS Collection
Here’s a typical workflow for creating dynamic CMS-powered lightboxes.
Before getting started, make sure you're editing the component that is used as the CMS Collection Item inside your Collection List. In other words, work directly inside the component that represents each CMS entry (blog post, portfolio item, product, etc.), as this is where you'll create and connect the Trigger and Content components for each dynamic item.
Step 1 - Create your Trigger component
Inside your CMS item component, create a component that will open the lightbox when clicked.
This can be:
An image
A title
A button
Or any custom card
You can even create multiple trigger areas for the same CMS item.
⚠ If your Trigger component contains elements with fixed widths, make sure to add max-width: 100% to ensure proper responsive behavior inside the lightbox workflow.
Step 2 - Create your Content component
Create a second component that will appear inside the lightbox itself.
This component can contain:
Images
Text
Videos
Buttons
Rich layouts
Fully custom CMS-driven designs
Connect all content using Framer CMS variables.
⚠ If your Content component uses fixed-width elements, adding max-width: 100% is strongly recommended to guarantee proper responsive resizing inside the lightbox.
Step 3 - Connect everything
Assign your Trigger and Content components inside the CMS Dynamic Lightbox fields.
The component automatically handles the opening behavior, responsive sizing, overlay, animation, and interaction logic.
The included Remix project contains a full working CMS example and setup notes to help you recreate the workflow quickly.
Key Features
Dynamic Trigger & Content System
Use any Framer component as the clickable Trigger.
Use any Framer component as the lightbox Content.
Animations
Choose between multiple lightbox animations:
Scale
Fade
Slide Up
Smooth transitions designed for modern Framer layouts.
Overlay Customization
Customize the entire lightbox overlay:
Background color
Blur amount
Padding
Close on overlay click
Close Button
Fully customizable close button system:
Inside or Outside positioning
Custom SVG upload support
Default icon support
Size
Inset
Padding
Fill
Opacity
Background blur
Lightbox Layout
Control the lightbox container:
Max Width
Max Height
Padding
Background color
Radius
The lightbox automatically adapts to the size of the displayed content.
Responsive CMS Workflow
Built to work seamlessly with responsive Framer layouts and CMS Collection Lists.
Trigger components and lightbox content automatically adapt to different screen sizes and container dimensions, making the workflow flexible for dynamic content systems.
⚠ For the best results, use Component instances as Lightbox Content. Simple Page layers (such as raw Stacks, Images, or standalone layers) may lose certain styling or layout behaviors when rendered inside the lightbox portal system.
For advanced responsive workflows, you can also use separate CMS Dynamic Lightbox components for desktop and mobile layouts, allowing you to connect completely different Trigger and Content components depending on the device or breakpoint.
Interactions & Accessibility
Lock page scroll when the lightbox is open.
Supports closing with the ESC key for improved accessibility and usability.
How to Set Up
Drag CMS Dynamic Lightbox onto your canvas
Create your Trigger component
Create your Content component
Connect CMS variables
Link both components inside the Trigger and Content fields
Customize animations and overlay settings
Publish
Refund Policy
All sales of digital products are final and non-refundable.
If you have any questions about the product, please contact me at hellonostromostudio@gmail.com before completing your purchase. I’m happy to help.
Enjoy!