About File Uploader
This component is Part of the Essential Components plugin. Browse and insert 45+ components directly in Framer. Start for free
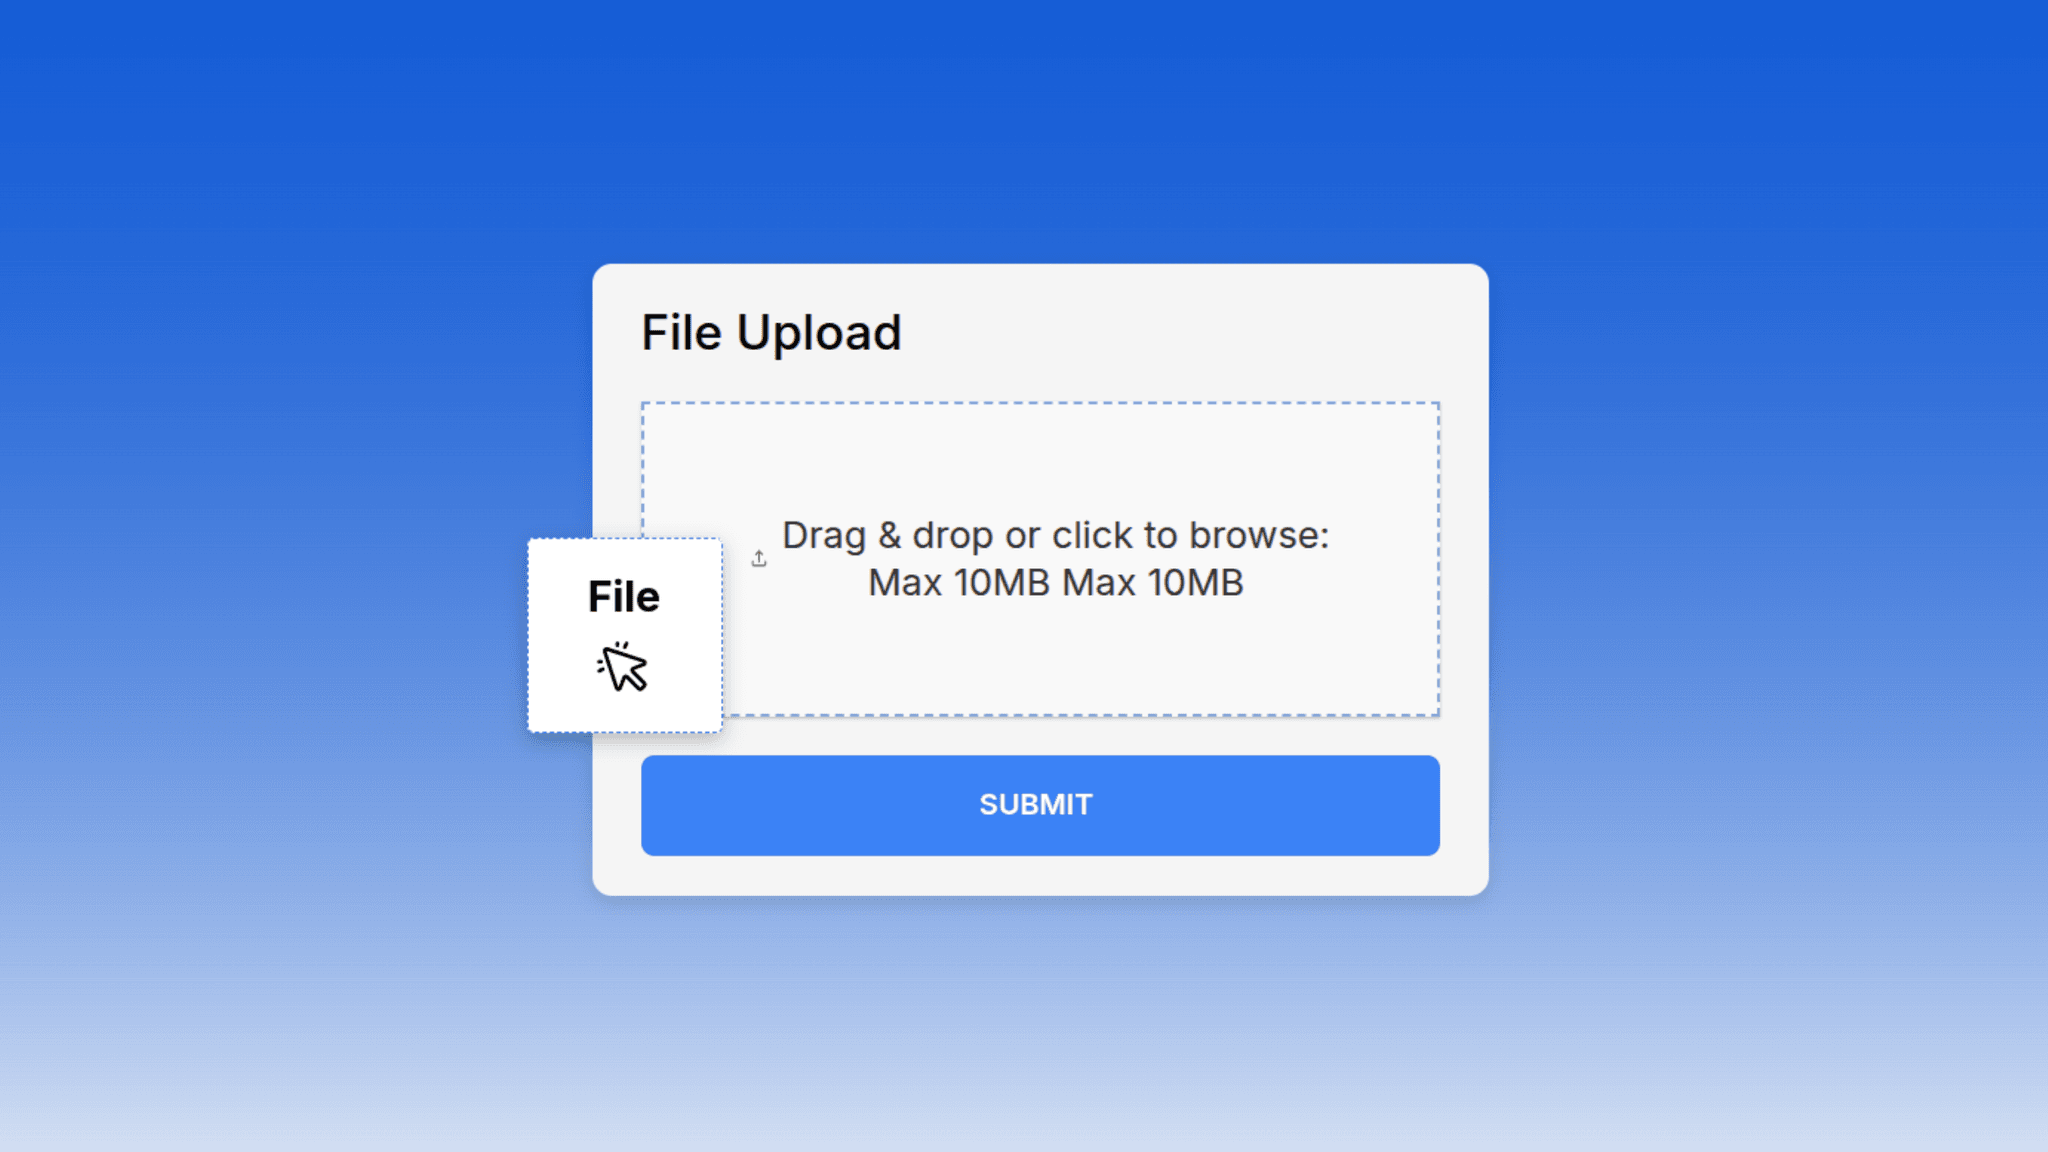
Add a drag-and-drop file upload field to your Framer forms.Visitors can upload images, videos, PDFs, and audio and the file is stored securely on Cloudinary’s cloud storage.
You don’t need a server or any code, Framer handles the form, Cloudinary handles the files.
1. Add the Component
Copy the component into your Framer project and add it inside a Framer Form
2. Create a Free Cloudinary Account
Sign up for a free Cloudinary account and copy your Cloud Name from your dashboard
3. Create an Upload Preset (One-Time Setup)
In your Cloudinary console dashboard,
Go to Settings → Upload
Click Upload Presets → Add Upload Preset or edit the existing one. Take note of the preset name.
Set Signing Mode to Unsigned. You can also set a folder name for your files.
In the Optimize and Deliver section, add only the file types you want users to upload.
PDF Uploads
If you want to allow PDF uploads, enable PDF delivery in Cloudinary:
Go to Cloudinary Console → Settings → Security
Turn on “Allow delivery of PDF and ZIP files”
Save your changes
4. Connect It in Framer
In the Properties panel of the file upload component,
Paste your cloudinary Cloud Name
Paste your Cloudinary Upload Preset name
Choose the File Type– Max File Size (10MB for images/PDFs/audio · up to 100MB for video)
Customise the rest of the properties
5. Publish & Test
What You Get after Purchase
The Component & Future Updates : Fully functional file upload component with free ongoing improvements
Demo Form :A ready-to-use Framer form using the file upload input
Documentation & Setup Instructions : Clear step-by-step guide for Cloudinary configuration
Dedicated Lifetime Support. If you have any questions, feel free to email me anytime, I’m happy to help
Live Preview : https://fileuploadinput.framer.website/