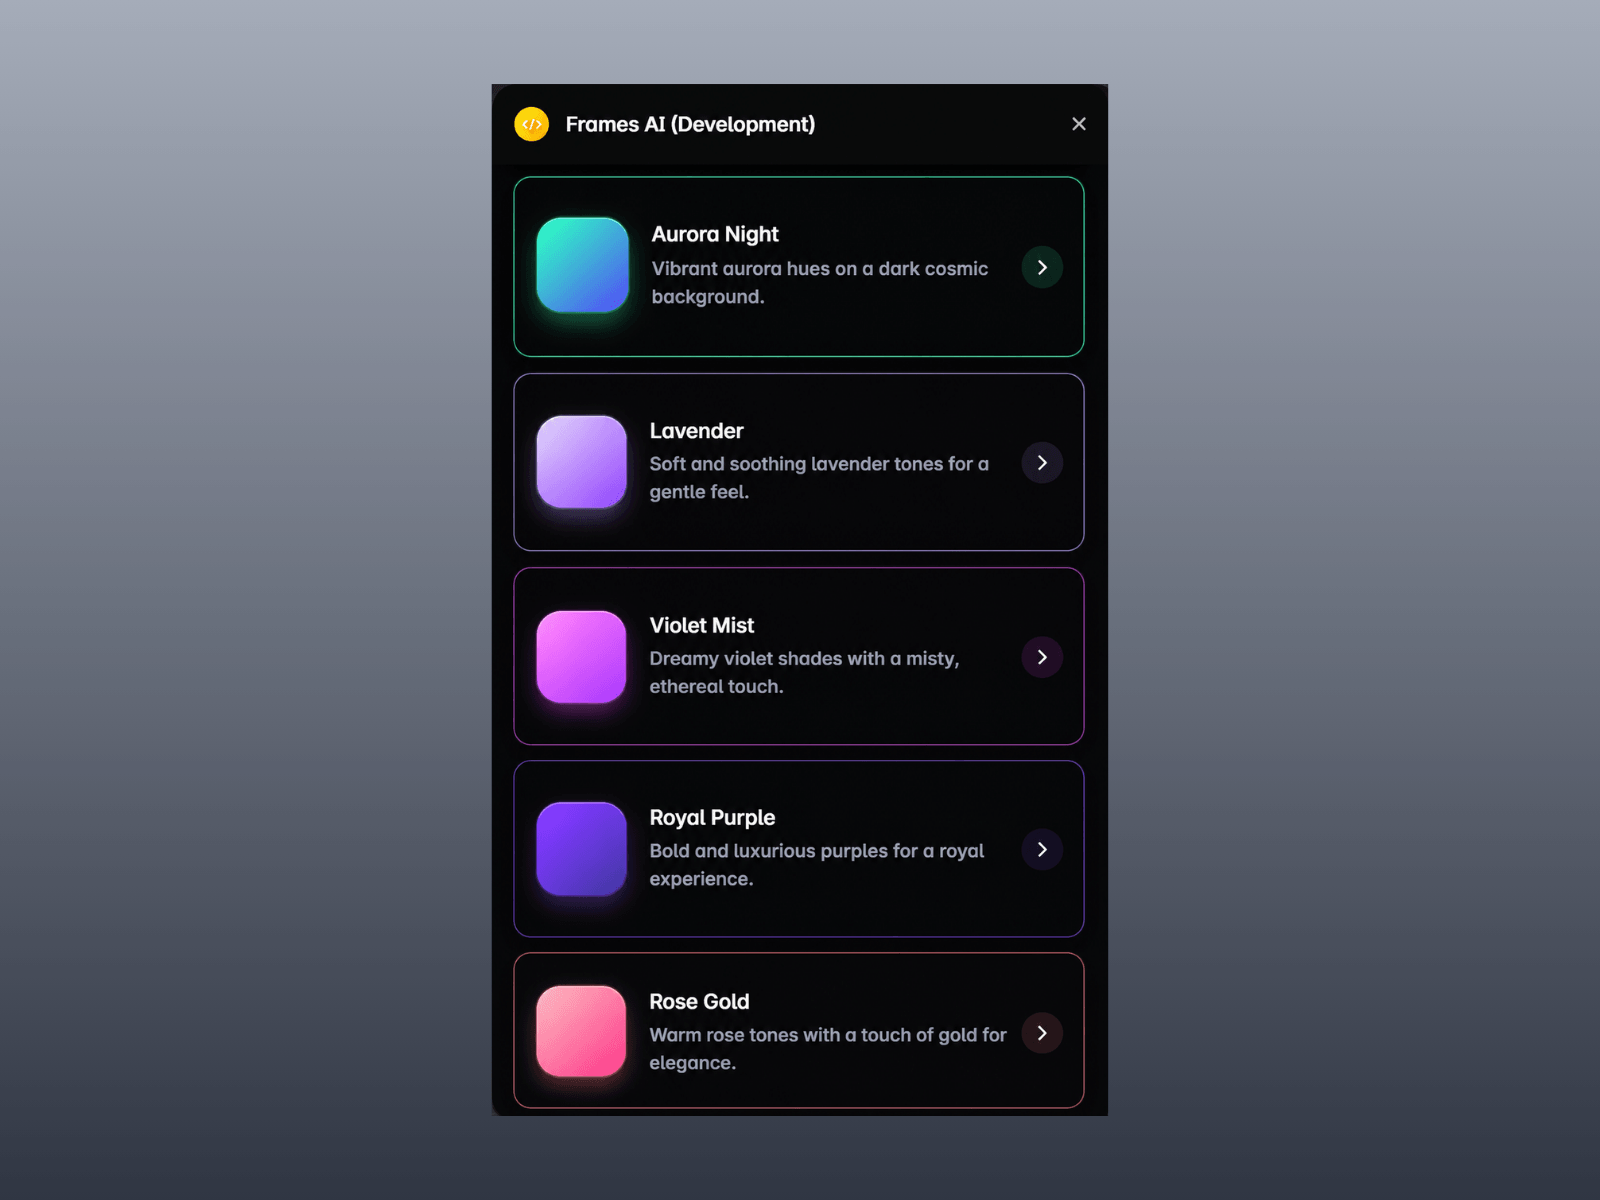
Generate beautiful Framer code components instantly using Frames AI. Create UI sections, animations, interactive elements, and customizable layouts directly inside Framer with a single prompt.
1. Open the plugin from the Framer canvas.
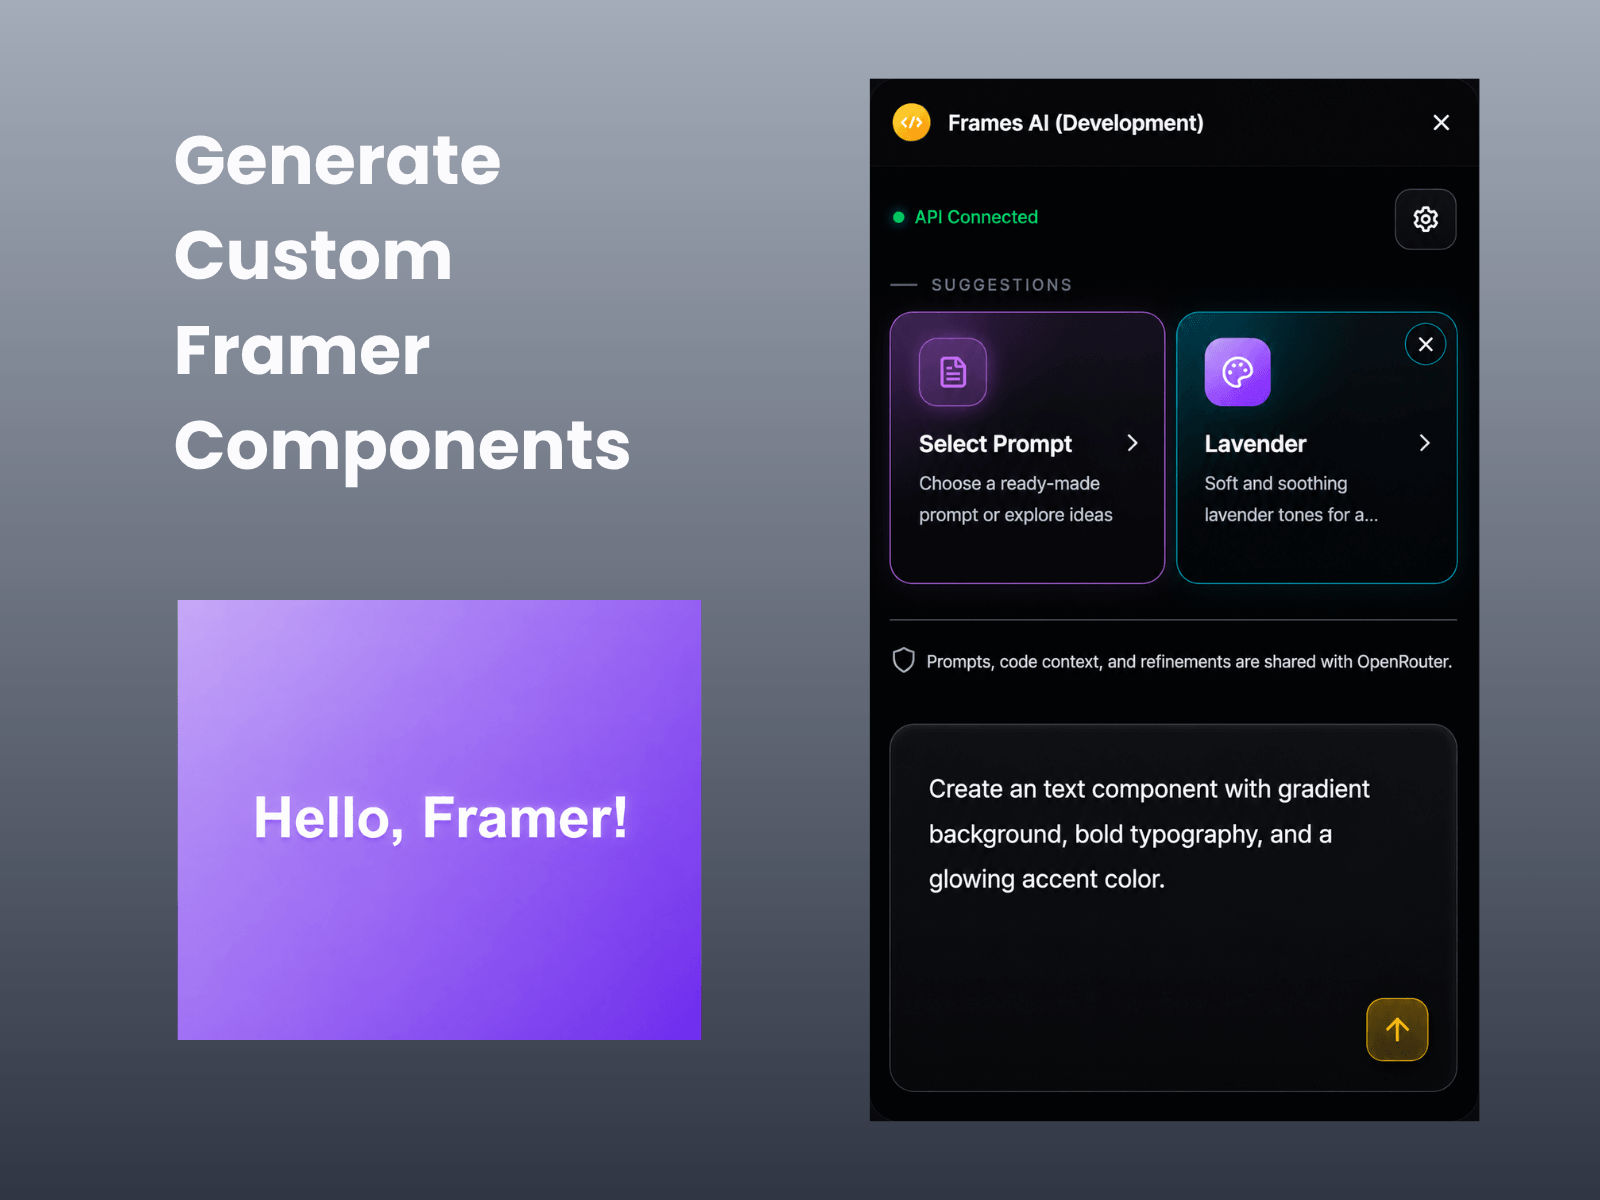
2. Go to the settings (gear icon, top right). Enter your OpenRouter API key. You can generate one from: https://openrouter.ai/keys. Once connected, you'll see the green "API Connected" status at the top.
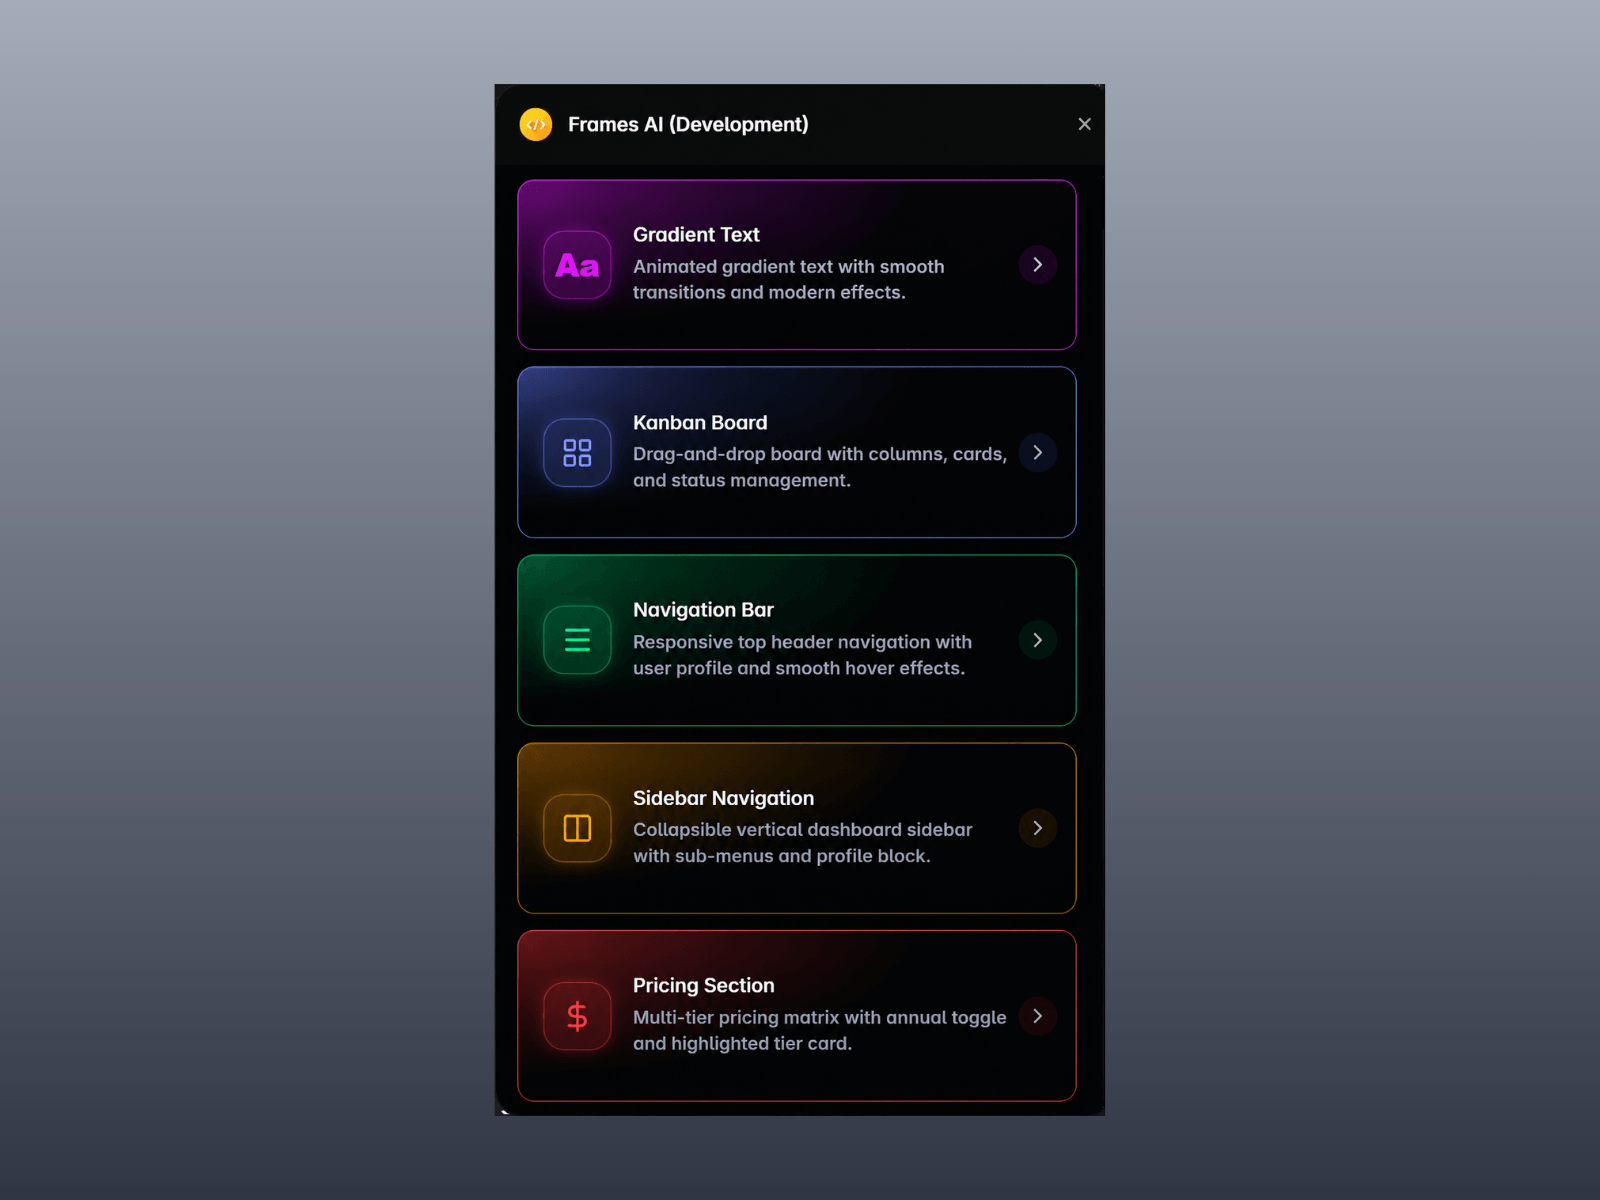
3. Click the "Select Prompt" card and choose a ready-made prompt from the list, or explore the suggested ideas if you're not sure what to build.
4. Click the "Select Theme" card and pick a style (e.g. "Midnight Blue") to guide the visual direction of the component. If you change your mind, click the small × badge on the corner of the card to clear the selected theme.
5. In the text box at the bottom ("Describe a component…"), type what you want to build — e.g. "a pricing card with a headline, subheading, and tags."
6. Click the up-arrow/send button. The plugin will generate a working Framer component (TSX) based on your prompt, theme, and description.
7. Take an action on the result
• Copy Code — copies the generated component code to your clipboard.
• Add to Canvas — drops the component directly onto your Framer canvas.
• Generate another — discards this result and generates a fresh variation.
8. Use the "Ask for changes…" input at the bottom of the result screen to request edits in plain language — e.g. "make it red" or "add a hover effect" — and the plugin will update the component accordingly without starting over.
9. You can find the generated TSX component in Assets → Code.

Generate beautiful Framer code components instantly using Frames AI. Create UI sections, animations, interactive elements, and customizable layouts directly inside Framer with a single prompt.
1. Open the plugin from the Framer canvas.
2. Go to the settings (gear icon, top right). Enter your OpenRouter API key. You can generate one from: https://openrouter.ai/keys. Once connected, you'll see the green "API Connected" status at the top.
3. Click the "Select Prompt" card and choose a ready-made prompt from the list, or explore the suggested ideas if you're not sure what to build.
4. Click the "Select Theme" card and pick a style (e.g. "Midnight Blue") to guide the visual direction of the component. If you change your mind, click the small × badge on the corner of the card to clear the selected theme.
5. In the text box at the bottom ("Describe a component…"), type what you want to build — e.g. "a pricing card with a headline, subheading, and tags."
6. Click the up-arrow/send button. The plugin will generate a working Framer component (TSX) based on your prompt, theme, and description.
7. Take an action on the result
• Copy Code — copies the generated component code to your clipboard.
• Add to Canvas — drops the component directly onto your Framer canvas.
• Generate another — discards this result and generates a fresh variation.
8. Use the "Ask for changes…" input at the bottom of the result screen to request edits in plain language — e.g. "make it red" or "add a hover effect" — and the plugin will update the component accordingly without starting over.
9. You can find the generated TSX component in Assets → Code.