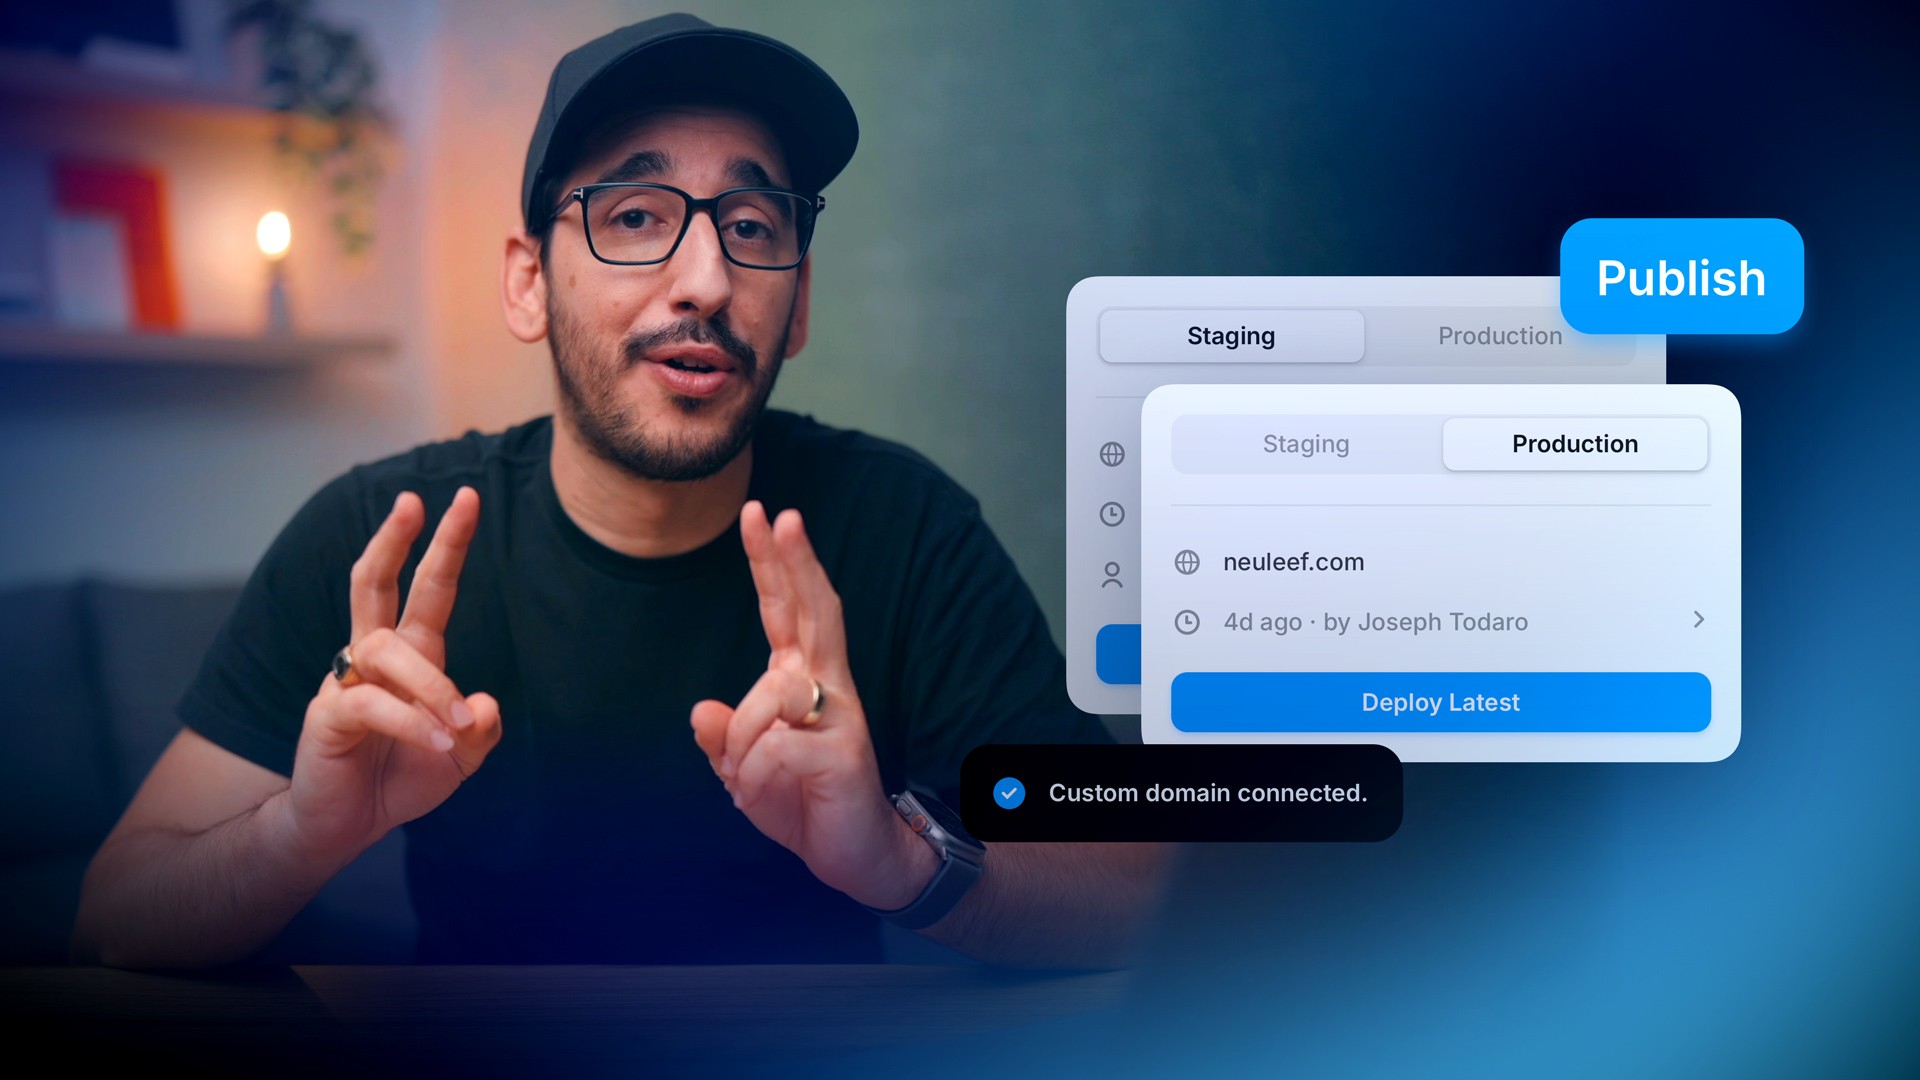
Publishing your Site

With Framer, you can instantly publish you site onto the web to a Framer subdomain or a third party custom domain.

Publishing Your Website

Publishing your project will make your website securely accessible to everyone on the web. Simply click on the “Publish” button on the top right to begin hosting your website. Once your website has been published, you will be able to access the URL through the Publish Layer. Clicking on “Update” will publish any changes you’ve made to your project to the website.

Note: If you unpublish your website, visitors will see the default 404 page that Framer offers. To customize the design of this page, create a page in your website called /404 .

Adding a Free Custom Domain

By default, your website will be hosted on a framer.app subdomain. This domain cannot be customised. You can add an additional customised domain to your website by choosing one of the following options:

  • Add a free Framer subdomain

  • Connect a third party domain you own

The first option is free, and Framer will set up the DNS settings automatically for you so your new domain will be live within seconds. Simply type in the substring in the input field, select between the framer.website, framer.photos, framer.media, and framer.wiki options, and submit.

Adding a Third Party Domain

In order to publish your Framer website to a custom domain purchased through a web hosting service, you’ll need to add it to your project and setup DNS records for it in your domain provider. Purchase a domain through a web hosting service, such as Google Domains or GoDaddy. Once you have a custom domain, go to the Domains page in your Site Settings and select Connect a domain you own.

After inputing your domain, replace your DNS records with the Framer DNS records provided below in the web hosting service you have purchased your domain from. Domain registrars and hosting companies typically have their own custom panel for DNS management, but this can typically be done under Domain Settings > DNS Records. Listed below is a list of support articles for the most commonly used domain registrars:

Configuring a Domain

To configure a ‘naked’ or ‘apex’ domain (yourdomain.com), you’ll need to set up two A records and one CNAME (for the redirect) in your DNS settings with the following values.

Depending on your DNS provider the name is either the full domain, or an “@”. Similarly for the subdomain, it will be either the full domain or just “www”.

Also make sure to delete any other A and AAAA records if they are set for domain, because those will interfere with the A records set for Framer.

Configuring a Subdomain

To configure a subdomain (subdomain.yourdomain.com or subdomain.your.domain.com), you can set up a CNAME record your DNS settings. Please note that some DNS providers may require you to add a dot or period at the end. (sites.framer.app.). The name for the CNAME record will be either the full domain, or just the “subdomain” part, depending on your DNS provider.

Confirming Changes

Depending on your DNS record TTL it may take up to 48 hours for your domain’s new DNS records to propagate and your site to appear world wide. Please note that this process usually takes less than 48 hours. Once your domain has been connected, any user will be able to access your website through the connected domain.