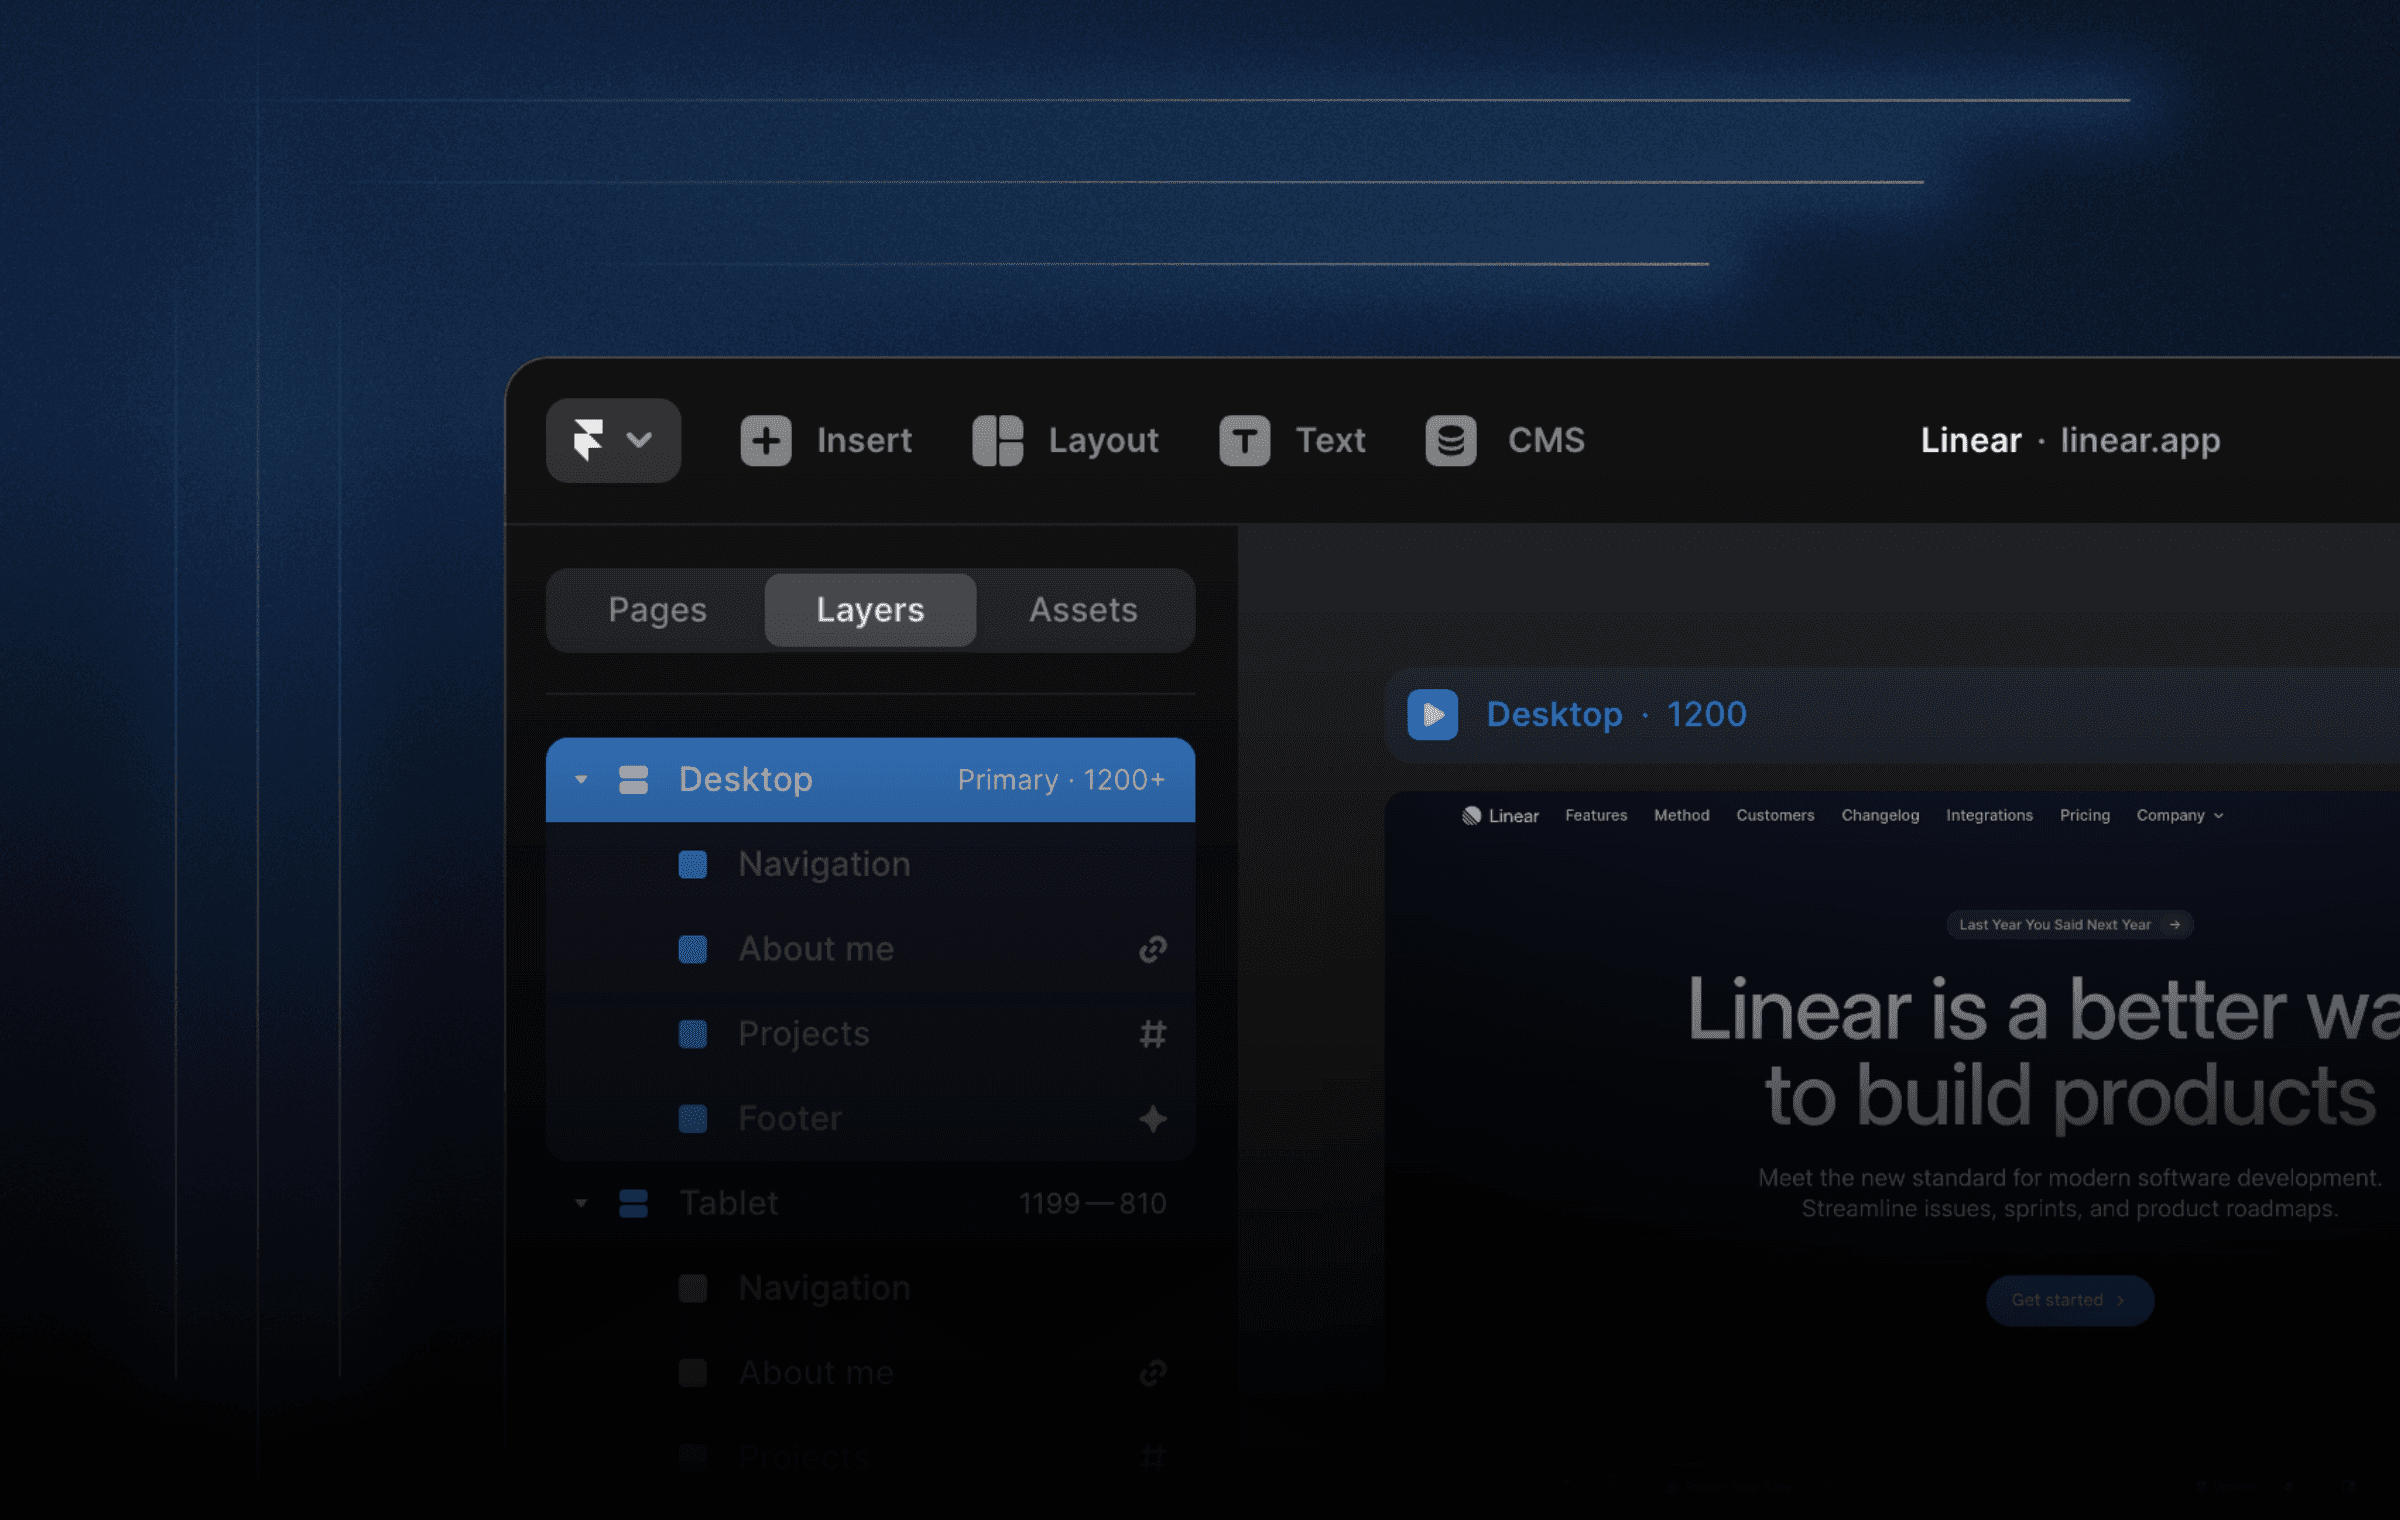
If you’re a fan of animation, you’ll be excited to hear that Framer has recently released an update that includes a new loop functionality. This feature allows you to create animations that loop continuously, and it’s incredibly easy to use. In this project, I’ll be demonstrating how to use the new loop functionality to create three animated icons.
What You’ll Need
To create the animated icons, you’ll need to have Framer installed on your computer. You can download it from the Framer website. Additionally, you’ll need a basic understanding of Framer’s design and animation tools.
Getting Started
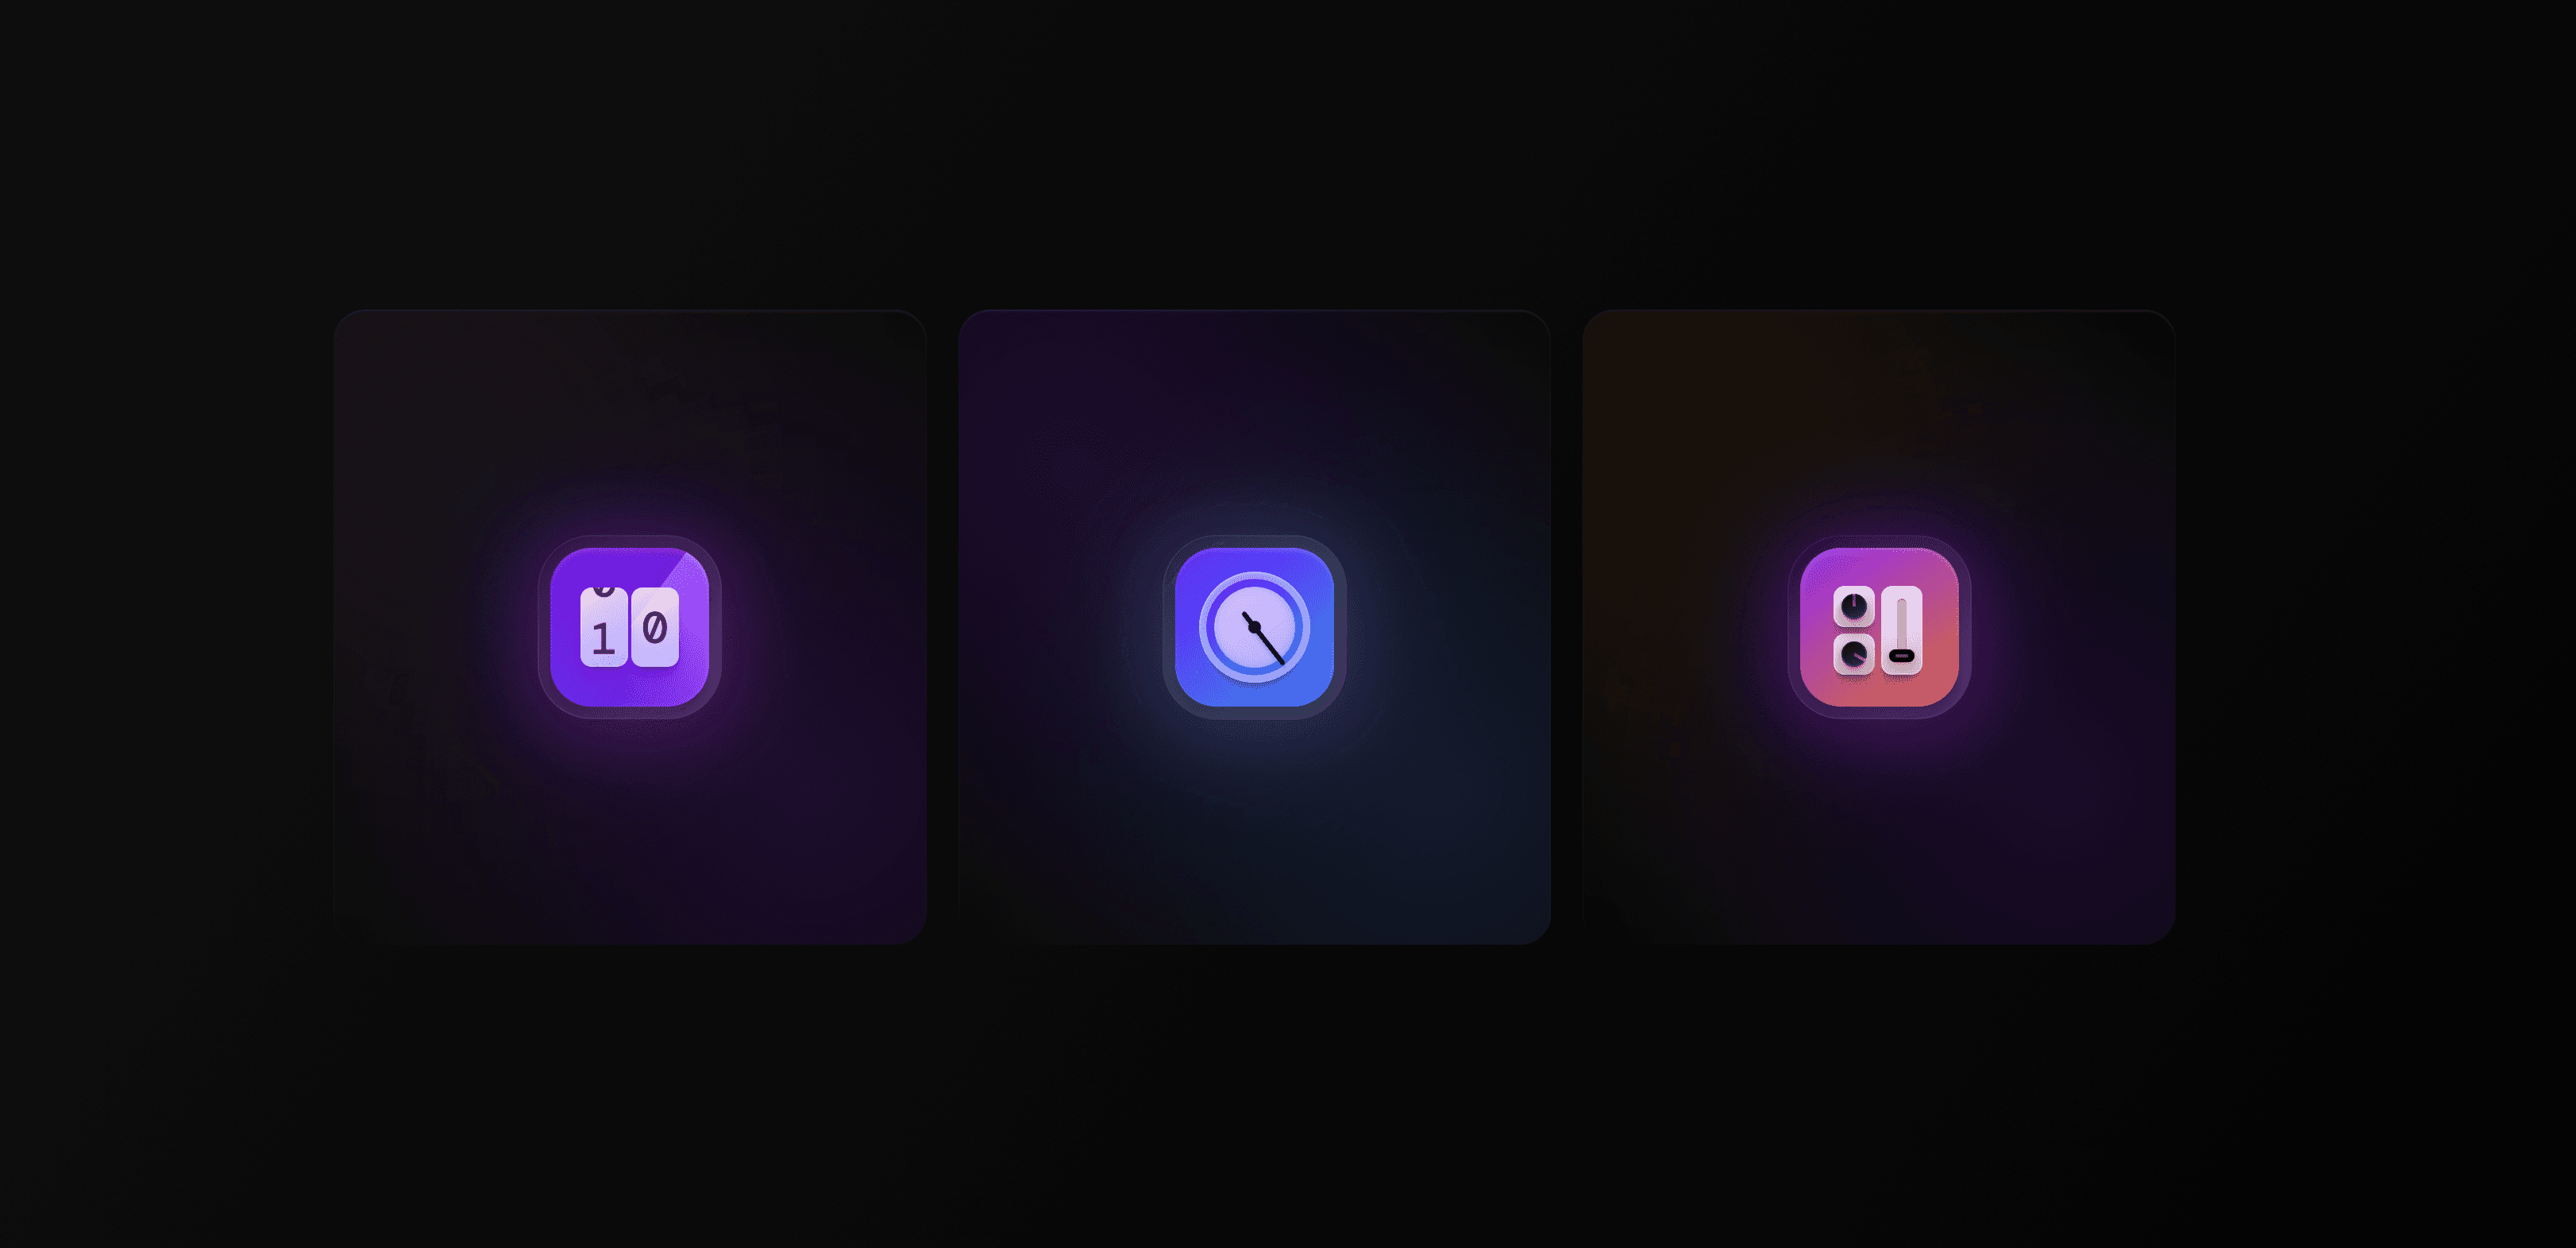
Once you have Framer installed, open a new project and create a new frame for your icons. Next, add three shapes to the frame and position them as you like. I’ll use a circle, square, and triangle for this project.
Creating the Animations
Now that our shapes are in place, we can start creating the animations. Select the first shape and go to the animation panel to do this. Add a new animation, and set the properties you want for your animation. I’ll be animating the scale property for this example to create a bouncing effect.
Once you have your animation set up, select the loop option in the animation panel. This will ensure that your animation plays continuously. Repeat this process for each of the remaining shapes.
Adding Interactivity
Now that we have our animated icons, we can add interactivity to make them more engaging. To do this, select one of the shapes and add interaction. You can choose from various interactions, including tap, hover, and drag. For this example, I’ll play and pause the animation with a tap interaction.
Once you’ve added the interaction, you can duplicate it for the other shapes. Now your icons are interactive and will respond to user input.
Conclusion
In conclusion, Framer’s new loop functionality makes creating engaging, animated icons incredibly easy. By following these simple steps, you can create your own animated icons and add interactivity to them. So, what are you waiting for? Try it and see what you can create with Framer’s new loop functionality.
What You’ll Need
To create the animated icons, you’ll need to have Framer installed on your computer. You can download it from the Framer website. Additionally, you’ll need a basic understanding of Framer’s design and animation tools.
Getting Started
Once you have Framer installed, open a new project and create a new frame for your icons. Next, add three shapes to the frame and position them as you like. I’ll use a circle, square, and triangle for this project.
Creating the Animations
Now that our shapes are in place, we can start creating the animations. Select the first shape and go to the animation panel to do this. Add a new animation, and set the properties you want for your animation. I’ll be animating the scale property for this example to create a bouncing effect.
Once you have your animation set up, select the loop option in the animation panel. This will ensure that your animation plays continuously. Repeat this process for each of the remaining shapes.
Adding Interactivity
Now that we have our animated icons, we can add interactivity to make them more engaging. To do this, select one of the shapes and add interaction. You can choose from various interactions, including tap, hover, and drag. For this example, I’ll play and pause the animation with a tap interaction.
Once you’ve added the interaction, you can duplicate it for the other shapes. Now your icons are interactive and will respond to user input.
Conclusion
In conclusion, Framer’s new loop functionality makes creating engaging, animated icons incredibly easy. By following these simple steps, you can create your own animated icons and add interactivity to them. So, what are you waiting for? Try it and see what you can create with Framer’s new loop functionality.

Step into the future of design
Step into the future of design
Step into the future of design
Join thousands using Framer to build high-performing websites fast.
Join thousands using Framer to build high-performing websites fast.
Join thousands using Framer to build high-performing websites fast.