
Subscribe to our YouTube Channel
Here’s a fun tutorial on how to create the popular scaling scroll effect from apple.com. Go from full-screen video to slideshow just by scrolling. This was fully made in Framer — using 0 code.
In this tutorial, we'll explore how to create a cool scrolling effect using Framer. This effect has been requested in the Framer community and seen on popular sites like Apple. The effect is best demonstrated on the Apple TV Plus page, where a section scales down and turns into a slideshow as you scroll.
Setting up the Demo
For this tutorial, I have a demo set up with a similar effect using videos instead of images. As you scroll down, the video scales down and turns into a slideshow. When the scaling ends, it continues scrolling to the next section. You can also click to the next item in the slideshow and scroll back up to scale the video up.
Getting Started with Framer
First, open your Framer project and create a large scroll section. In this example, I made the section 2800 pixels in height, but you can adjust it to your preference. The height of this section determines how far you have to scroll down to scale the videos.
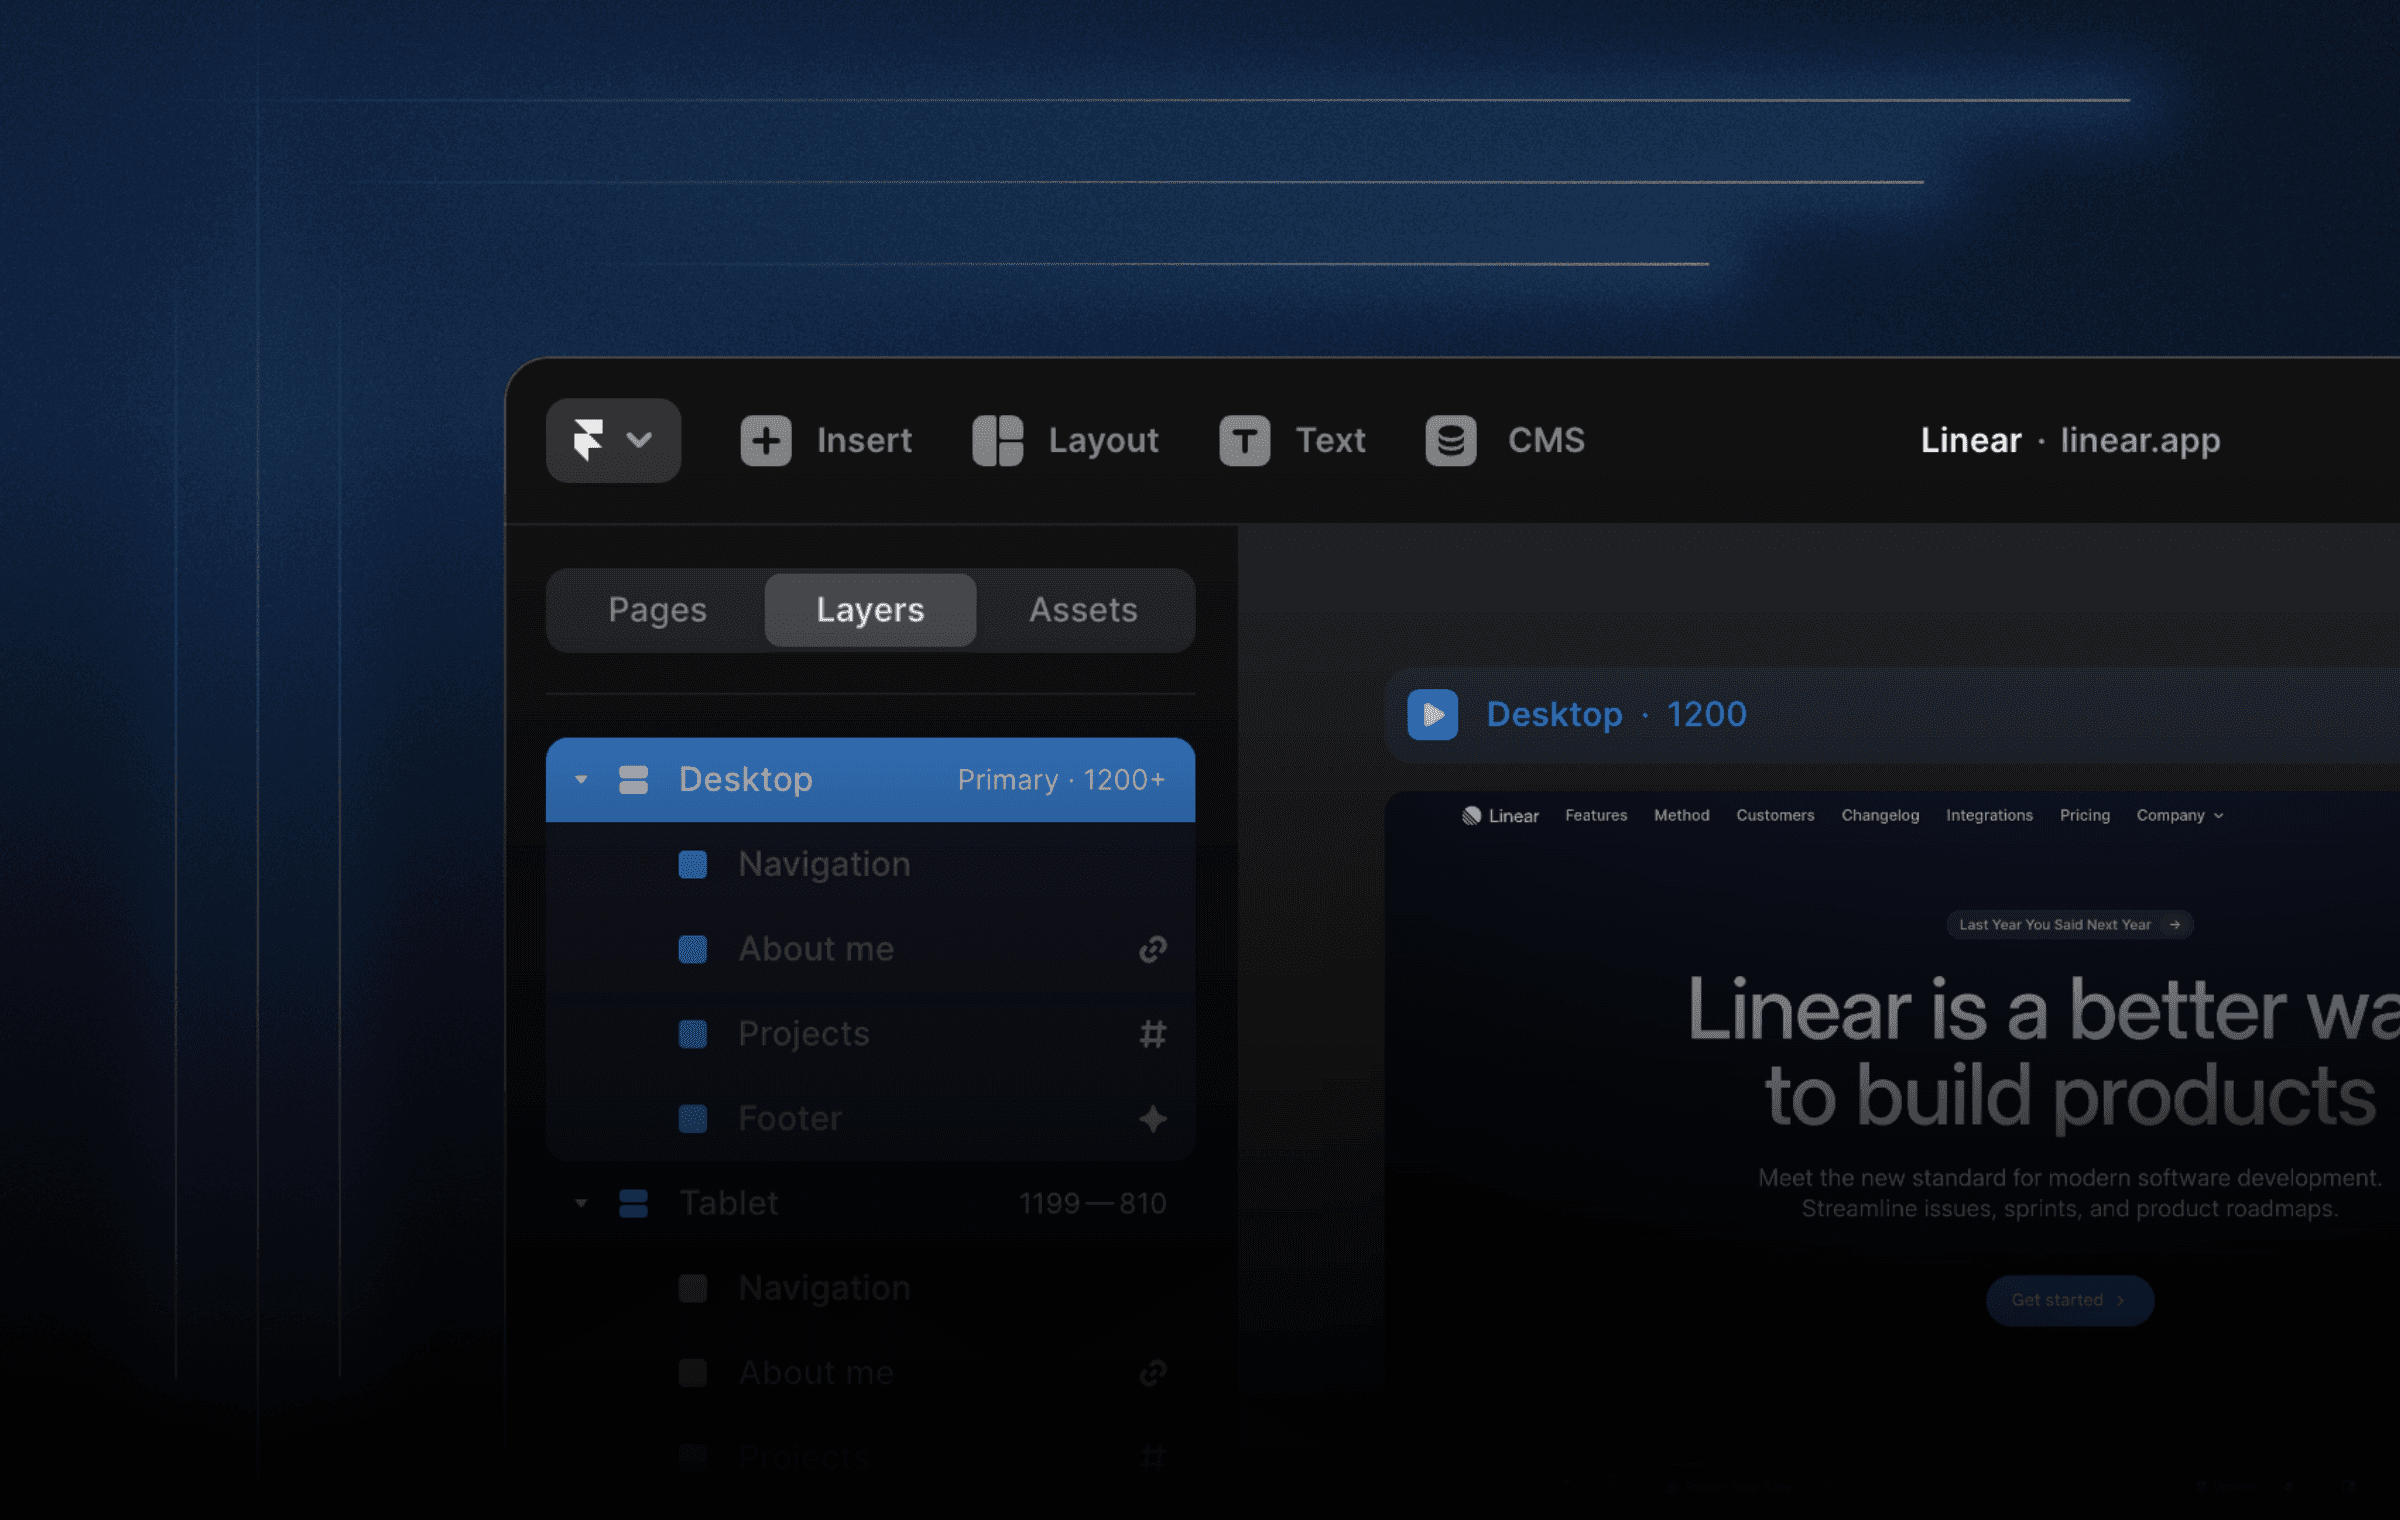
Next, draw another frame within the scroll section and set its dimensions to 100% width and 100 viewport height (100VH). Rename this frame to "slideshow container" and set its position to Sticky. This will make the section stick to the top as you scroll down the entire page. Enable layout for the frame, leaving everything on default settings.
Adding the Slideshow
Now, add a slideshow to the project by dragging it from the Interactive section of the Insert menu. Set the slideshow to 100% height and about 1900 pixels in width to match the aspect ratio of the videos. Lock the aspect ratio so that the slideshow scales proportionally. Don't forget to add a Min-width of 110% to ensure the video always takes up the entire width of your screen.
Add your videos to the slideshow using the multi-pin connector. Now it's time to add the scroll transform effect. With the slideshow selected, go to Effects in the properties panel and choose Scroll Transform. Set it based on the Section in View and select the video section.
Tweaking the Slideshow Properties
Adjust the slideshow properties to your liking. For example, you can set the interval to five seconds to ensure the videos stay on the screen longer before transitioning to the next one. Disable the dots at the bottom of the slideshow, as they're not needed for this example. Increase the gap between slideshow items to about 50 pixels and enlarge the arrow size for easier navigation.
Ensure that the other videos are visible by setting the overflow property to "show" in the clipping settings. You can also add a scroll transform to the text layer, making it fade out as the user scrolls down.
Adding the Ticker Component
For the final touch, improve the appearance of the next section by adding a ticker component from the Interactive section of the Insert menu. Duplicate the ticker to create three rows and connect them to the images. Adjust the gap and speed settings, and set different scrolling directions for each row.
Final Result
Now you have a smooth scrolling effect that scales down as you scroll and transforms into a slideshow. The final result should resemble the effect seen on the Apple website.
In this tutorial, we'll explore how to create a cool scrolling effect using Framer. This effect has been requested in the Framer community and seen on popular sites like Apple. The effect is best demonstrated on the Apple TV Plus page, where a section scales down and turns into a slideshow as you scroll.
Setting up the Demo
For this tutorial, I have a demo set up with a similar effect using videos instead of images. As you scroll down, the video scales down and turns into a slideshow. When the scaling ends, it continues scrolling to the next section. You can also click to the next item in the slideshow and scroll back up to scale the video up.
Getting Started with Framer
First, open your Framer project and create a large scroll section. In this example, I made the section 2800 pixels in height, but you can adjust it to your preference. The height of this section determines how far you have to scroll down to scale the videos.
Next, draw another frame within the scroll section and set its dimensions to 100% width and 100 viewport height (100VH). Rename this frame to "slideshow container" and set its position to Sticky. This will make the section stick to the top as you scroll down the entire page. Enable layout for the frame, leaving everything on default settings.
Adding the Slideshow
Now, add a slideshow to the project by dragging it from the Interactive section of the Insert menu. Set the slideshow to 100% height and about 1900 pixels in width to match the aspect ratio of the videos. Lock the aspect ratio so that the slideshow scales proportionally. Don't forget to add a Min-width of 110% to ensure the video always takes up the entire width of your screen.
Add your videos to the slideshow using the multi-pin connector. Now it's time to add the scroll transform effect. With the slideshow selected, go to Effects in the properties panel and choose Scroll Transform. Set it based on the Section in View and select the video section.
Tweaking the Slideshow Properties
Adjust the slideshow properties to your liking. For example, you can set the interval to five seconds to ensure the videos stay on the screen longer before transitioning to the next one. Disable the dots at the bottom of the slideshow, as they're not needed for this example. Increase the gap between slideshow items to about 50 pixels and enlarge the arrow size for easier navigation.
Ensure that the other videos are visible by setting the overflow property to "show" in the clipping settings. You can also add a scroll transform to the text layer, making it fade out as the user scrolls down.
Adding the Ticker Component
For the final touch, improve the appearance of the next section by adding a ticker component from the Interactive section of the Insert menu. Duplicate the ticker to create three rows and connect them to the images. Adjust the gap and speed settings, and set different scrolling directions for each row.
Final Result
Now you have a smooth scrolling effect that scales down as you scroll and transforms into a slideshow. The final result should resemble the effect seen on the Apple website.

Step into the future of design
Step into the future of design
Step into the future of design
Join thousands using Framer to build high-performing websites fast.
Join thousands using Framer to build high-performing websites fast.
Join thousands using Framer to build high-performing websites fast.