
Subscribe to our YouTube Channel
Make your Framer website draggable in every direction and add movable elements for a canvas-like experience.
Have you ever visited a website and been amazed by how interactive and dynamic it is? One such effect that has gained popularity recently is the Framework Canvas effect. This effect simulates a framework canvas that you can drag around and manipulate just like the real thing. Sketch and Jitter have already implemented this effect on their websites. In this tutorial, we will show you how to create this effect in Framer.
Step 1
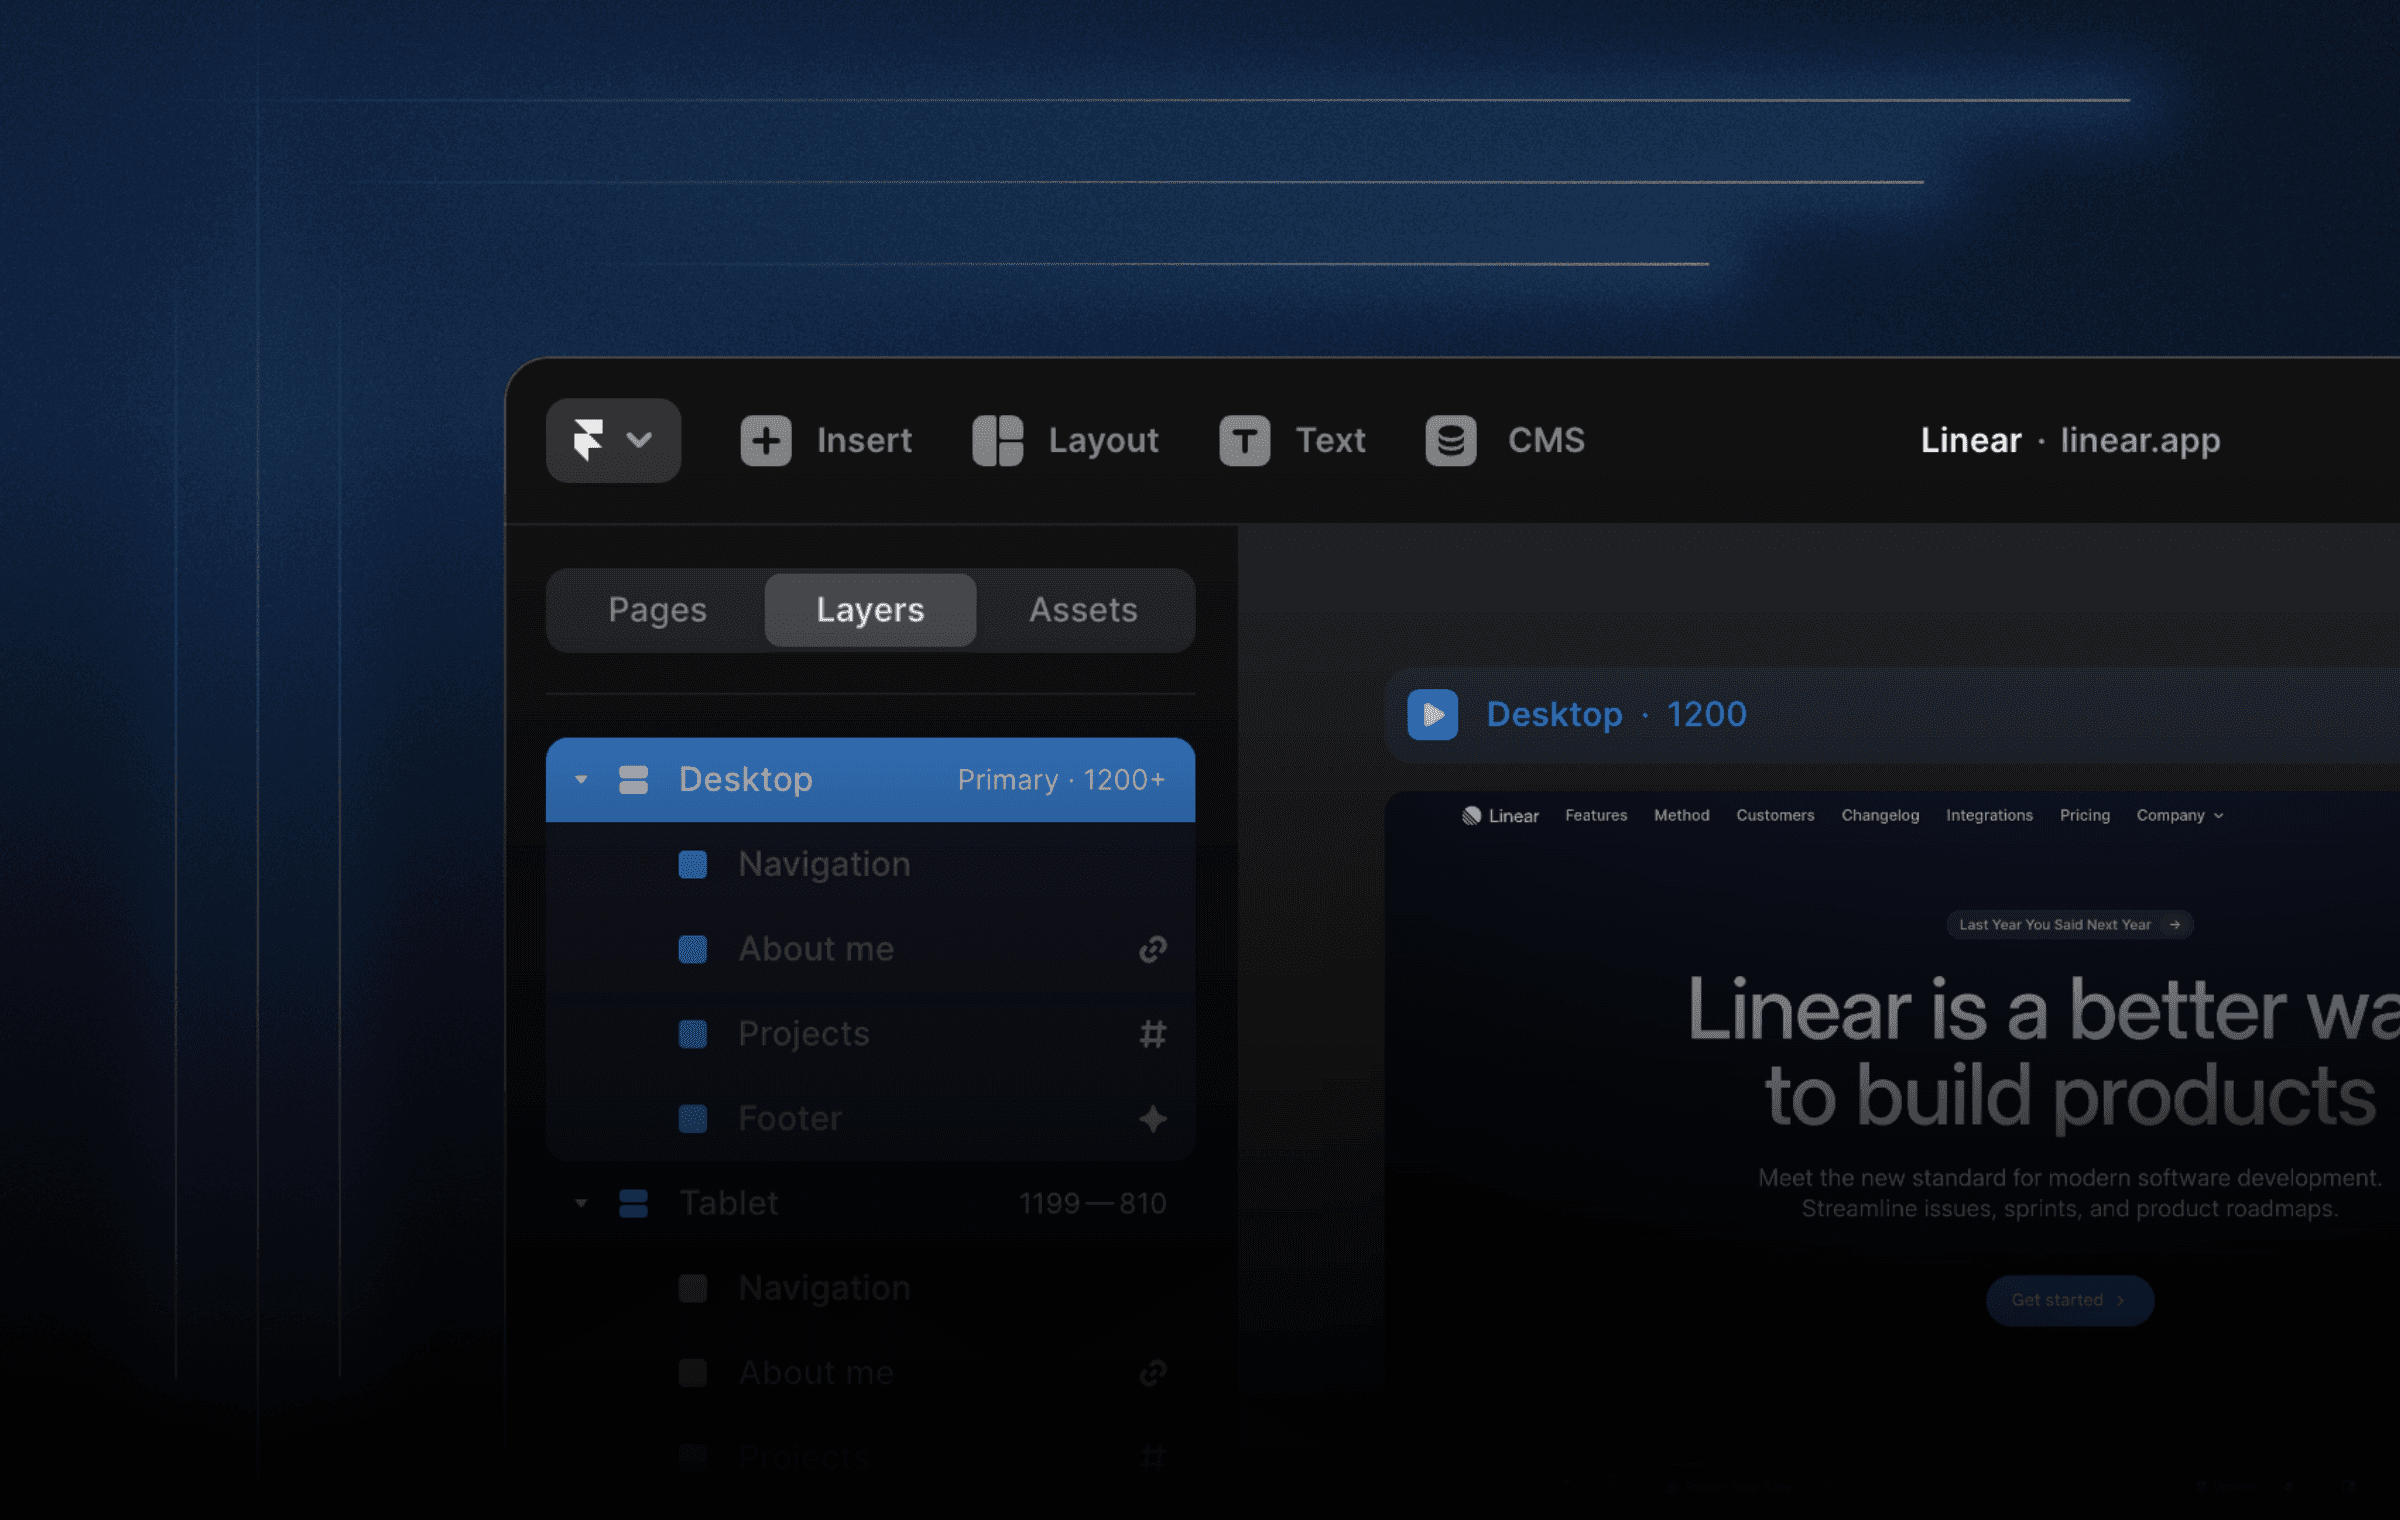
Set Up the Page The first thing you need to do is set up the page. Hit "F" to draw a new frame, and draw it on top of the entire page. Make sure it's pinned to the top left and right and set the height to the viewport. Remove the fill and call this Frame Canvas. Draw another frame in the middle, make it 2500 wide and high, and make it white. Call this layer draggable. You can add elements that you want to manipulate later.
Step 2
Add Drag Effect Select the draggable layer, go to the effects panel on the right, and add the drag effect. Leave it on freeform for now, turn Snapback off, and leave momentum off. Preview it to see if you can already start dragging it around.
Step 3
Set Constraints Apply constraints to the layer so that it's limited in how far you can drag it. Go to the canvas layer and go to the scroll section in the properties panel. Give it a section name, and go back to the drag effect on the draggable layer. Set freeform to no, and select the section you just made. Preview it to see if the draggable layer is constrained to the canvas layer.
Step 4
Add Elements Add elements that you want to manipulate to the draggable layer. Set the overflow on the page and canvas layer to visible so you can see the entire draggable layer.
Step 5
Hover State and Rotation Add a hover state and rotation to the elements when you start dragging them. You can achieve this effect by using the onDragStart function. For example, when you drag an element, you can change its opacity and rotate it slightly.
Adding Interactivity to Your Website
And there you have it! You've successfully created a Framework Canvas effect in Framer. You can now manipulate elements just like you would in a framework canvas. This effect can add an interactive and dynamic touch to any website, and it's surprisingly easy to implement with Framer's drag effects.
Have you ever visited a website and been amazed by how interactive and dynamic it is? One such effect that has gained popularity recently is the Framework Canvas effect. This effect simulates a framework canvas that you can drag around and manipulate just like the real thing. Sketch and Jitter have already implemented this effect on their websites. In this tutorial, we will show you how to create this effect in Framer.
Step 1
Set Up the Page The first thing you need to do is set up the page. Hit "F" to draw a new frame, and draw it on top of the entire page. Make sure it's pinned to the top left and right and set the height to the viewport. Remove the fill and call this Frame Canvas. Draw another frame in the middle, make it 2500 wide and high, and make it white. Call this layer draggable. You can add elements that you want to manipulate later.
Step 2
Add Drag Effect Select the draggable layer, go to the effects panel on the right, and add the drag effect. Leave it on freeform for now, turn Snapback off, and leave momentum off. Preview it to see if you can already start dragging it around.
Step 3
Set Constraints Apply constraints to the layer so that it's limited in how far you can drag it. Go to the canvas layer and go to the scroll section in the properties panel. Give it a section name, and go back to the drag effect on the draggable layer. Set freeform to no, and select the section you just made. Preview it to see if the draggable layer is constrained to the canvas layer.
Step 4
Add Elements Add elements that you want to manipulate to the draggable layer. Set the overflow on the page and canvas layer to visible so you can see the entire draggable layer.
Step 5
Hover State and Rotation Add a hover state and rotation to the elements when you start dragging them. You can achieve this effect by using the onDragStart function. For example, when you drag an element, you can change its opacity and rotate it slightly.
Adding Interactivity to Your Website
And there you have it! You've successfully created a Framework Canvas effect in Framer. You can now manipulate elements just like you would in a framework canvas. This effect can add an interactive and dynamic touch to any website, and it's surprisingly easy to implement with Framer's drag effects.

Step into the future of design
Step into the future of design
Step into the future of design
Join thousands using Framer to build high-performing websites fast.
Join thousands using Framer to build high-performing websites fast.
Join thousands using Framer to build high-performing websites fast.