Implementing Context-Aware Navigation in Professional UX Design | Framer Tutorial


Subscribe to our YouTube Channel
In this tutorial, you’ll learn how to create a floating navigation that appears as soon as the user starts scrolling down the page and remains on the page all the way to the bottom. Using scroll sections and scroll animations, this simple and effective technique can improve user experience and make navigation more accessible. Follow along step-by-step and find a remix link below to create your own floating navigation in Framer.
Are you looking for a way to make your website navigation more accessible and user-friendly? Look no further than a floating navigation on scroll! In this tutorial, we’ll show you how to create a floating navigation that appears as soon as you start scrolling down the page and remains on the page all the way to the bottom.
Setting Up the Project
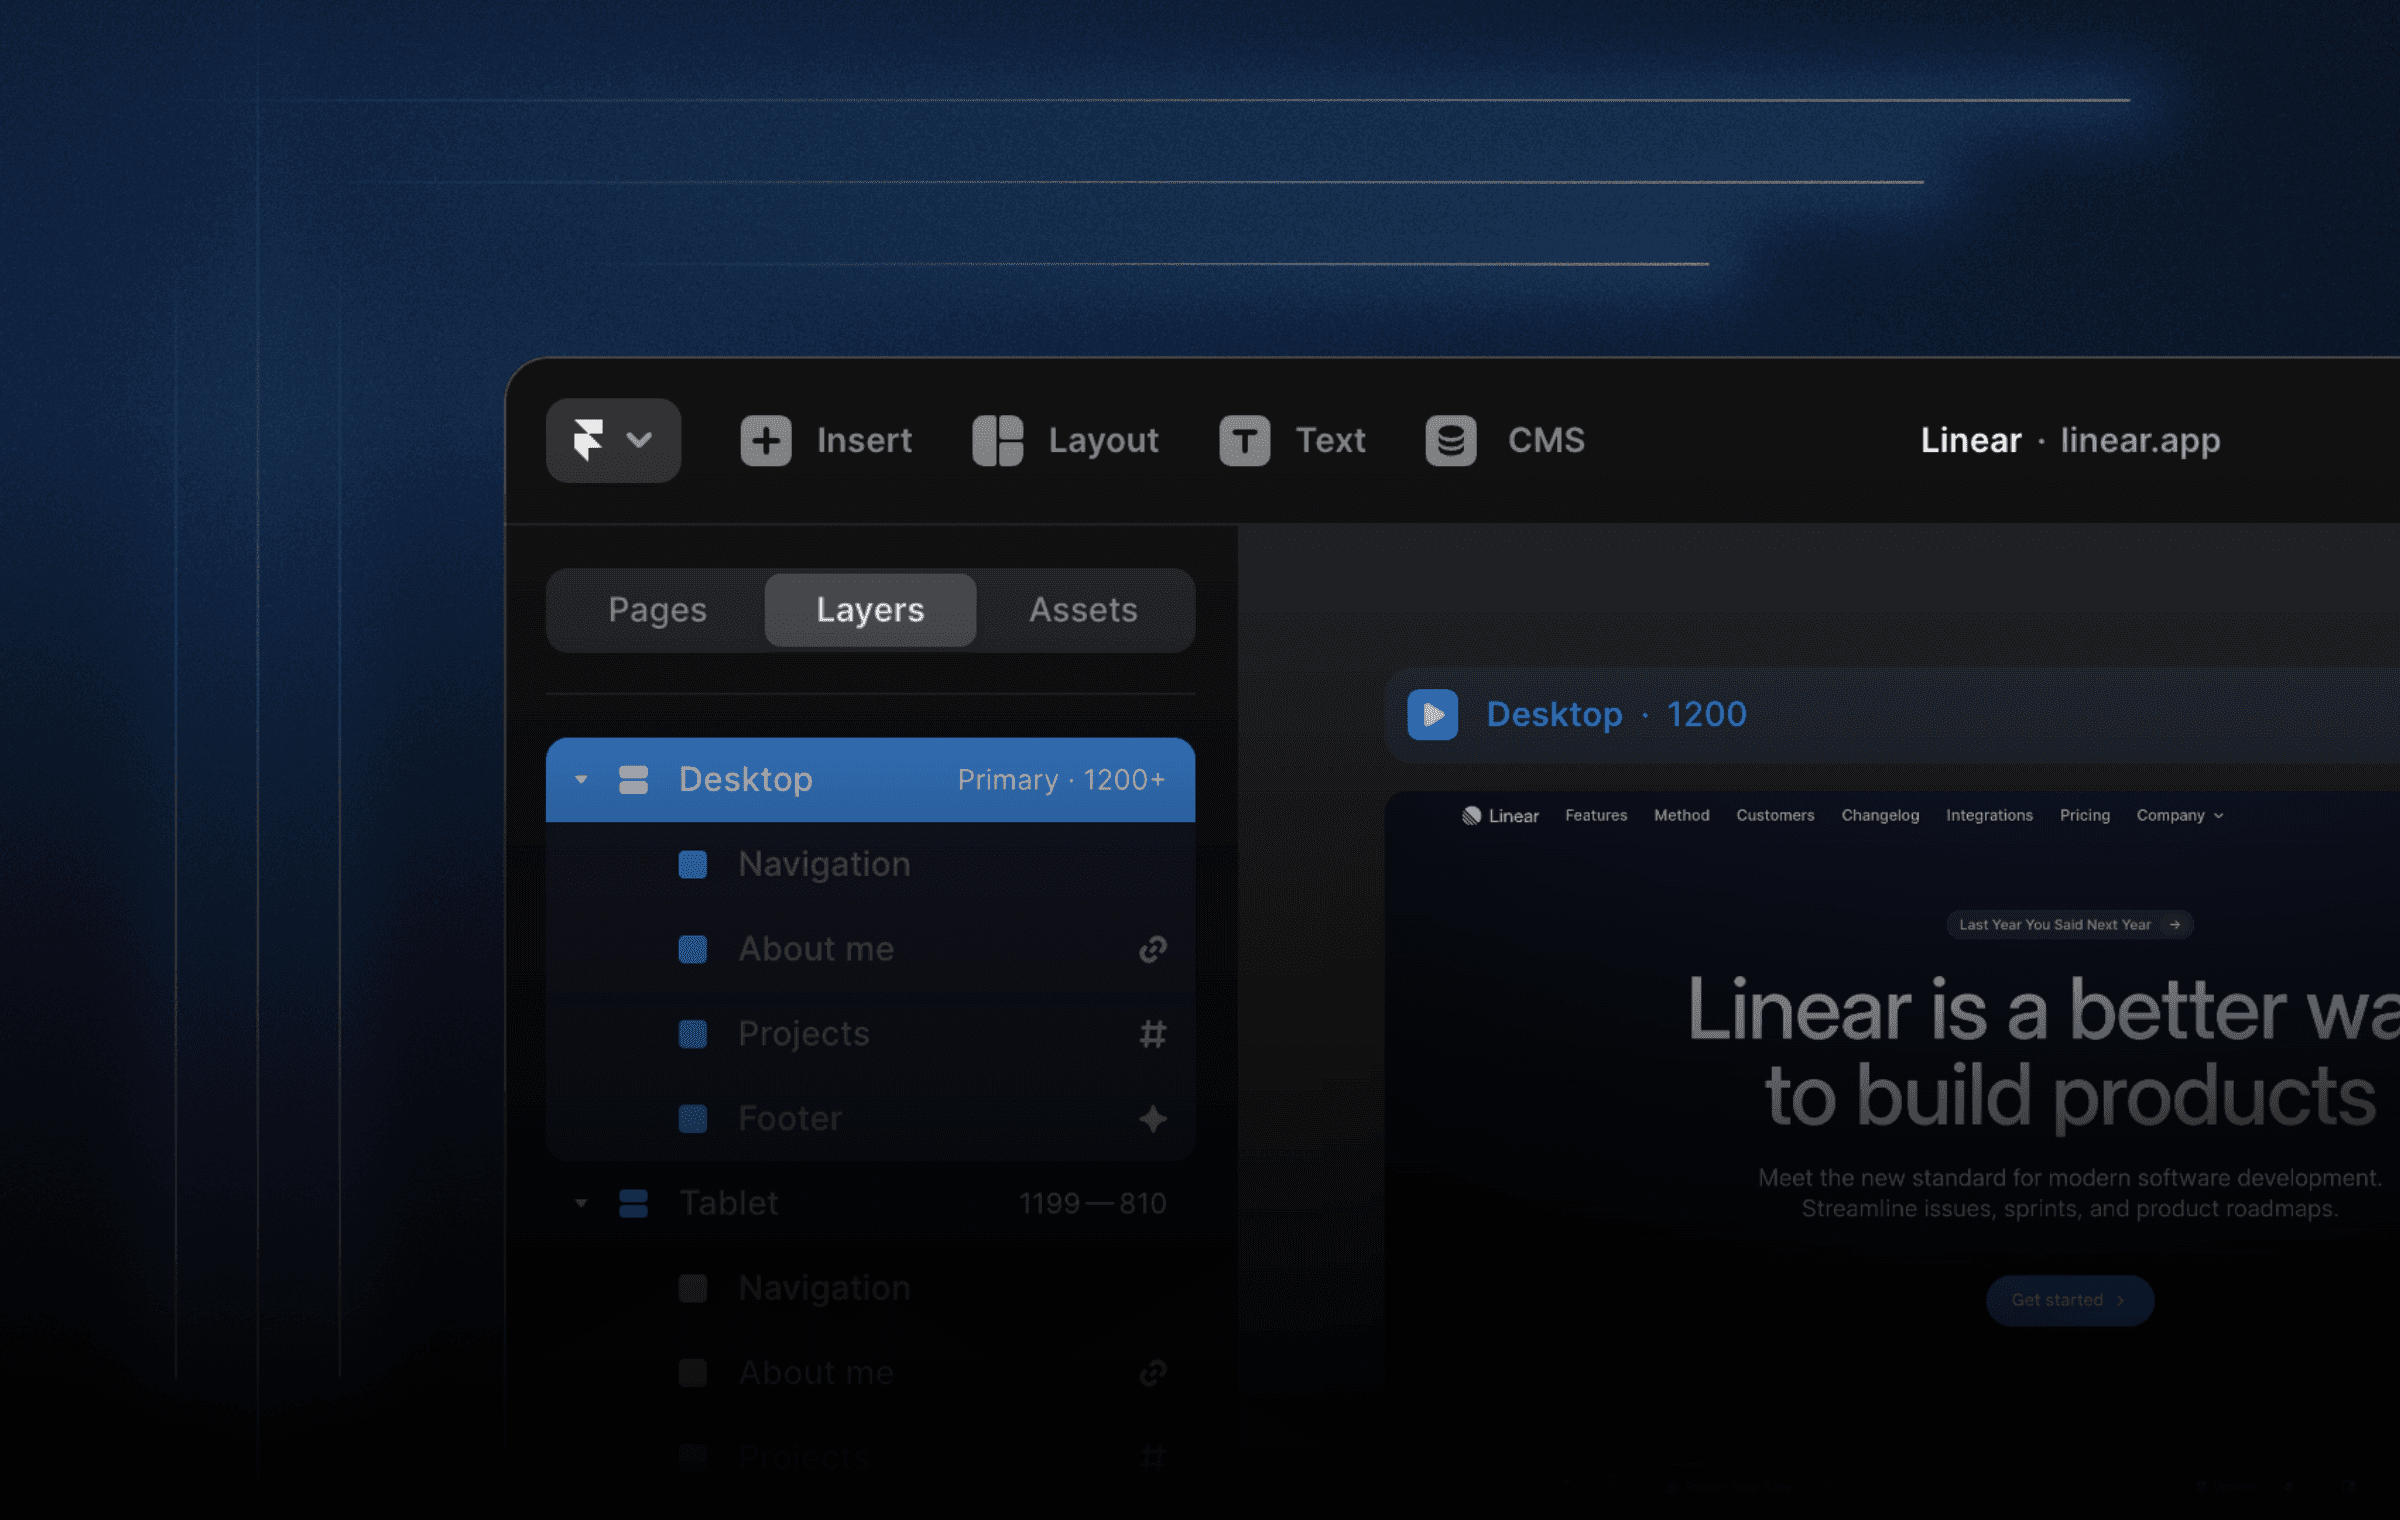
Before we get started, set up your project with a regular navigation fixed to the top of the page and a floating navigation. The floating navigation should be positioned fixed and 20 pixels from the top, left, and right.
Defining the Scroll Section
To make the floating navigation appear, we need to define when it animates in using scroll sections. Add a scroll section to the hero section and name it “hero”. With the floating navigation selected, add a scroll animation effect and set the trigger to “section in view” for the hero section. Set the viewport to “top” so that the animation triggers as soon as the hero section touches the top of the viewport.
Customizing the Animation
Next, set a custom animation for the floating navigation with opacity one and scale one. Move the navigation out of the viewport by setting the Y to -110. Preview the animation and see that it works when you scroll down.
Fixing the Disappearing Navigation
One issue you may encounter is that the floating navigation disappears when the hero section is not in the viewport anymore. To fix this, unlock the enter and exit transition in the scroll animation and remove the exit animation.
Adding an Offset
Finally, add an offset to the hero section to make the animation trigger a little bit sooner. Set the Y offset to 10 pixels so that the animation triggers 10 pixels before the hero section touches the top of the viewport.
Conclusion
Creating a floating navigation on scroll in Framer is a simple and effective way to improve user experience and make navigation more accessible. With these easy steps, you can customize your website’s navigation and make it more user-friendly.
Are you looking for a way to make your website navigation more accessible and user-friendly? Look no further than a floating navigation on scroll! In this tutorial, we’ll show you how to create a floating navigation that appears as soon as you start scrolling down the page and remains on the page all the way to the bottom.
Setting Up the Project
Before we get started, set up your project with a regular navigation fixed to the top of the page and a floating navigation. The floating navigation should be positioned fixed and 20 pixels from the top, left, and right.
Defining the Scroll Section
To make the floating navigation appear, we need to define when it animates in using scroll sections. Add a scroll section to the hero section and name it “hero”. With the floating navigation selected, add a scroll animation effect and set the trigger to “section in view” for the hero section. Set the viewport to “top” so that the animation triggers as soon as the hero section touches the top of the viewport.
Customizing the Animation
Next, set a custom animation for the floating navigation with opacity one and scale one. Move the navigation out of the viewport by setting the Y to -110. Preview the animation and see that it works when you scroll down.
Fixing the Disappearing Navigation
One issue you may encounter is that the floating navigation disappears when the hero section is not in the viewport anymore. To fix this, unlock the enter and exit transition in the scroll animation and remove the exit animation.
Adding an Offset
Finally, add an offset to the hero section to make the animation trigger a little bit sooner. Set the Y offset to 10 pixels so that the animation triggers 10 pixels before the hero section touches the top of the viewport.
Conclusion
Creating a floating navigation on scroll in Framer is a simple and effective way to improve user experience and make navigation more accessible. With these easy steps, you can customize your website’s navigation and make it more user-friendly.

Step into the future of design
Step into the future of design
Step into the future of design
Join thousands using Framer to build high-performing websites fast.
Join thousands using Framer to build high-performing websites fast.
Join thousands using Framer to build high-performing websites fast.