
Subscribe to our YouTube Channel
In this post, we will be discussing how to create a video grid that rotates using Framer. We will be following the steps Yoda from Framer took to create this effect.
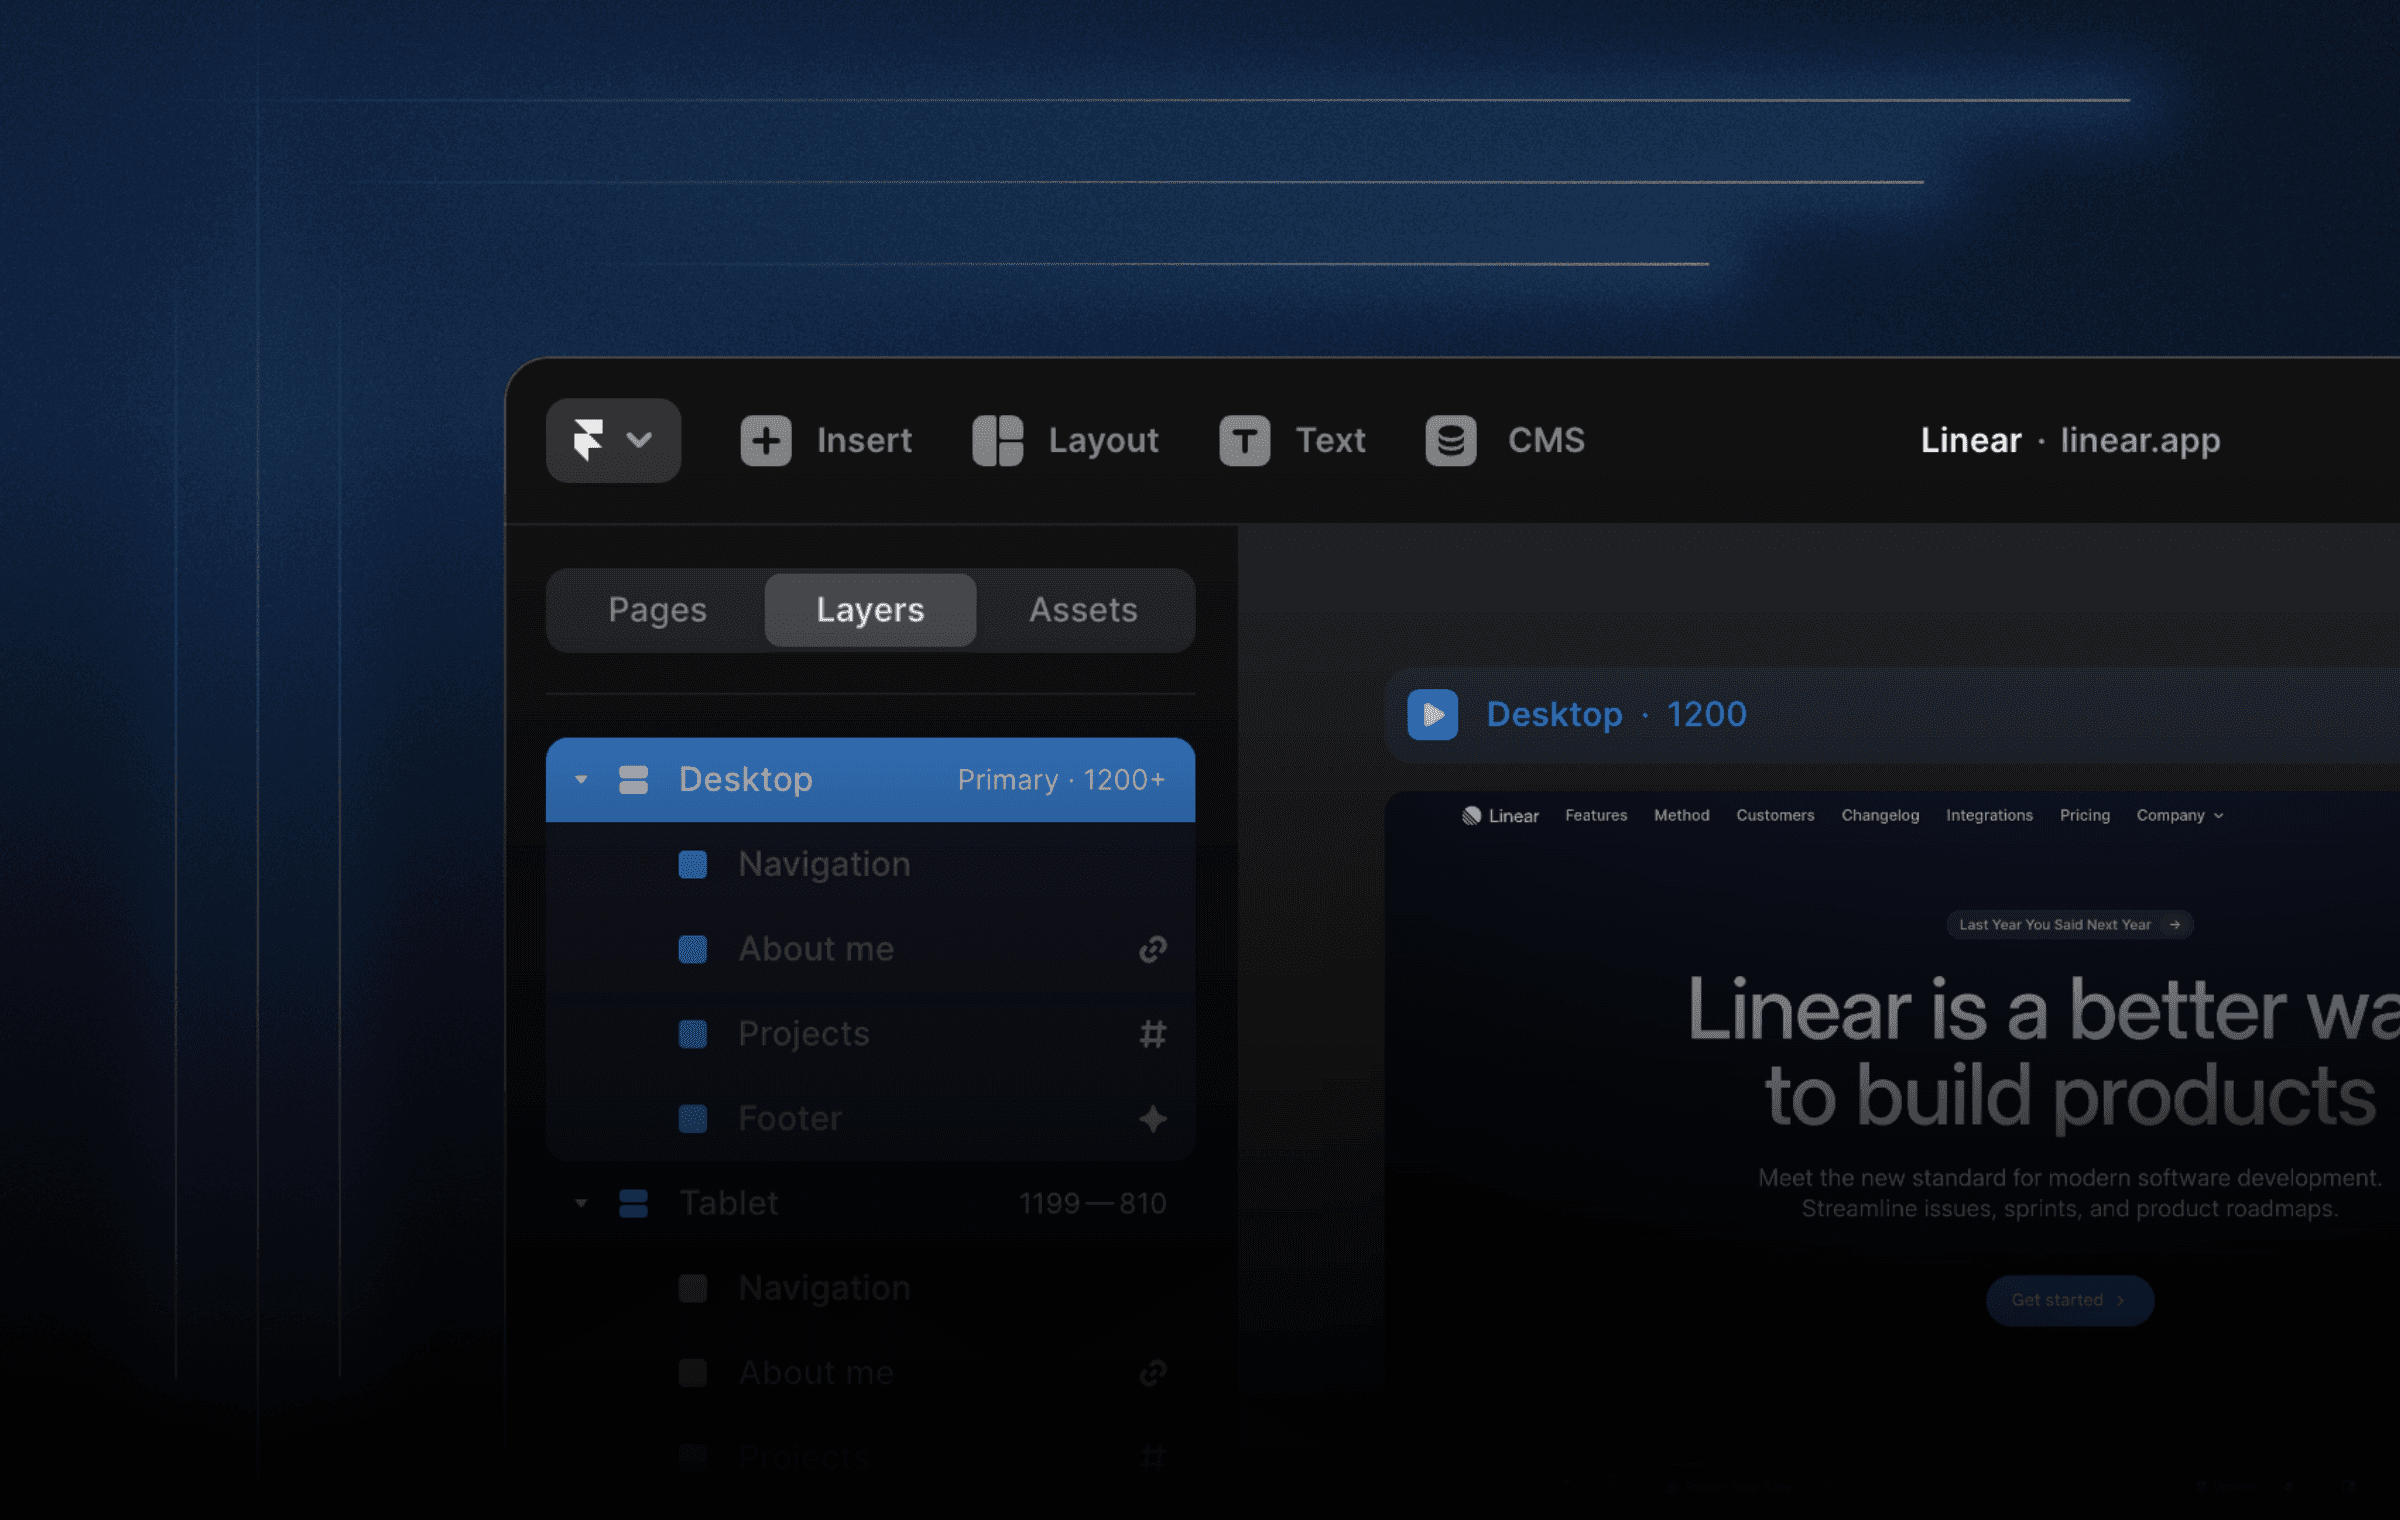
Setting up the Page
The first step is to set up the page. Yoda used a regular page, nothing special. Next, he drew a frame edge to edge and set the height to viewport, which takes up 100% of the viewport. Inside this frame, he drew another frame that will act as the container for the video grid. He centered this frame horizontally and vertically and set the width and height to 970 by 970. Finally, he removed the fill and renamed it to container.
Adding Videos
The next step is to start dragging in the videos. Start by placing the most important video in the center. This is positioned exactly in the center of the container. After this, add all the other videos in the grid.
Animating the Grid
Now that the grid is set up, we can start animating everything. First, select the container that has all the videos inside it and add a scroll transform effect to it. On scroll, we want the position, opacity, and scale to be set to one, and we want to transform it to opacity 1, scale 1, and rotation of 450. This will make us end up in the end state that we want to be in terms of the rotation of the container.
Counter-Rotating Videos
Next, select all the videos and add a scroll transform effect to them. Again, on scroll, we want the opacity and scale to be set to one. But this time, we want to counter the rotation of the container. We do this by setting the rotation of the videos to -450.
Previewing the Effect
Now, if you preview the effect, you will see that the container starts rotating, but the video stays centered. However, there are some other things that are not working yet, which we will fix in the next step.
Finishing Touches
The final step is to add the finishing touches to the effect. Yoda added a scroll limit to the container, so it does not rotate too far. He also added some easing to the scroll transform effect to make it smoother. Finally, he added a remix button, so others can open the project in Framer.
Conclusion
In conclusion, creating a video grid that rotates in Framer is a simple process. By following the steps outlined above, you can create a similar effect. With Framer, you can create these effects without any code, making it accessible to anyone who wants to try it.

Step into the future of design
Step into the future of design
Step into the future of design
Join thousands using Framer to build high-performing websites fast.
Join thousands using Framer to build high-performing websites fast.
Join thousands using Framer to build high-performing websites fast.