Adding custom fonts
Learn how to upload and use custom fonts in Framer when the typeface you need isn’t available in the font picker.
FAQ
Which font formats should I use?
For the best performance, use
.woff2files. They are optimized for the web and generally provide faster loading times.Why did my Figma text change fonts after importing?
This usually happens when the original custom font is not available in Framer. Upload the font to your project and reapply it to the affected text layers.
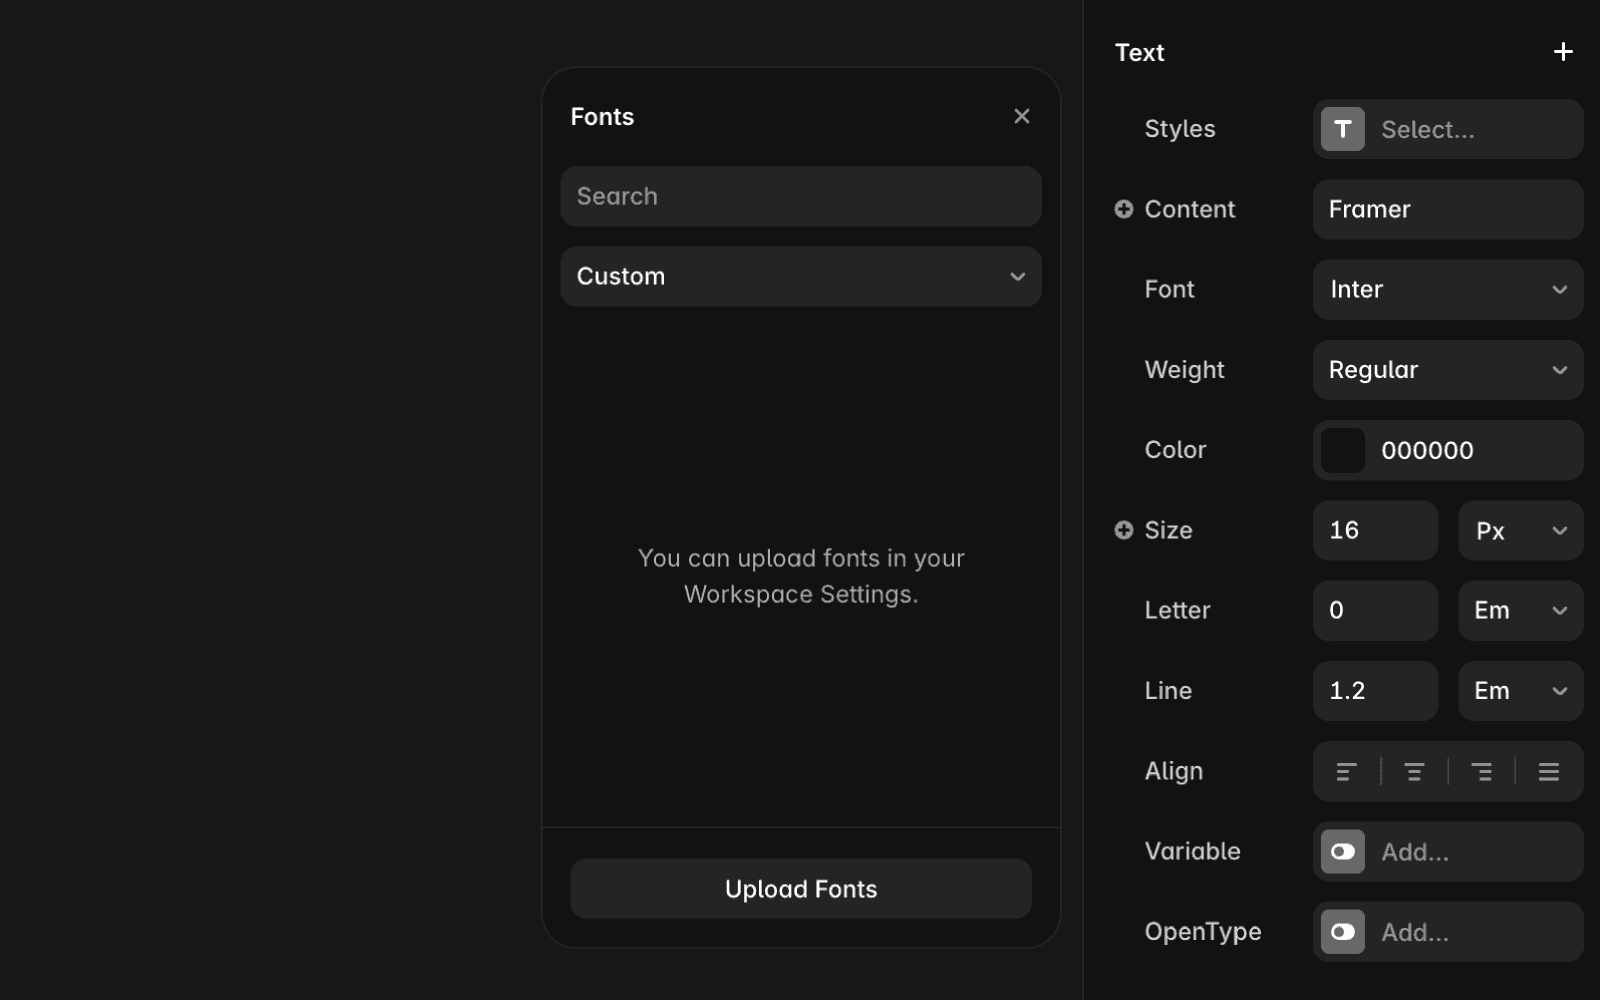
Can I use my uploaded font across multiple text layers?
Yes. After a font is uploaded, it appears in the Custom tab of the font picker and can be applied to any compatible text layer in the project.
Updated