Adding Intercom to your site
Elevate your Framer site by integrating Intercom to enable live chat, support ticket submissions, chatbot automation, and outbound messaging.
How to add Intercom to your site
Set up Intercom Messenger
Sign in to your Intercom account.
Install the Messenger, which will be enabled by default. Verify this by navigating to Messenger > Platforms > Web > Show the Messenger Launcher.
Customize your Messenger controls (e.g., styling, audience targeting).
Copy your workspace ID
Locate your workspace ID in the browser
URL when logged in to your Intercom account. For example, in the URL below, the workspace ID is
o0ma3k8s:https://app.intercom.com/a/apps/**o0ma3k8s**/guide-library.
Add the Intercom component in Framer
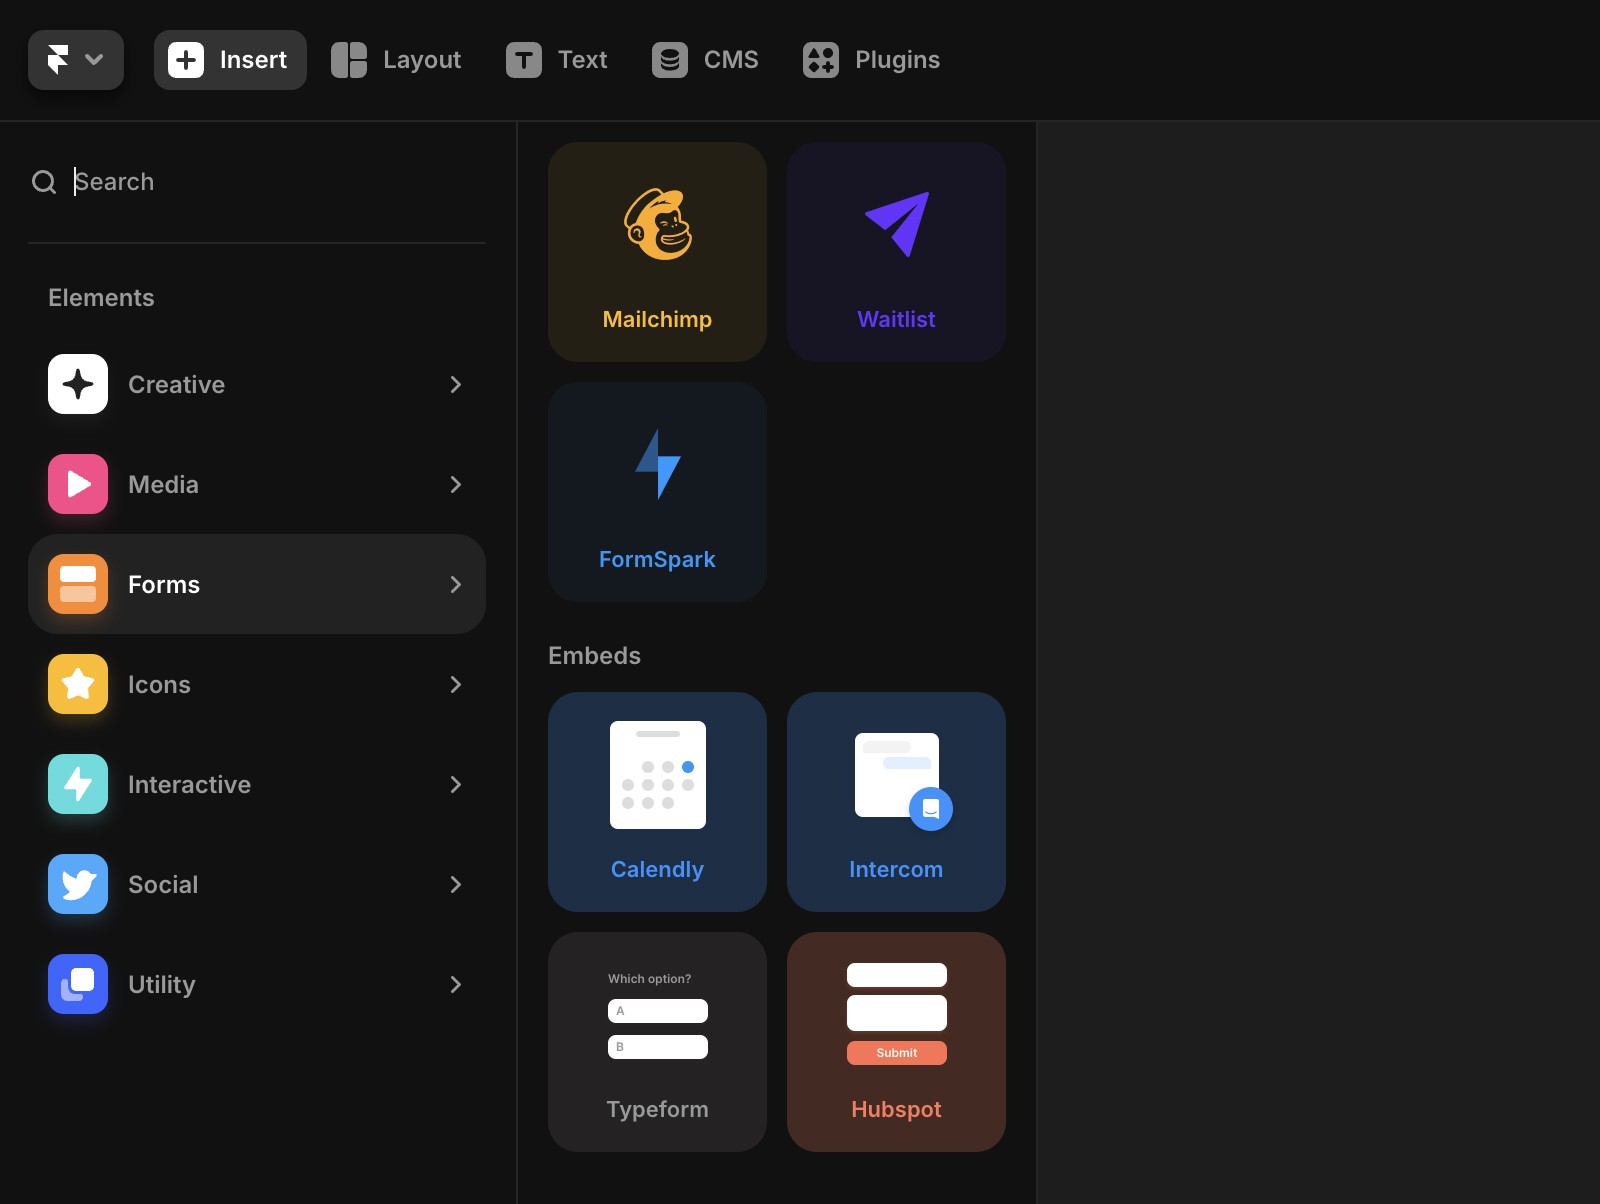
Open your project in Framer and click Insert in the top navigation to open the Insert panel.
Find Intercom in the Integrations section and drag the Intercom component onto your canvas.
Paste your workspace ID
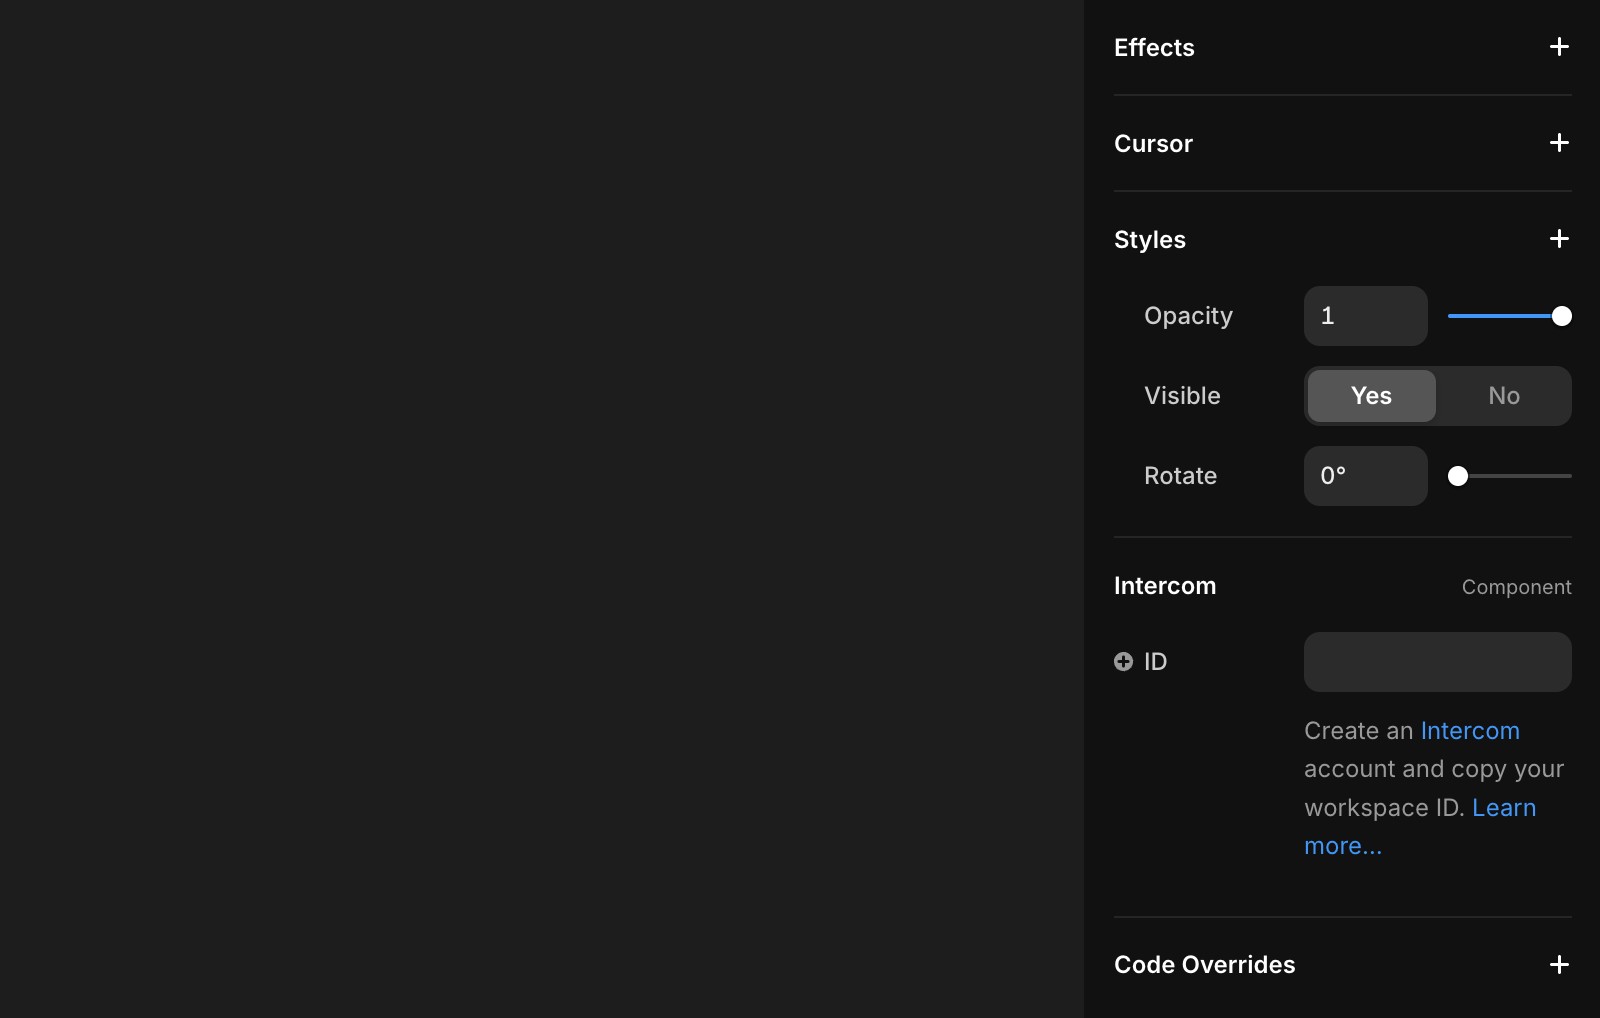
Select the Intercom component on your canvas. In the properties panel on the right, paste your workspace ID into the ID field.
Preview or publish your site
The Intercom component will display a placeholder in your Framer canvas, but this will not appear on your live site.
Preview or publish your site to see the Messenger in action.
If you’re having trouble finding the Messenger on your site, follow these troubleshooting steps.
Favorite use cases for Intercom in Framer
Engage leads and clients: Add Intercom's Business Messenger to connect with visitors in real time.
Leverage automation: Use powerful chatbots to handle common queries and automate workflows.
Streamline support: Centralize support requests, making it easier to manage and respond to customer inquiries efficiently.