Adding Mailchimp to your site
Forward form submissions directly to your Mailchimp account with a Mailchimp subscribe form on your Framer site.
How to add Mailchimp to your site
Get the form URL from Mailchimp
In your Mailchimp account, go to the Embedded Form Code section.
Copy the form URL found within
<form action="">. The URL format will look similar to this:https://framer.us18.list-manage.com/subscribe/post?u=01218bcf94e5b95825414d926&id=7899444161&f_id=004555e7f0.
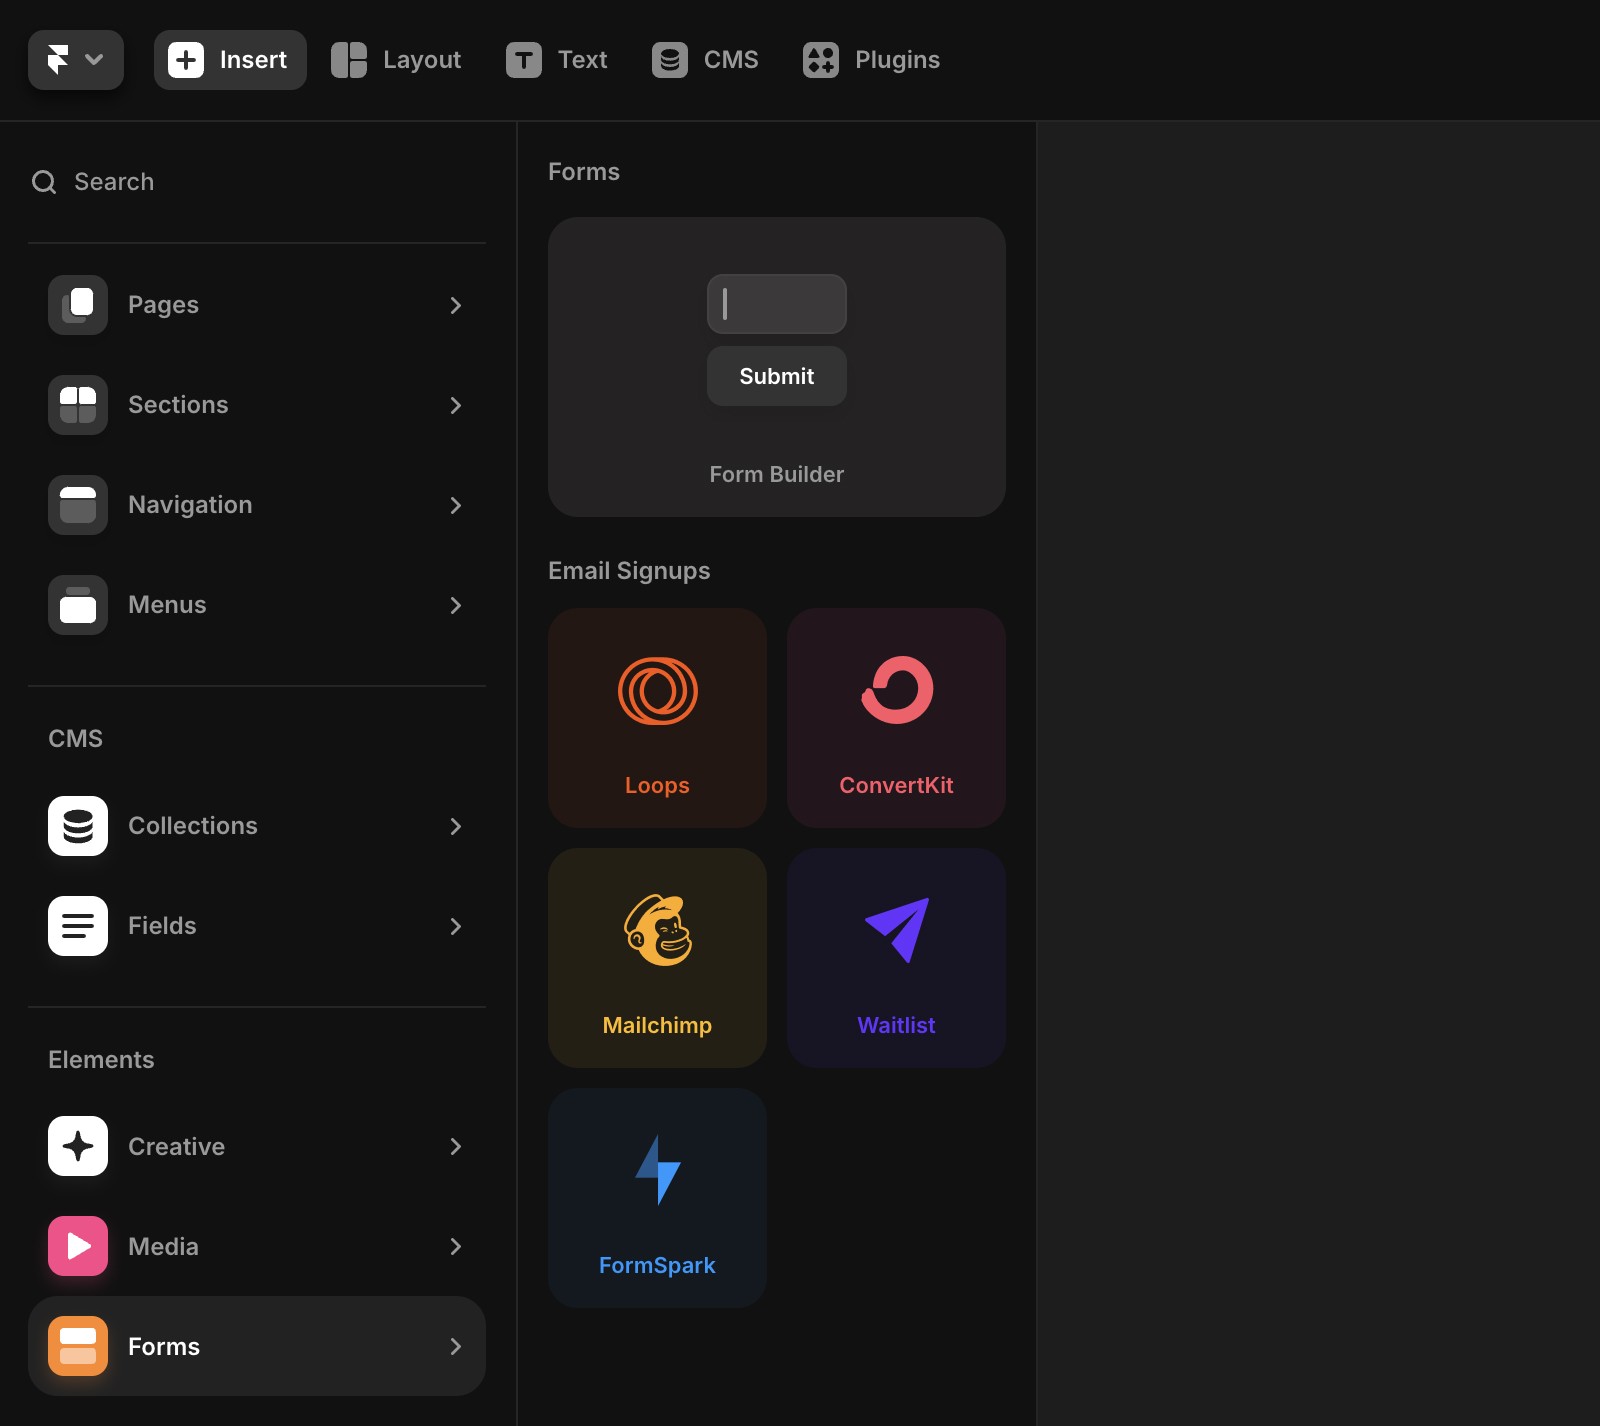
Add the Mailchimp component in Framer
Open your project in Framer and go to the Insert panel on the left side of the canvas.
In the Forms section, locate the Mailchimp component and drag it onto any page on your canvas.
The component includes an email text field and a sign-up button.
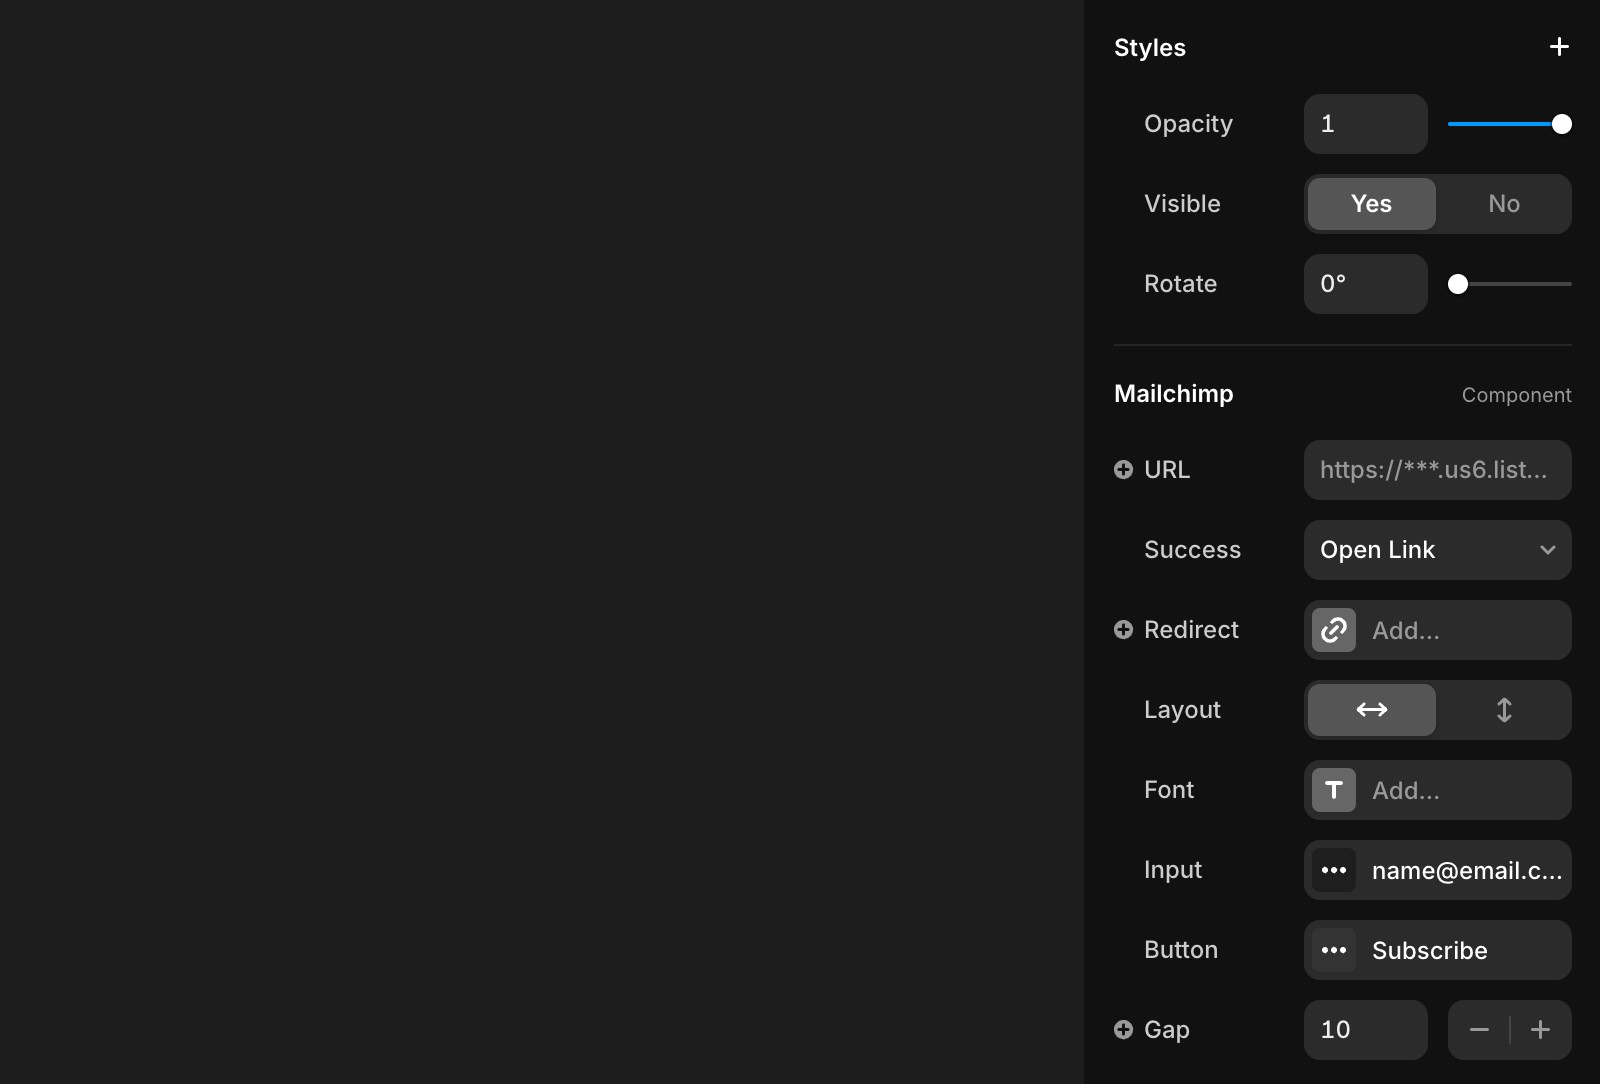
Paste the form URL and customize
Select the Mailchimp component, and in the properties panel on the right, paste the form URL into the Form URL field.
Below the URL field, you'll find options to customize the form’s appearance, including input fields, buttons, layout, colors, fonts, and corner radius.
Preview or publish your site
Once you've customized your form, preview or publish your site to test the functionality. The form will work instantly.
Our native form solution
Framer also offers native forms with the following features:
Customizable forms with over 10 input types.
Designable form states for various interactions.
Data submission options via email, Google Sheets, or custom Webhooks.
Built-in spam protection and rate limiting for improved security.
For adding a native form, refer to this article.
Top use cases for Mailchimp in Framer
Offer discounts: Encourage users to subscribe by offering a discount code for products or services. Turn one-time shoppers into repeat customers.
Capture leads: Provide premium content, such as white papers or PDFs, in exchange for email sign-ups. Use follow-up emails to nurture and qualify leads.
Send exclusive tips: Grow your email list by offering unique tips and resources that aren’t available elsewhere, encouraging visitors to opt-in.
With Mailchimp integration, you can engage visitors, expand your email subscriber list, and grow your audience seamlessly on your Framer website.
If you're still experiencing issues, please reach out to us through our contact page for further help.