Adding HubSpot forms to your site
Drag and drop your HubSpot lead forms into your Framer site to collect leads and send submissions directly to your HubSpot account.
FAQ
How do I add a HubSpot form to my Framer site?
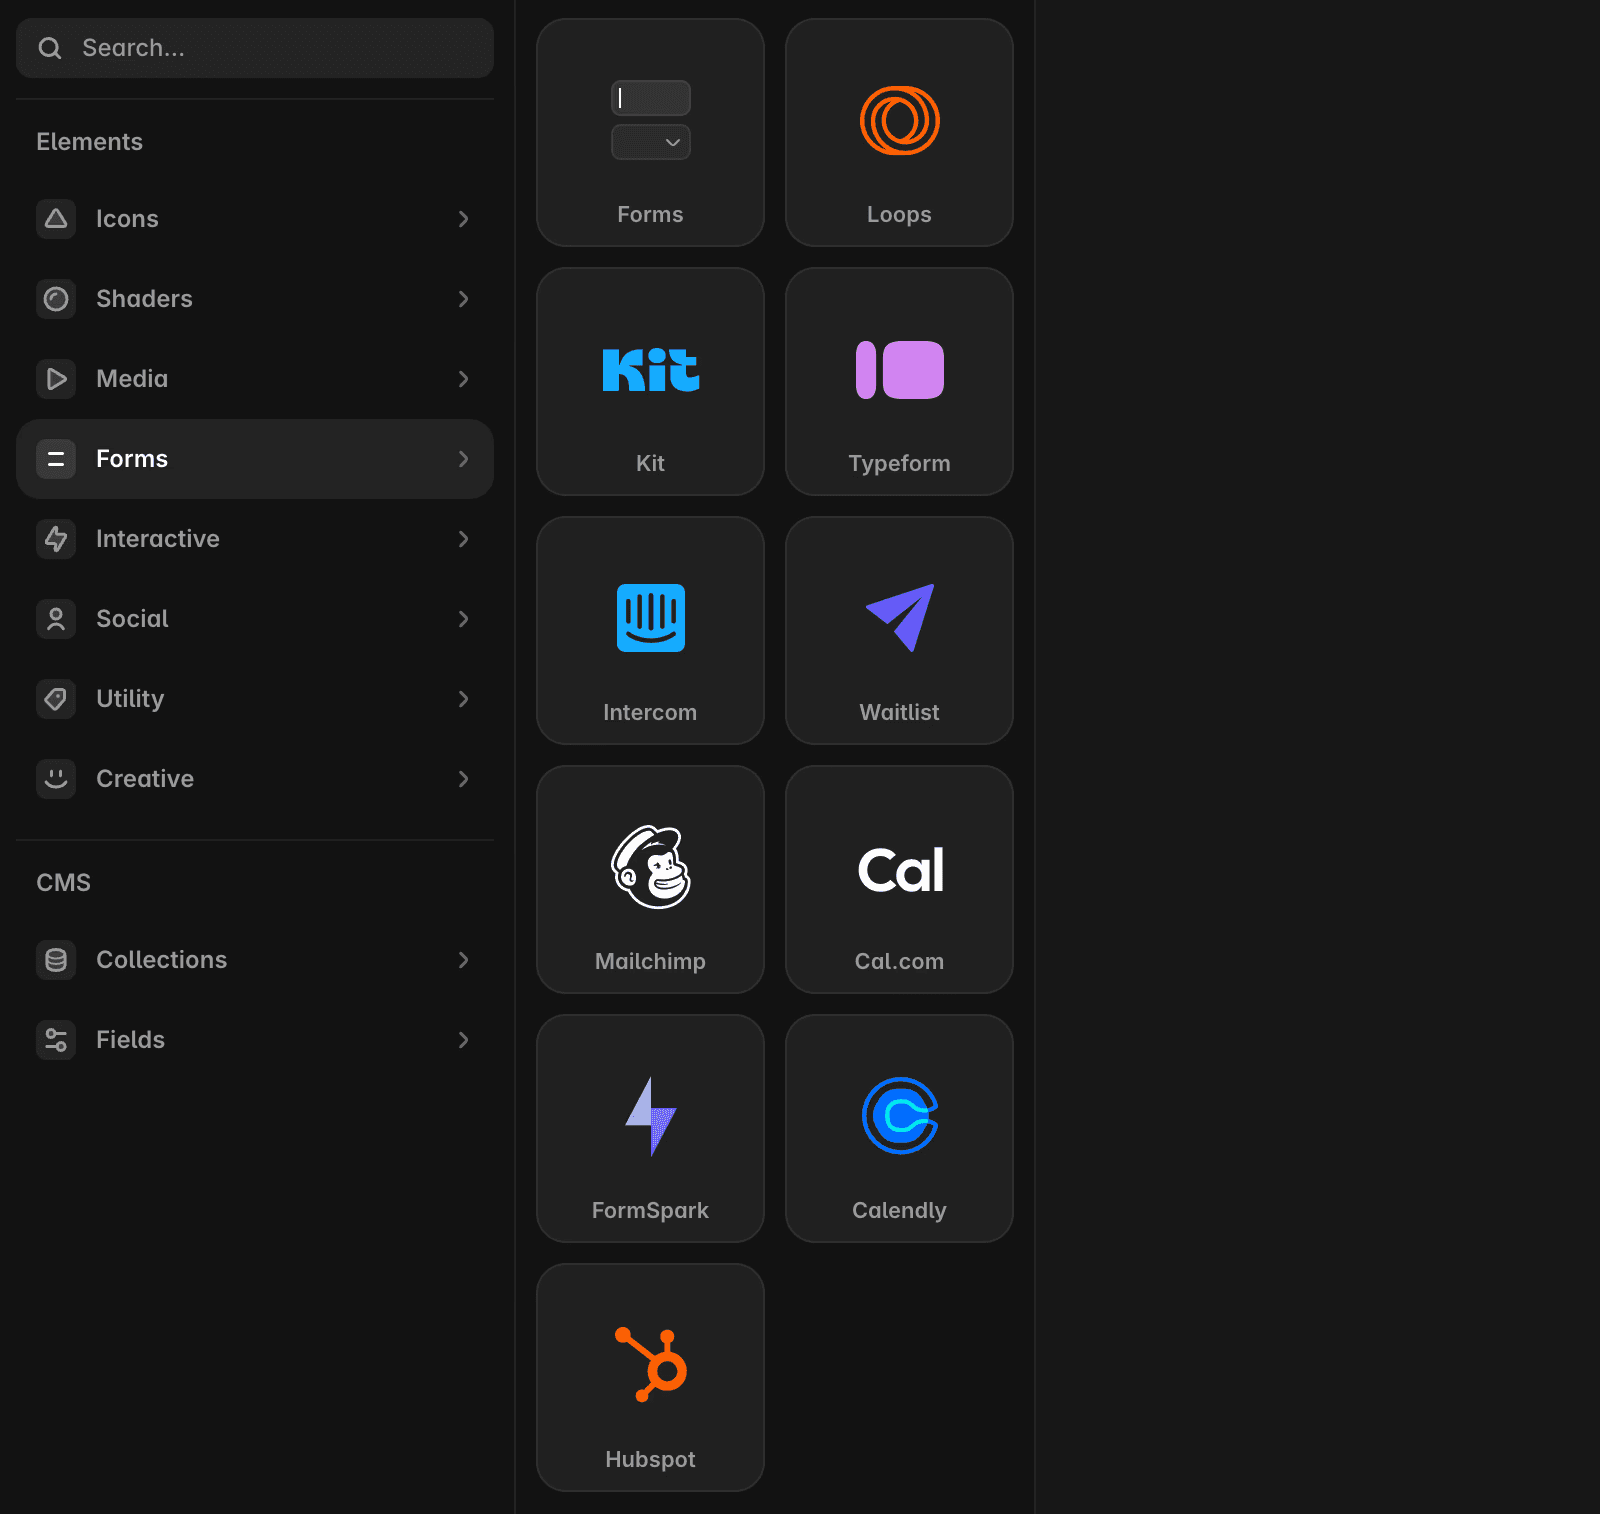
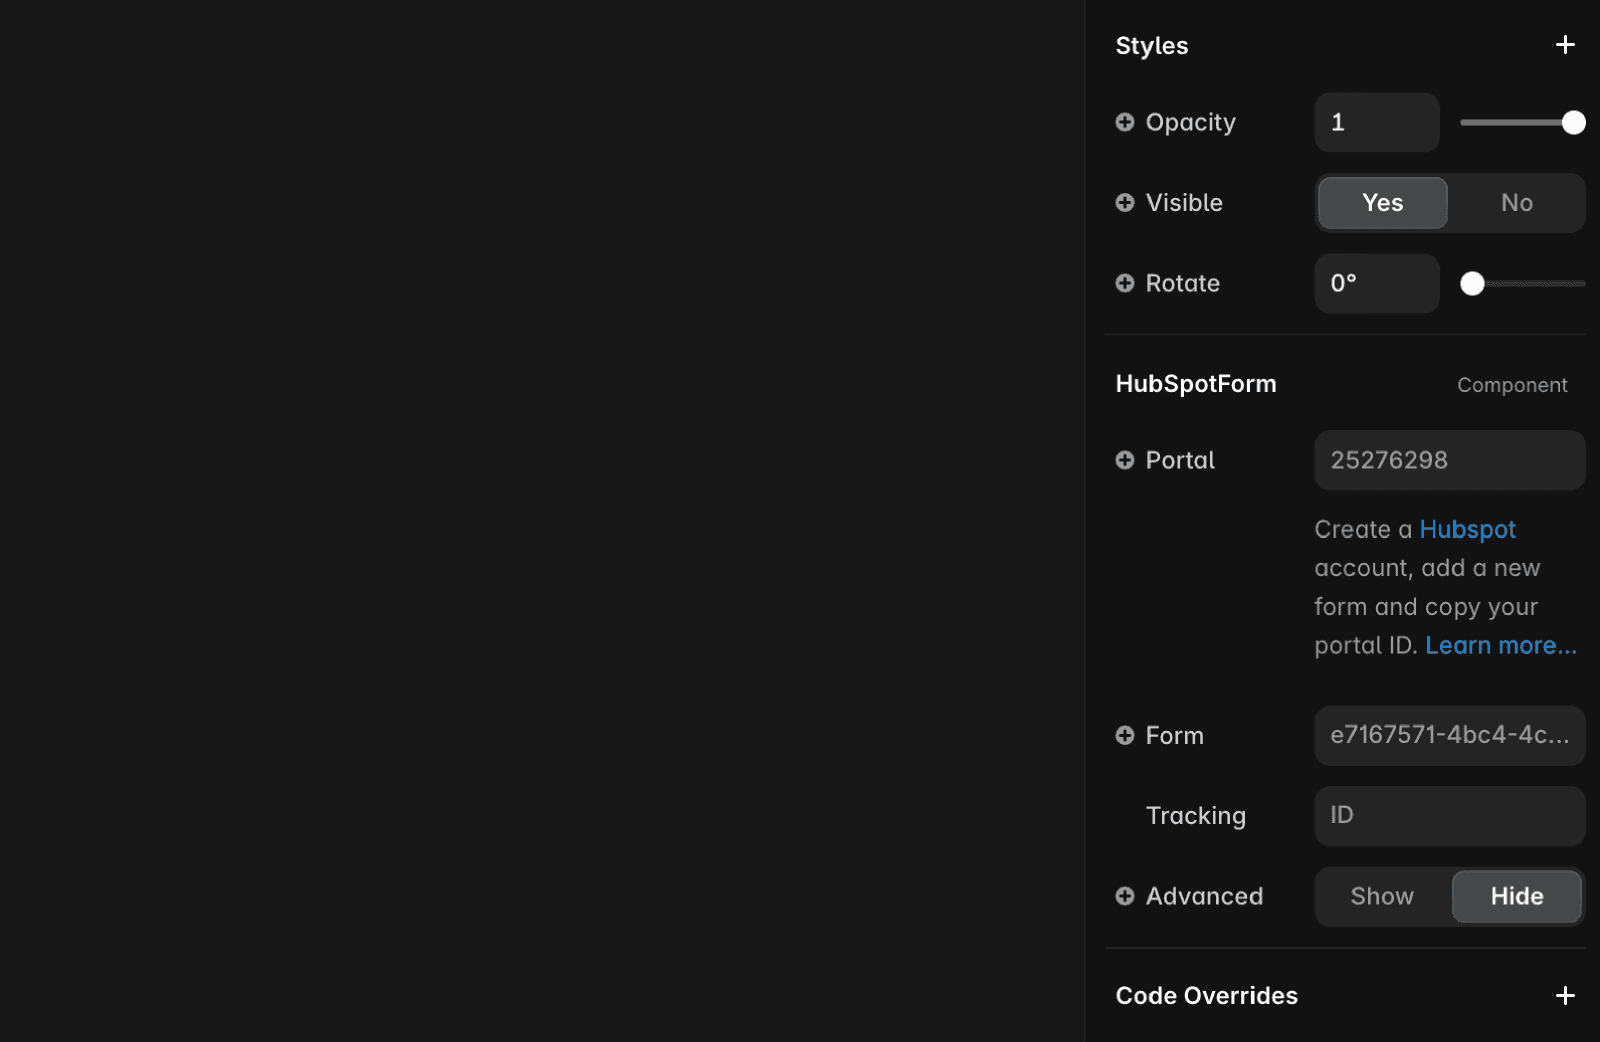
First, you'll need two unique identifiers from HubSpot: your portalId and formId. Go to the HubSpot website and open an existing form or create a new one in your marketing dashboard. Click the Embed button in the top-right corner of the form editor. A modal will appear showing the embed code—copy your portalId and formId. Then, open your project in Framer, go to the Insert panel, scroll to the Forms section, and select HubSpot. Drag and drop the component onto your page. Select the HubSpot component, and in the Properties panel on the right, paste your portalId and formId into the corresponding fields to connect the form.
Can I customize the appearance and behavior of my HubSpot form directly in Framer?
All visual and functional customizations for HubSpot forms must be made within HubSpot. Use HubSpot’s form editor to adjust fields, styles, and behavior. This ensures the form looks and feels aligned with your brand. In Framer, you can place and manage the form on your site, but customization is handled in HubSpot.
What should I do after adding and connecting my HubSpot form in Framer?
After you've added the form and linked it to HubSpot, use Framer’s Preview mode to test the form’s layout and functionality. Once you’re satisfied, click Publish to push the updated site live and begin collecting submissions. Make sure everything looks and functions correctly before going live.
Updated