Adding Meta Pixel to your site
This guide explains how to set up Meta Pixel for tracking and analytics on your Framer website.
FAQ
How do I add the Meta Pixel to my Framer site?
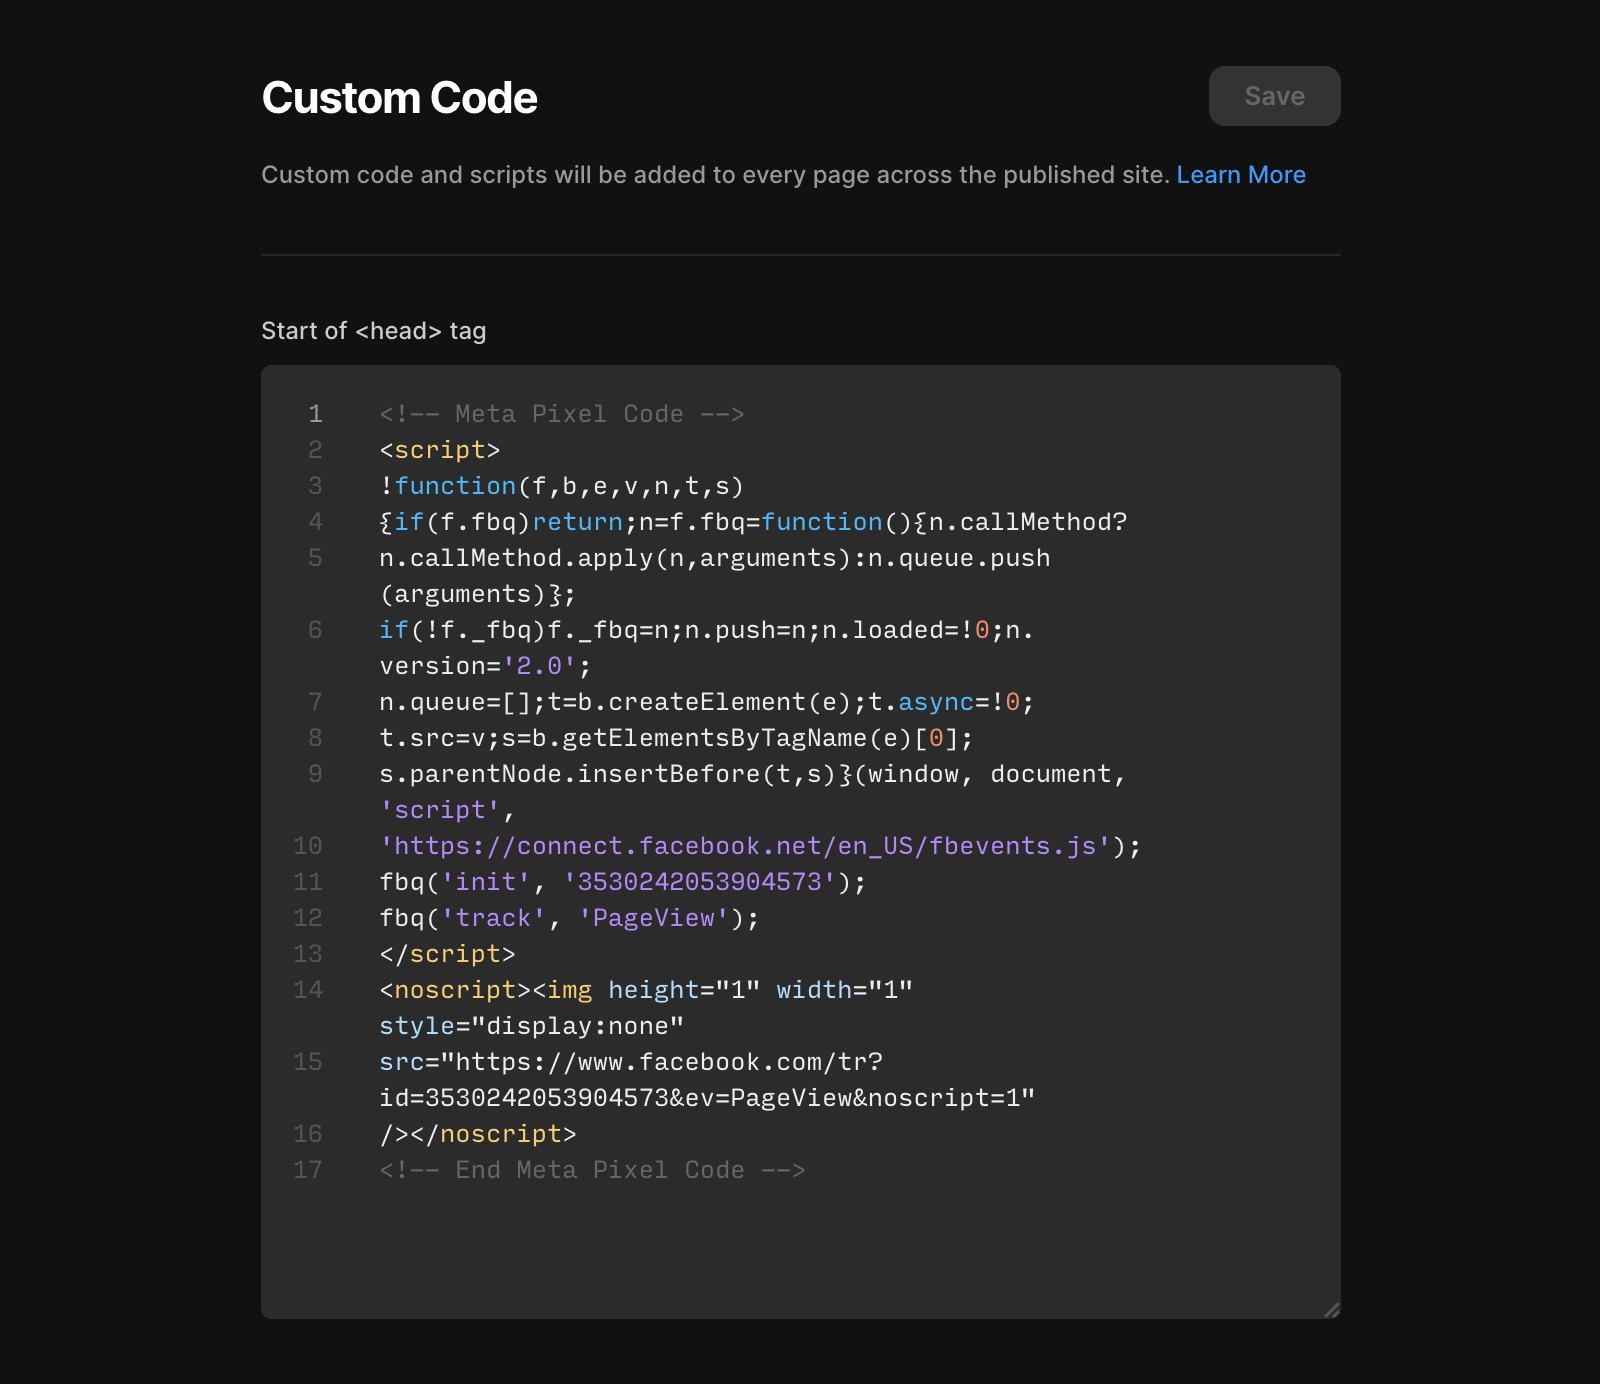
First, create a Meta Business account at Meta Business Suite if you don’t already have one. In the left-hand menu, click 'All Tools' and select 'Events Manager.' In Events Manager, click 'Connect Data Sources' and choose 'Web' as your data source. Enter your website URL, select 'Do it yourself,' and choose the 'Meta Pixel' option. Copy the base code provided by Meta. In your Framer project, navigate to Site Settings and paste the code at the start of the <head> tag. Save the changes and republish your website.
How can I set up and track specific events with Meta Pixel on my Framer site?
Use Meta's Event Setup Tool to define specific events such as Add to Cart, Find Location, or View Content. Enter your published URL in the tool and select the buttons or links you want to track.
How do I test if Meta Pixel events are working correctly on my Framer site?
Go to the 'Test Events' tab in Events Manager and enter your published URL. Make sure Ad Blockers are disabled in your browser for accurate testing. Events will appear in real time, but analytics data may take up to 30 minutes to display. If everything is connected successfully, event activity will appear in the 'Activity' section of your Meta analytics dashboard.
Updated