Staging and versions
Learn how to use your base domain as a staged preview to test your sites in a real-world environment.
Version links
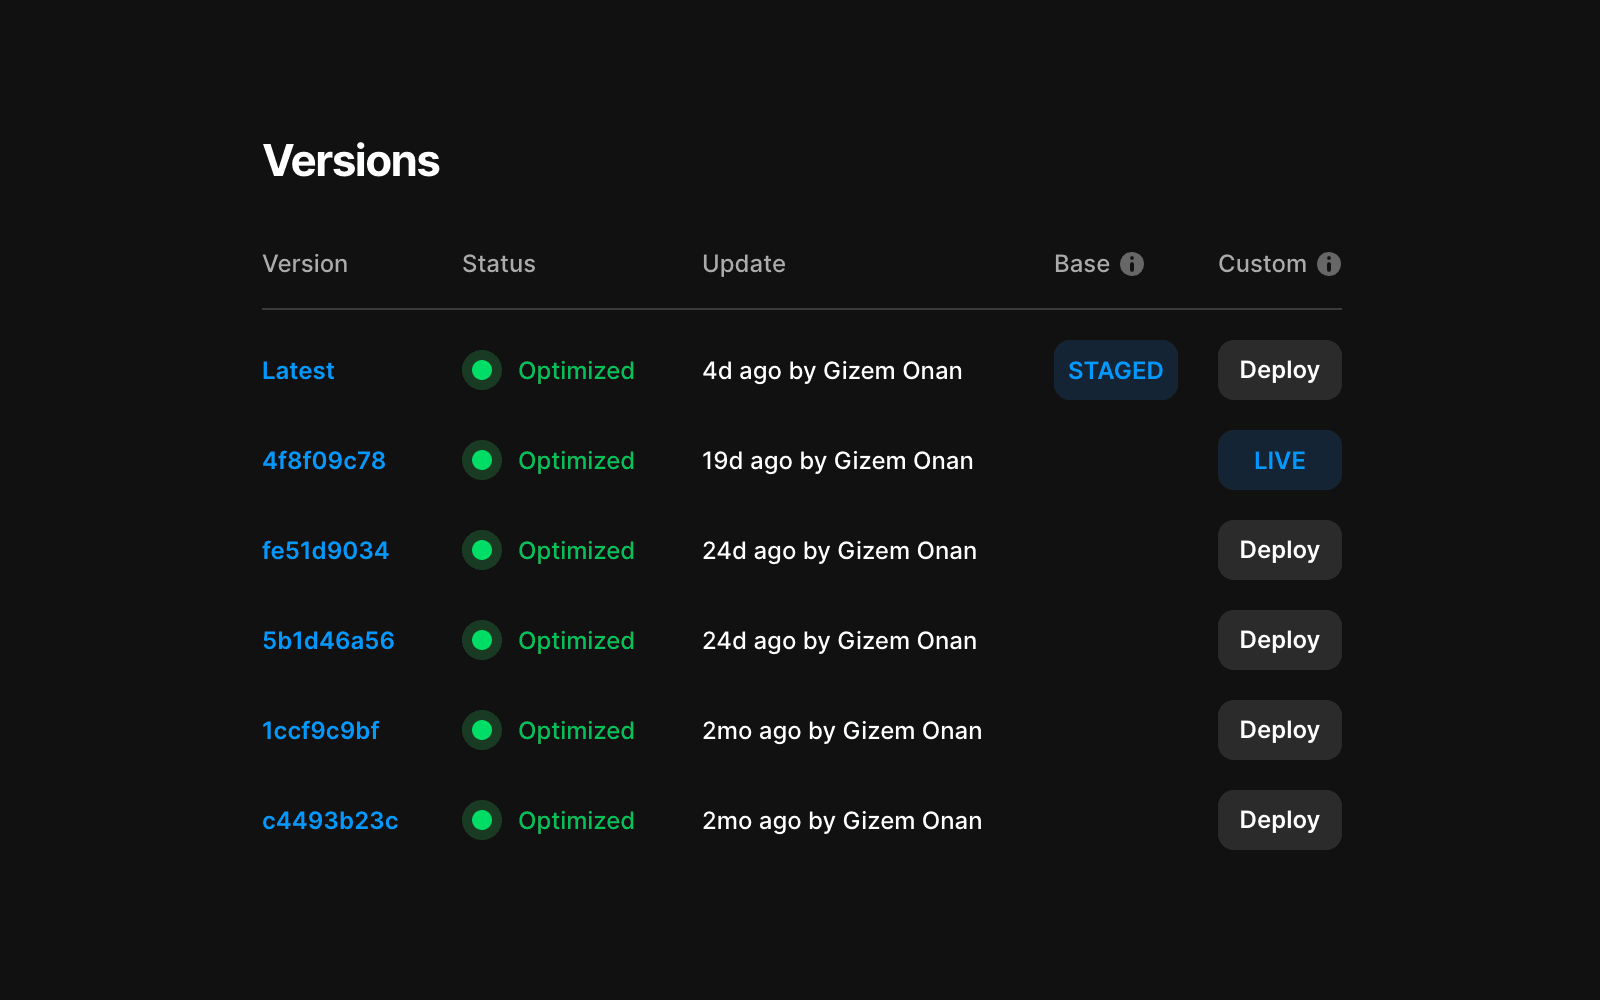
When you click “Publish” in Framer, a new version is created. You can view all published versions in your project settings, under “Staging & Versions”.
Clicking the version ID opens the version link in a new tab. Here, you’ll see details such as the version’s status, publisher, and publish timestamp. These versioned links are static and remain tied to a specific version, unaffected by future publishes.
Staging
When you publish a website, Framer generates a base domain—a random string of letters assigned as the default domain. You can also connect a custom domain for your site, as explained in this article. The staging feature is only available if a custom domain is connected.
By default, both the base and custom domains point to the latest published version. However, to test your website in a real-world setting before it goes live on the custom domain (the version visitors will see), you can enable staging to use the base domain as your staged preview.
To enable staging, navigate to the “Staging & Versions” tab and select the “Enable Staging” option.
This allows you to assign a specific version to your custom domain while the base domain remains linked to the latest version. This way, you can validate changes on the base domain before deploying them to the custom domain.
Testing
With staging enabled, you can update the base domain directly from the publish layer. Publish as many times as needed until you’re satisfied. Then, return to the “Staging & Versions” tab and click “Deploy” next to the version you want to push to your custom domain.

If needed, you can roll back to a previous version at any time, allowing you to refine changes before redeployment.