Adding a live preview for your products
Learn how to add a live preview for templates and components in the Framer Community.
A live preview is required for all templates and components published to the Framer Community. It helps visitors explore your product before purchasing and better understand how it works.
Why live previews matter
Live previews appear directly on your product listing and are often the first interaction visitors have with your work. Instead of relying only on screenshots, visitors can explore your template or component, test interactions, and understand its behavior in real time.
A clear, well-structured preview helps visitors evaluate your product and determine whether it meets their needs.
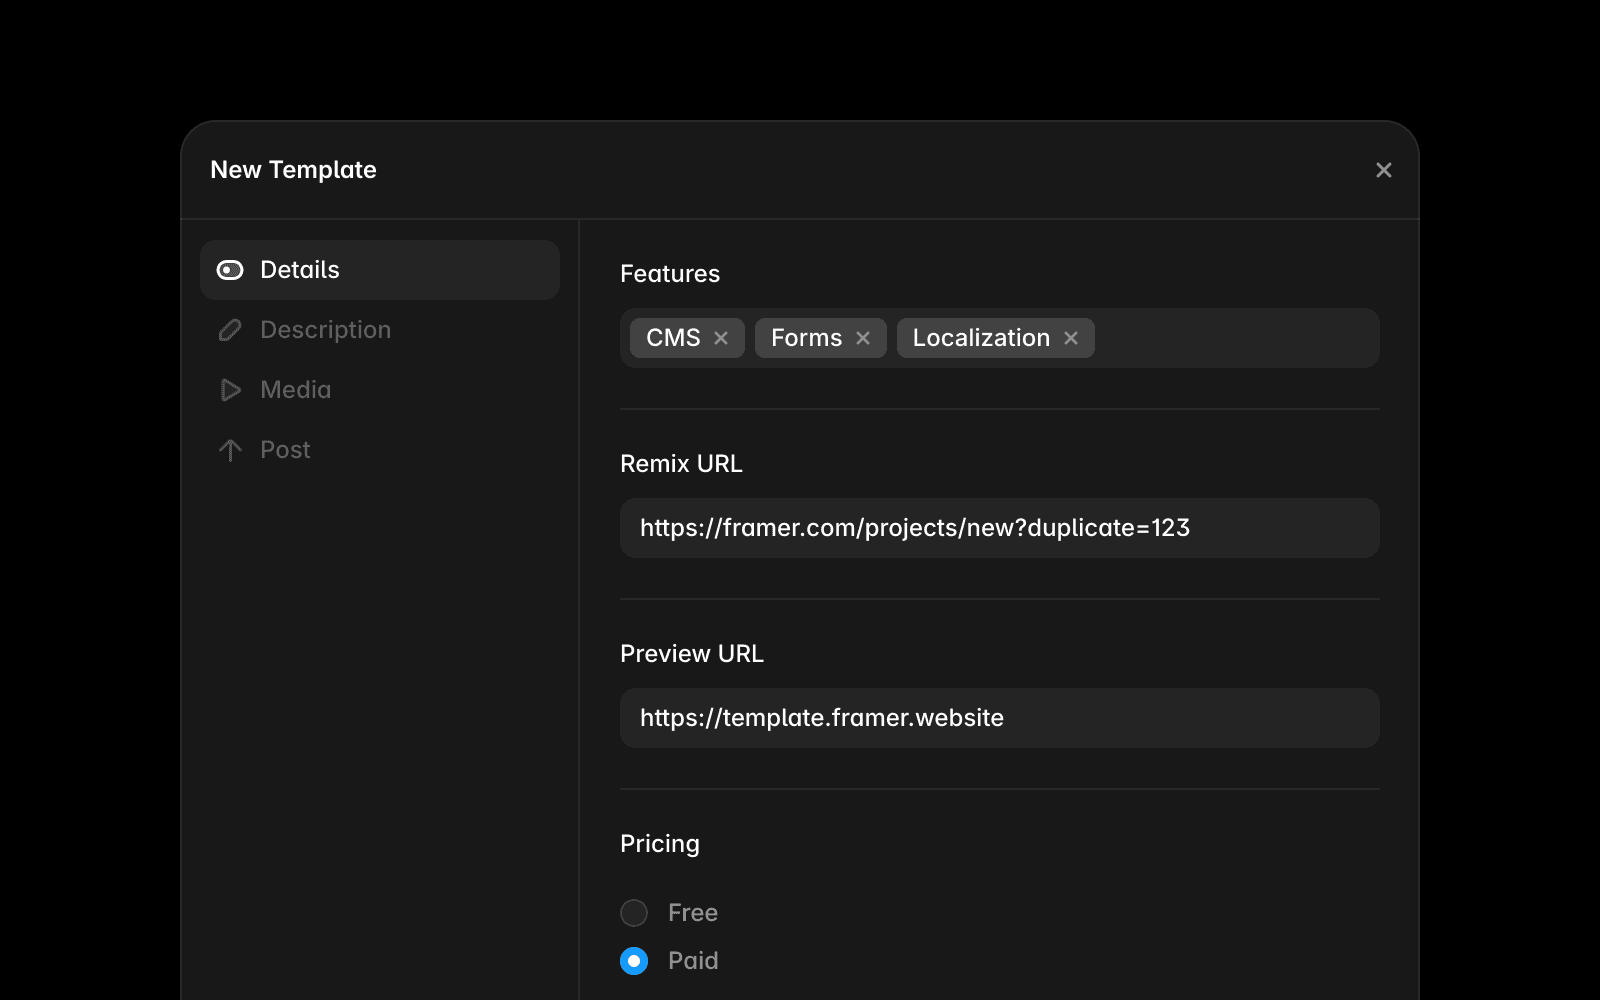
Add a preview for a template
A template preview allows visitors to navigate your site, explore different pages, and evaluate the overall experience.
To add a template preview:
Copy the published URL from one of your free Framer domains.
Paste the URL into the Community composer.
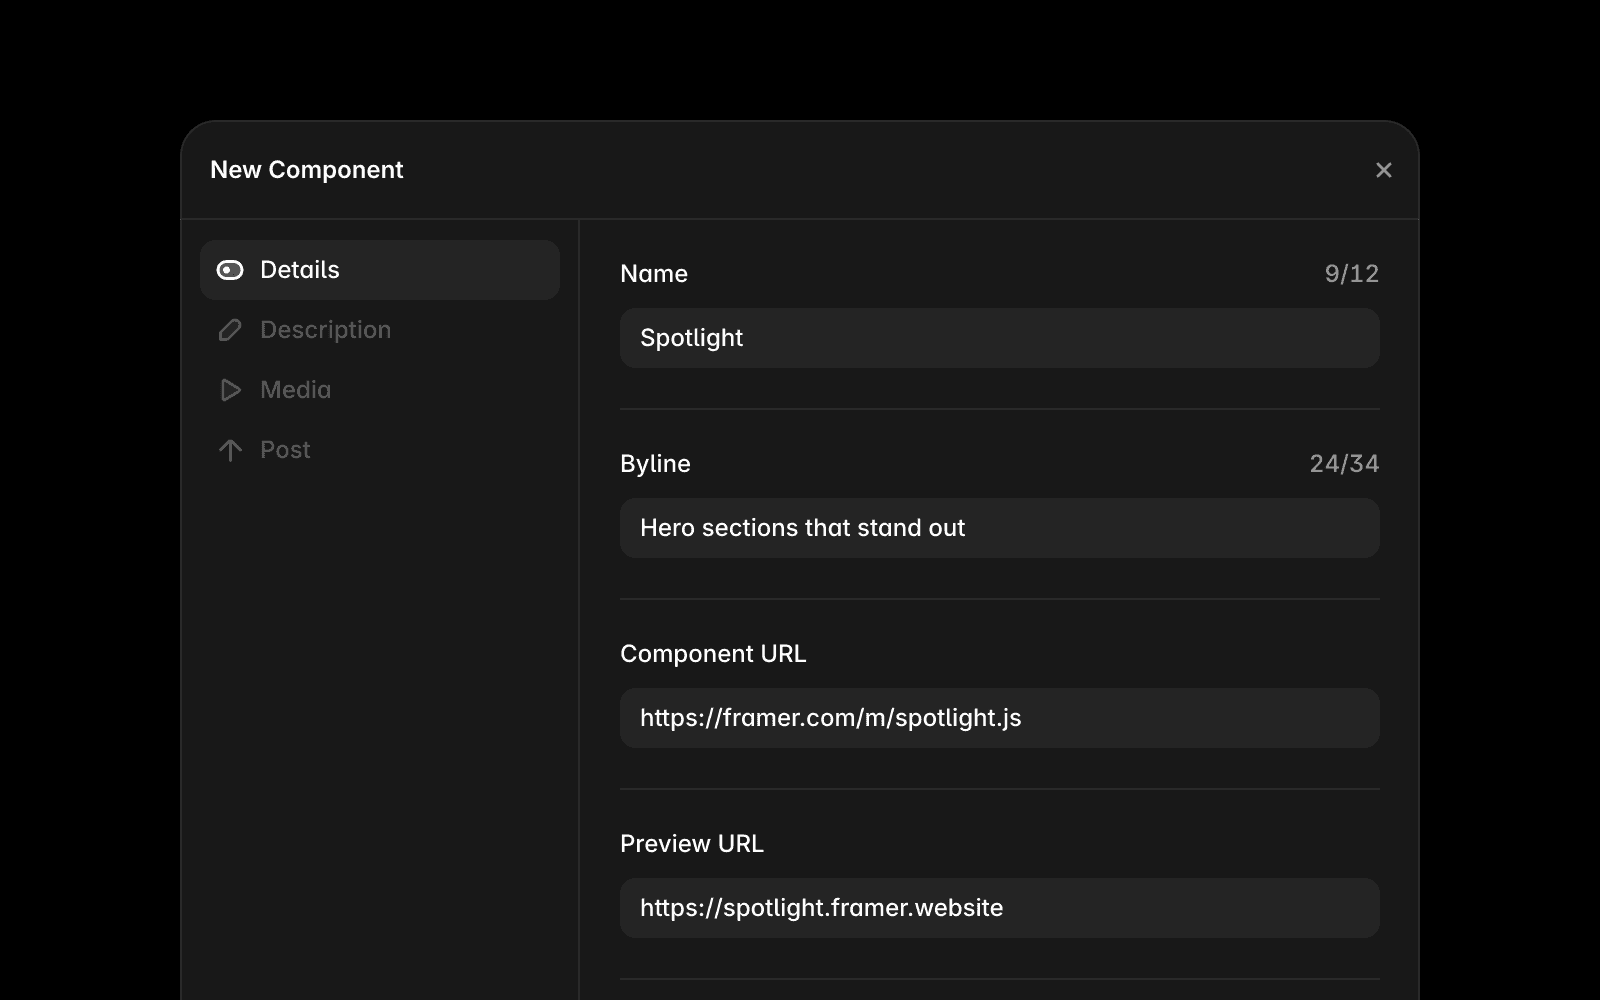
Add a preview for a component
A component preview allows visitors to experience interactions, animations, and behavior before purchasing.
To add a component preview:
Create a new page in your project or duplicate an existing page.
Set the root frame height to Fit.
Add a frame inside the root frame.
Set the inner frame width to 1fr.
Set the inner frame height to 100vh.
Convert the inner frame to a Stack.
Center the content within the inner stack.
Add your component and configure it in its best interactive state.
Publish the page.
Copy the published page URL.
Paste the URL into the Community composer.
The published page will be used as the live preview on your Community listing. You can also start from a preconfigured starter project to speed up the setup process.
A polished live preview can make it easier for visitors to understand the value of your product and make a confident purchase decision.
FAQ
Why is a live preview required?
Live previews help visitors understand how a template or component works before purchasing. They provide a more accurate representation of the product than static screenshots alone.
Can I use any published URL as my preview?
No. Use a published URL from the project that contains the template or component you are submitting. The preview should accurately represent the product visitors will receive.
Can I update my live preview after publishing my listing?
Yes. If you update the published page or project used for the preview, visitors will see the latest version when viewing your listing.
Updated
