How to publish a template
Learn how to publish a template in the Framer Community and start earning from your work.
Share your template with the Framer Community to reach a global audience of creators. You keep 100% of your template sales, can earn affiliate income from free templates, and gain visibility through the Community.
Before you publish
Make sure your template is ready before publishing. Templates are published immediately, so it’s important to review everything carefully.
Test your template across different browsers and screen sizes.
Fix any bugs, broken links, or performance issues.
Follow web design best practices for layout, typography, spacing, and responsiveness.
Prepare high-quality screenshots that clearly showcase your template.
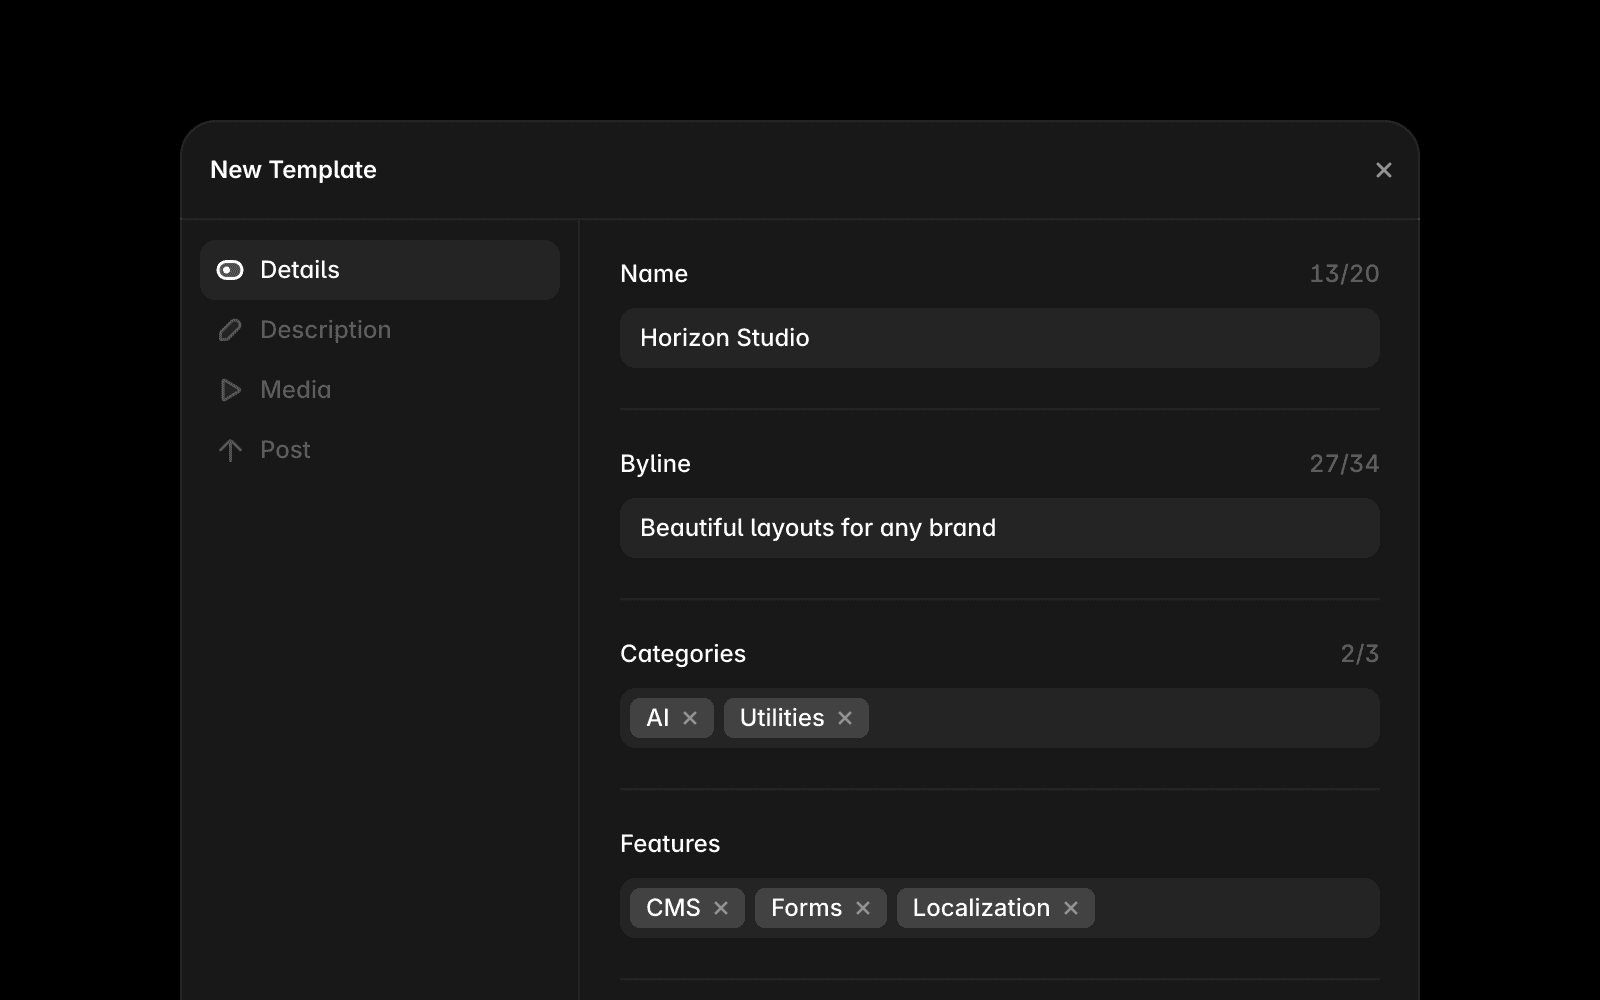
Review the template name, byline, description, categories, and pricing information.
If you’d like, you can also review our template best practices to make sure your template is polished and ready for publication.
Publish your template
Once your template is ready, you can publish it in the Framer Community.
Open the Marketplace section in the Framer Community.
Click Post in the top toolbar, then select Template.
Fill in the required fields:
Name, byline, and description
Images, categories, styles, and features
Preview URL and remix URL
Payment settings, if the template is paid
Optionally create a post for the Community feed.
Click Submit.
Your template is published immediately and becomes available in the Community.
After you publish
After publishing your template, you can:
Edit the name, description, images, pricing, and other details at any time.
Update your template as it evolves.
Reach new users through the Marketplace and the Community feed.
For paid templates, you keep 100% of the revenue from each sale. Free templates can earn affiliate income when users sign up for Framer through your template.
Make your template stand out
A few simple improvements can help more people discover your template:
Write a clear and descriptive byline.
Use high-quality screenshots.
Choose categories that accurately match your template.
Add a personal message when publishing your template. A feed update is automatically shared with people who follow you, and adding context about your work can help increase visibility in the For You and Hype feeds.
Research similar templates before setting a price.
If you have questions about publishing templates, contact the Framer team at creators@framer.com.
FAQ
Do I need approval before my template is published?
No. Templates are published immediately after you submit them. There is no review process or waiting period.
Can I edit my template after publishing?
Yes. You can update your template details, images, pricing, and description at any time.
Can I sell my template outside of the Framer Community?
Yes. You can also sell your template through other marketplaces and platforms if you choose.
Updated
