How to use Agents
Learn how to create and edit websites in Framer using Agents.
Agents let you create and edit websites directly inside Framer using prompts. Describe what you want to build, and the Agent will generate and update content, layouts, interactions, and code on your canvas.
Get started with Agents
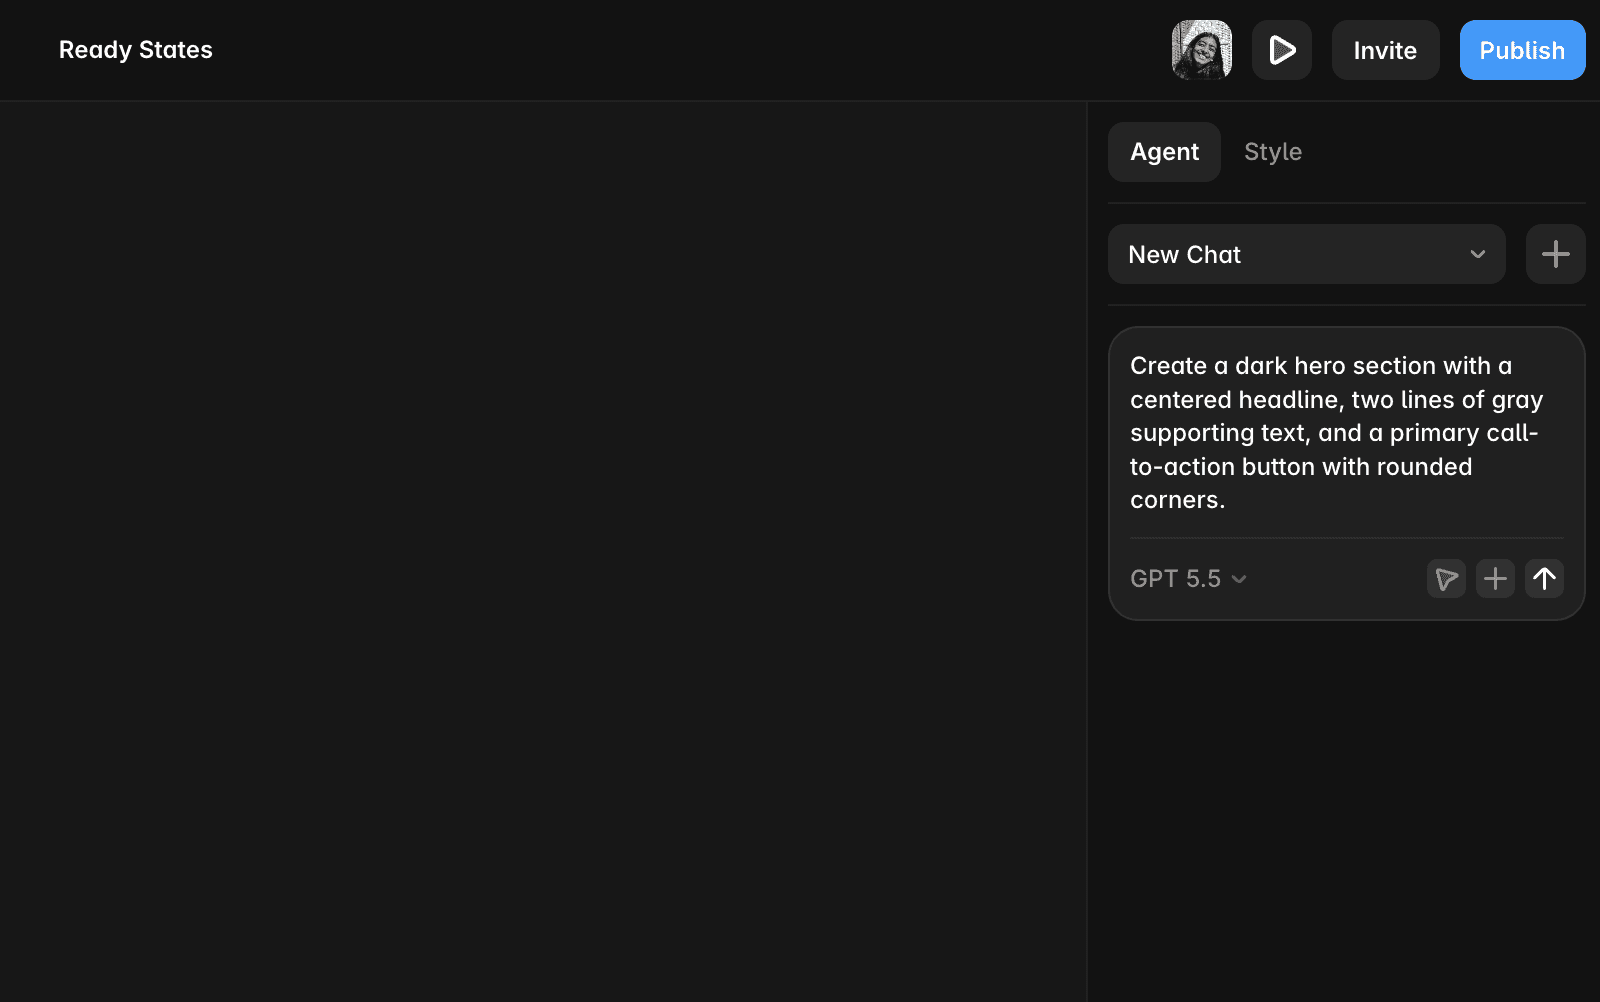
To open the Agent, select Agent in the right-hand Properties panel. A prompt field will appear where you can enter instructions. The Agent reads your current canvas, generates the necessary design and code, and places the result directly on your page. You can continue prompting within the same session to refine, expand, or update what has already been created.
Build one section at a time
For the best results, start by generating a single section instead of an entire page. Once the section is created, select it on the canvas before sending your next prompt. This activates the context tool and tells the Agent to focus only on the selected area. Working section by section helps prevent unintended changes elsewhere on the page and gives you more control over the final result.
Provide clear structure and requirements
The Agent performs best when your prompt includes clear instructions about content, layout, and structure.
Before prompting, think through details such as:
The type of section you want to create
The content that should appear
The number of items, cards, or columns
Any specific layout preferences
Desired styling or visual direction
If you already know the answers to questions the Agent might need to ask, include them in the prompt. Providing more context upfront often leads to more accurate results.
Use reference images for visual direction
If you have a design reference, attach it to your prompt.
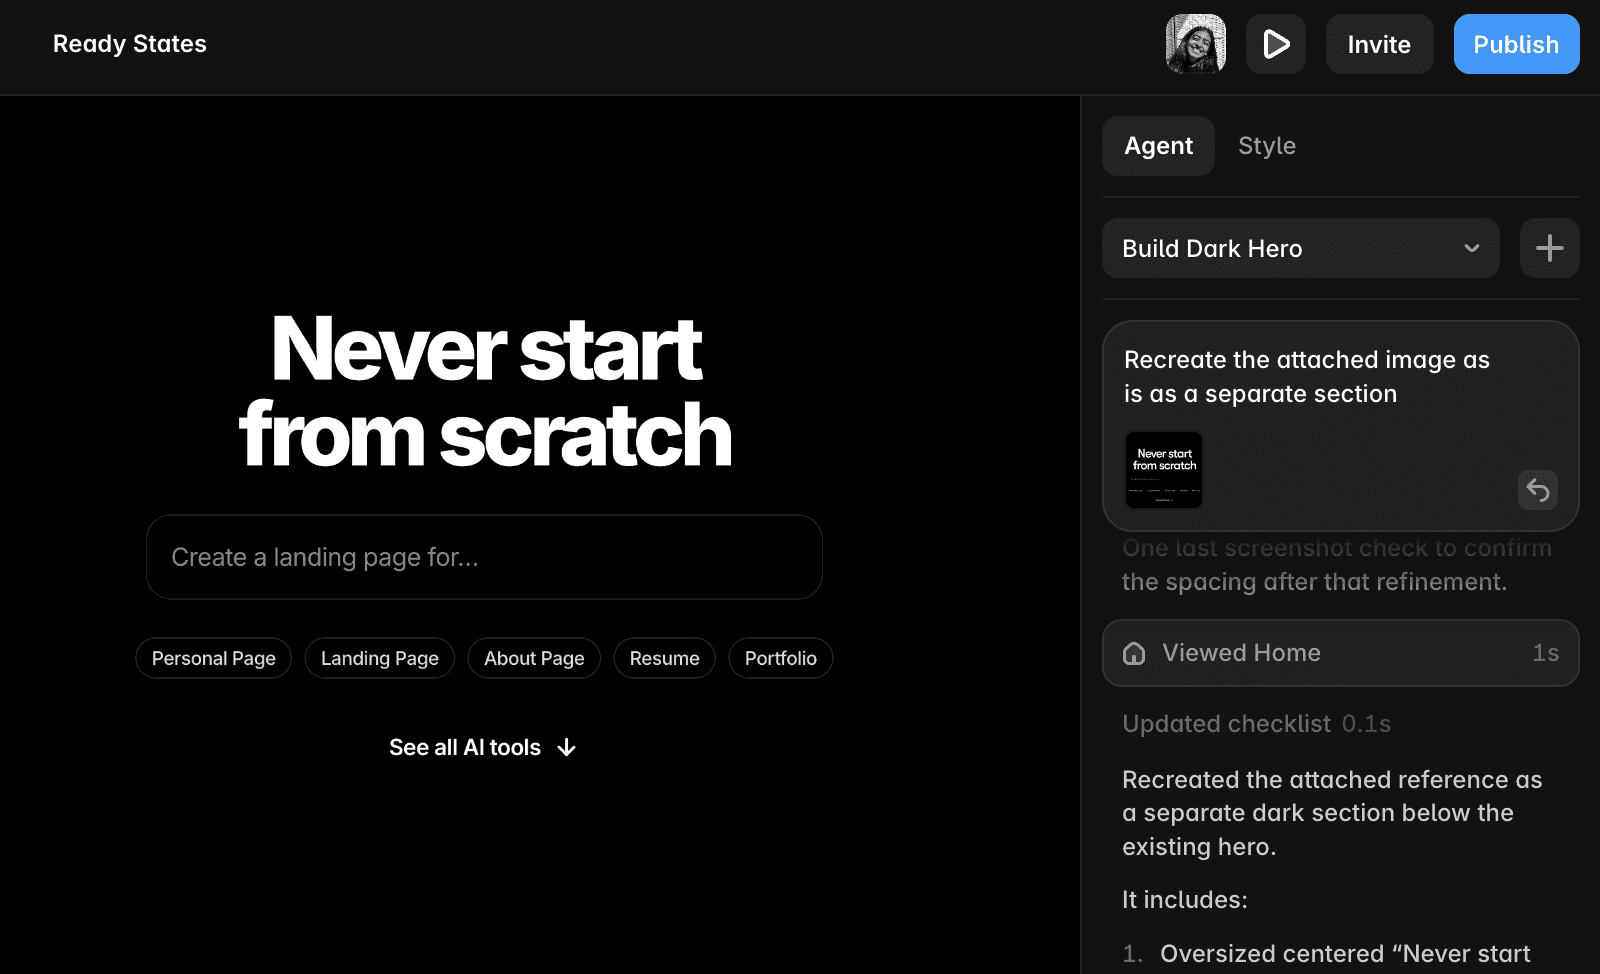
The Agent can accepts any image as a reference, screenshots, wireframes, exported mockups, or even hand-drawn sketches to better understand the layout, visual hierarchy, and overall style you want to achieve.
Reference images are especially useful when recreating a specific design aesthetic or page structure.
Attach your own assets
When your design requires specific assets, attach them directly to your prompt instead of relying on placeholders.
This works well for:
Logos
Product images
Team photos
Background illustrations
Marketing graphics
Providing the actual assets helps the Agent generate a result that is much closer to your intended design.
Write specific prompts
While simple prompts can work, detailed prompts usually produce better results.
Instead of writing:
Create a hero section.
Try writing:
Create a dark hero section with a centered headline, two lines of gray supporting text, and a primary call-to-action button with rounded corners.
The more information you provide about layout, content, styling, and functionality, the fewer revisions you'll typically need.
Build interactions and animations
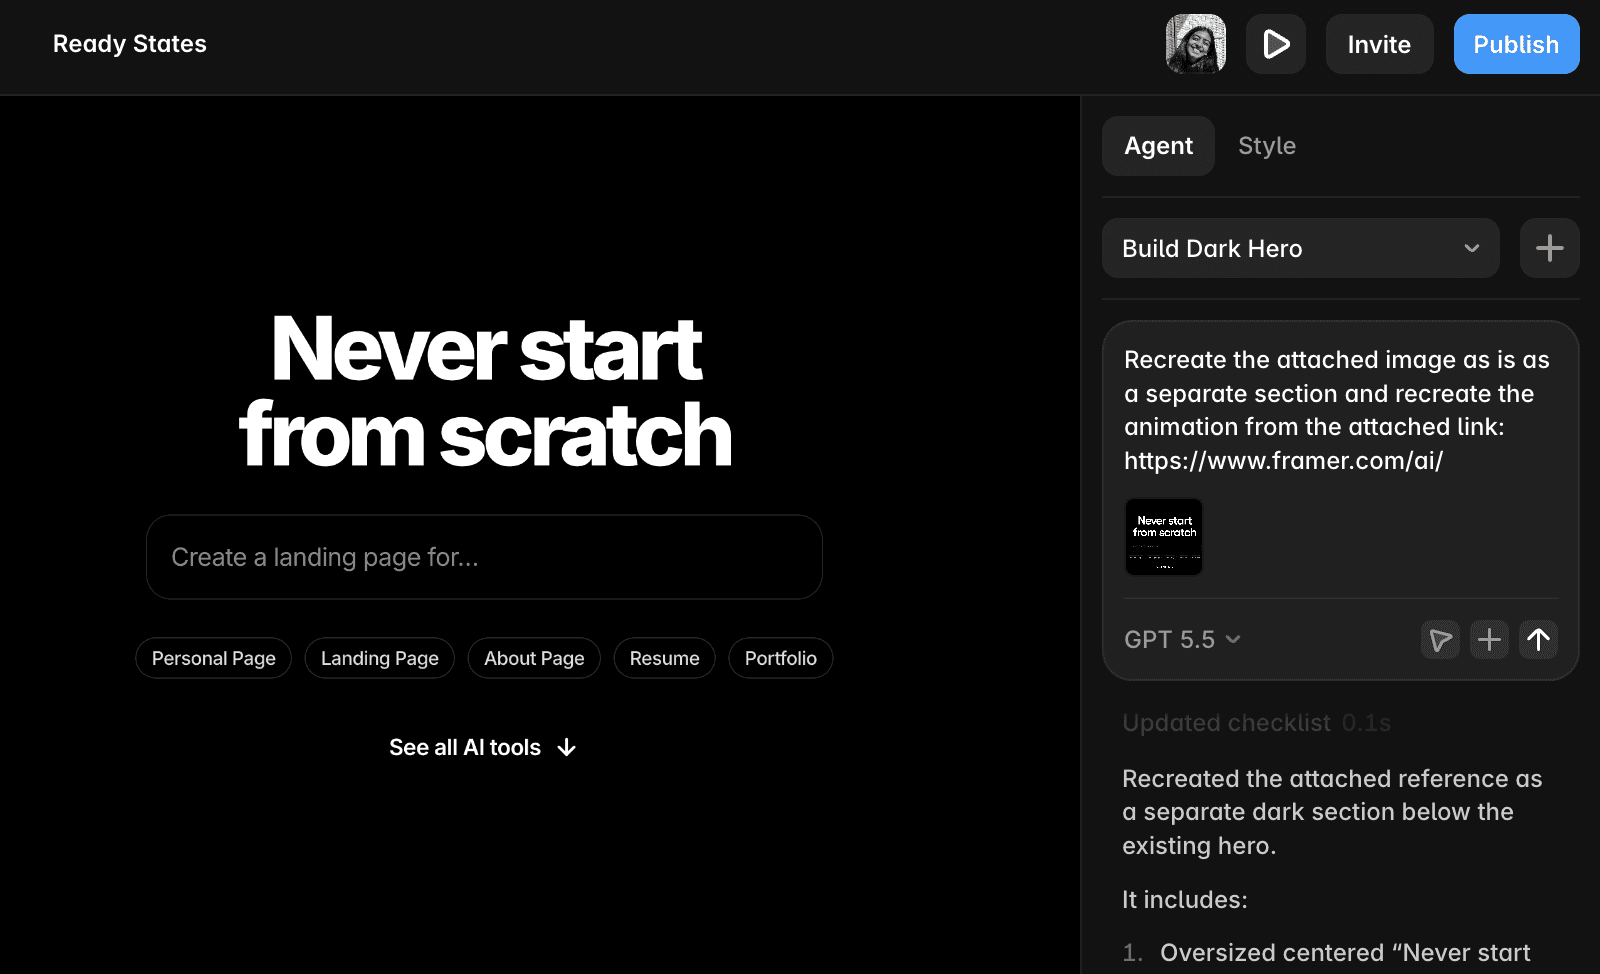
Agents can create interactions and animations. When recreating an existing interaction, provide both:
A screenshot showing the visual appearance
A live URL demonstrating the interaction
The screenshot helps the Agent understand the design, while the live URL provides additional context about behavior, transitions, timing, and triggers.
Refine existing sections with the context tool
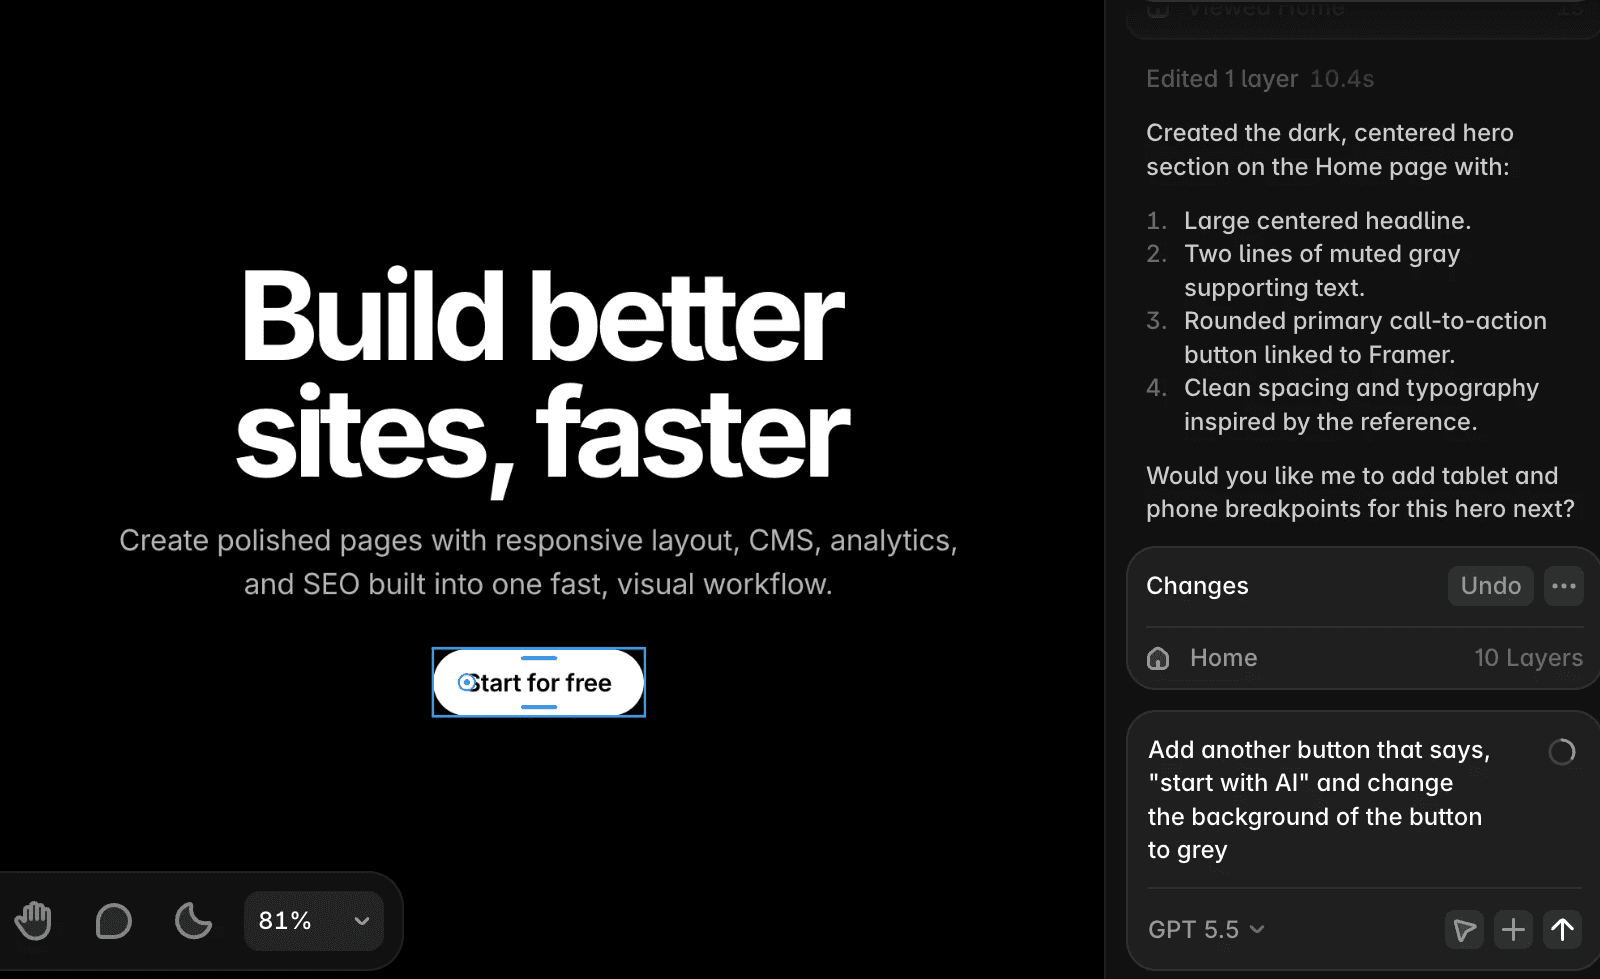
After the Agent generates content, use the context tool whenever you want to modify a specific area. Select the section you want to update before sending a new prompt. The Agent will focus its changes on the selected area rather than modifying the entire page. This is one of the most effective ways to make targeted improvements while preserving the rest of your design.
Agents let you create and edit websites directly inside Framer using prompts. Describe what you want to build, and the Agent will generate and update content, layouts, interactions, and code on your canvas.
Get started with Agents
To open the Agent, select Agent in the right-hand Properties panel. A prompt field will appear where you can enter instructions. The Agent reads your current canvas, generates the necessary design and code, and places the result directly on your page. You can continue prompting within the same session to refine, expand, or update what has already been created.
Build one section at a time
For the best results, start by generating a single section instead of an entire page. Once the section is created, select it on the canvas before sending your next prompt. This activates the context tool and tells the Agent to focus only on the selected area. Working section by section helps prevent unintended changes elsewhere on the page and gives you more control over the final result.
Provide clear structure and requirements
The Agent performs best when your prompt includes clear instructions about content, layout, and structure.
Before prompting, think through details such as:
The type of section you want to create
The content that should appear
The number of items, cards, or columns
Any specific layout preferences
Desired styling or visual direction
If you already know the answers to questions the Agent might need to ask, include them in the prompt. Providing more context upfront often leads to more accurate results.
Use reference images for visual direction
If you have a design reference, attach it to your prompt.
The Agent can accepts any image as a reference, screenshots, wireframes, exported mockups, or even hand-drawn sketches to better understand the layout, visual hierarchy, and overall style you want to achieve.
Reference images are especially useful when recreating a specific design aesthetic or page structure.
Attach your own assets
When your design requires specific assets, attach them directly to your prompt instead of relying on placeholders.
This works well for:
Logos
Product images
Team photos
Background illustrations
Marketing graphics
Providing the actual assets helps the Agent generate a result that is much closer to your intended design.
Write specific prompts
While simple prompts can work, detailed prompts usually produce better results.
Instead of writing:
Create a hero section.
Try writing:
Create a dark hero section with a centered headline, two lines of gray supporting text, and a primary call-to-action button with rounded corners.
The more information you provide about layout, content, styling, and functionality, the fewer revisions you'll typically need.
Build interactions and animations
Agents can create interactions and animations. When recreating an existing interaction, provide both:
A screenshot showing the visual appearance
A live URL demonstrating the interaction
The screenshot helps the Agent understand the design, while the live URL provides additional context about behavior, transitions, timing, and triggers.
Refine existing sections with the context tool
After the Agent generates content, use the context tool whenever you want to modify a specific area. Select the section you want to update before sending a new prompt. The Agent will focus its changes on the selected area rather than modifying the entire page. This is one of the most effective ways to make targeted improvements while preserving the rest of your design.
FAQ
How do I open the Agent in Framer?
In the Properties panel select Agent. A prompt field will appear where you can start entering instructions.
Can the Agent edit only part of my page?
Yes. Select a specific section on the canvas before prompting. The Agent will scope its changes to the selected area and leave the rest of your page unchanged.
Can I attach images to my prompt?
Yes. You can attach screenshots, design references, and image assets directly to your prompt. The Agent uses them as visual context and can also incorporate them into the generated design.
Updated